
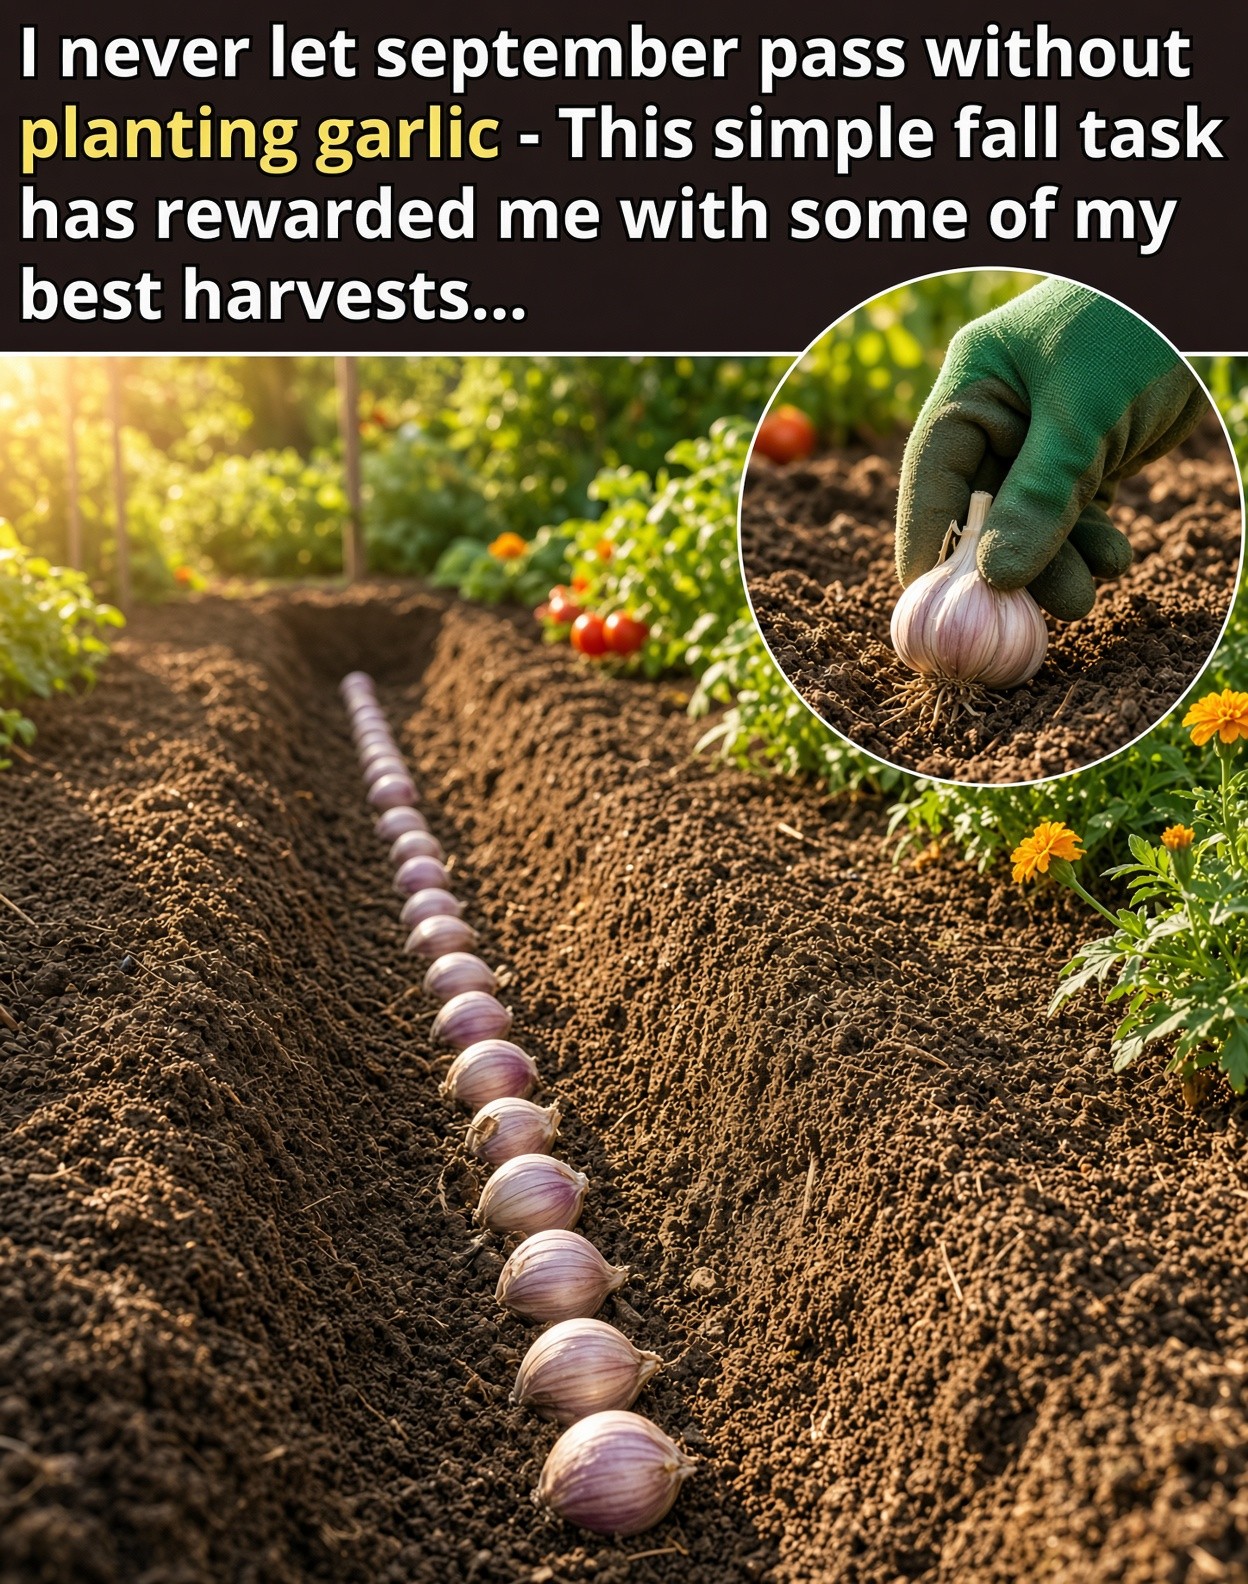
A practical guide to fall garlic planting, from choosing cloves and preparing the soil to winter care, scapes, harvesting, curing, and storage.
Why September Is My Favorite Time to Plant Garlic
When the garden begins winding down in late summer, garlic is one crop I am already thinking about for the next season. Planting in September gives cloves time to establish roots before winter while the soil is still workable. The plants can then spend the cold months quietly developing underground and resume strong growth when spring arrives. That simple seasonal rhythm is the main reason fall-planted garlic has earned a permanent place in my garden.
Garlic Benefits From a Cold Winter
Garlic is different from many vegetables because a period of cold weather helps it develop a bulb properly. This process is commonly called vernalization. Giving cloves a chance to experience winter conditions can support the transition from vegetative growth toward bulb formation. The exact response varies with climate and garlic type, but a fall planting gives the crop the seasonal conditions it expects in many growing regions.
Strong Roots Before the Cold Arrives
September soil often offers a useful combination: it is still warm enough for root growth, while outdoor temperatures are beginning to cool. Newly planted cloves can establish roots before the ground becomes consistently cold. This early root system gives the plants a foundation for the following spring, when leaves begin growing rapidly and the developing bulb needs a steady supply of water and nutrients.
A Head Start on Spring
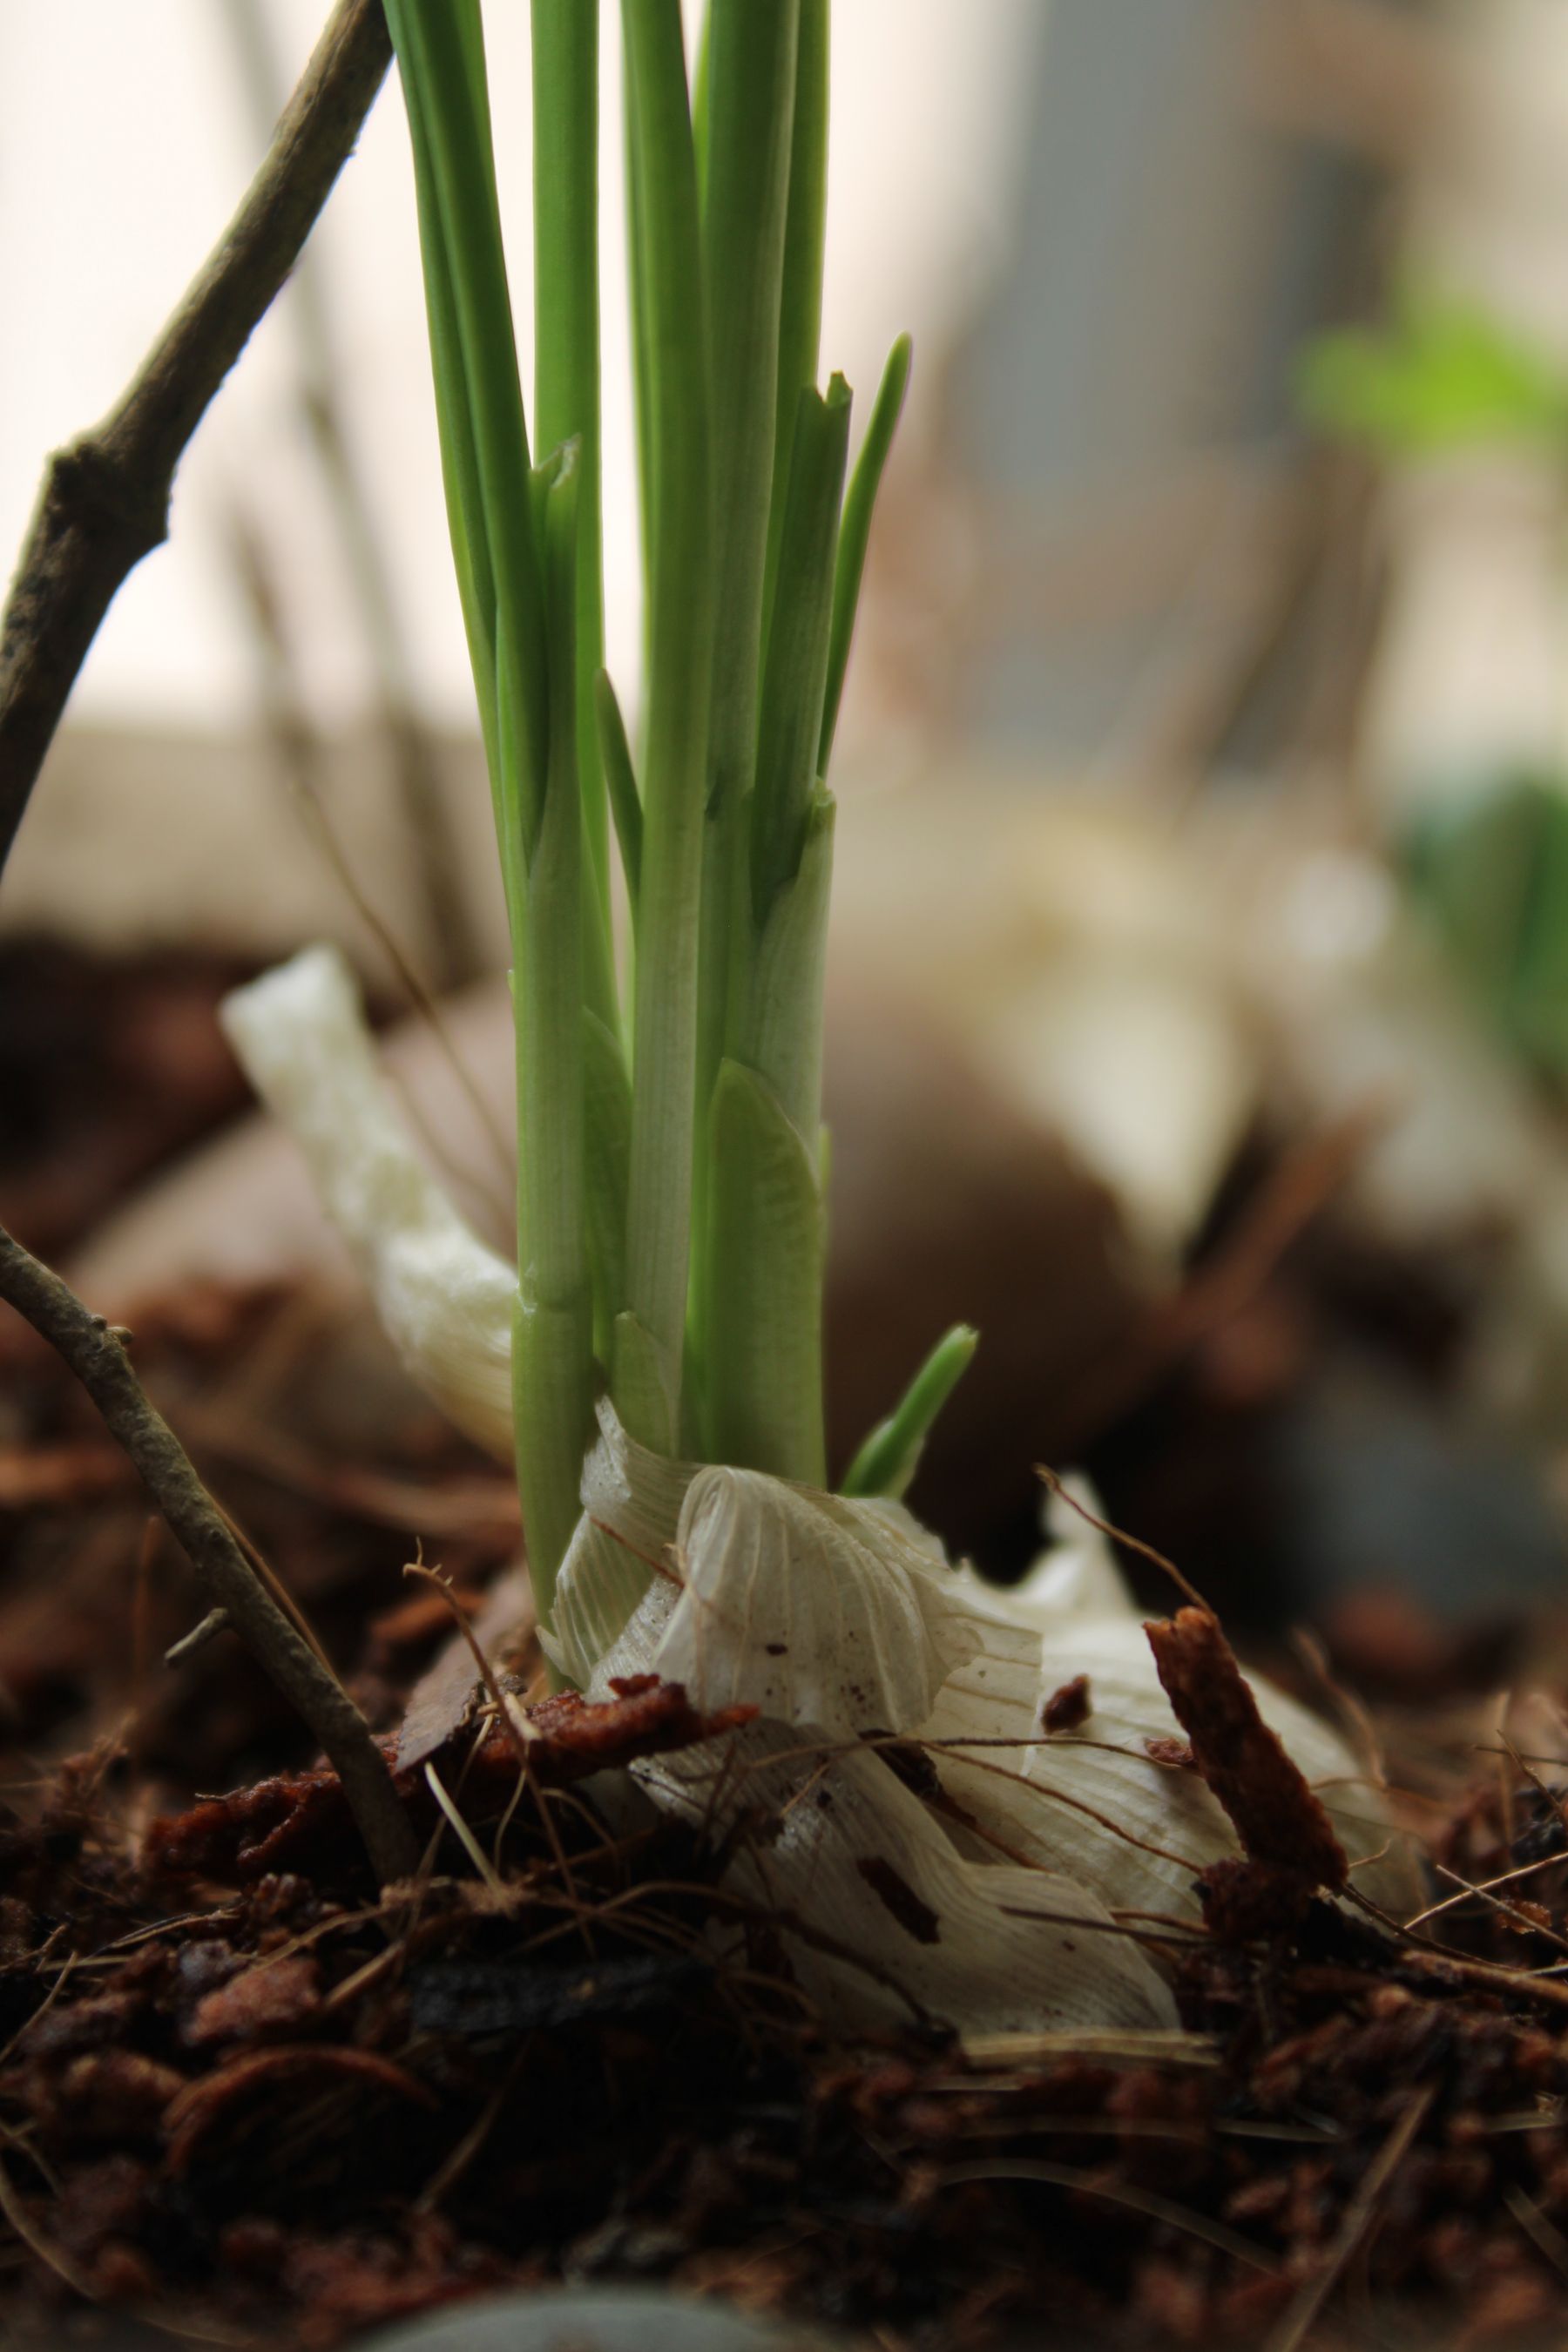
One of the biggest advantages of fall planting is that garlic begins the next growing season ahead of many spring-planted crops. Instead of starting with a fresh clove in spring, a September planting already has roots in place and may already show small shoots. That head start can translate into a longer growing period before summer heat arrives, which is especially useful in regions where hot weather comes early.
Fewer Weeds to Fight
Cooler weather usually slows weed growth, which can make a fall garlic bed easier to manage. Once the cloves are planted and the surface is mulched, there is less exposed soil available for aggressive winter weeds. The benefit continues into spring because garlic is already established when the garden begins becoming crowded with new growth. Good preparation still matters, but the crop can be relatively low-maintenance compared with many spring plantings.
Choosing Garlic for Your Climate
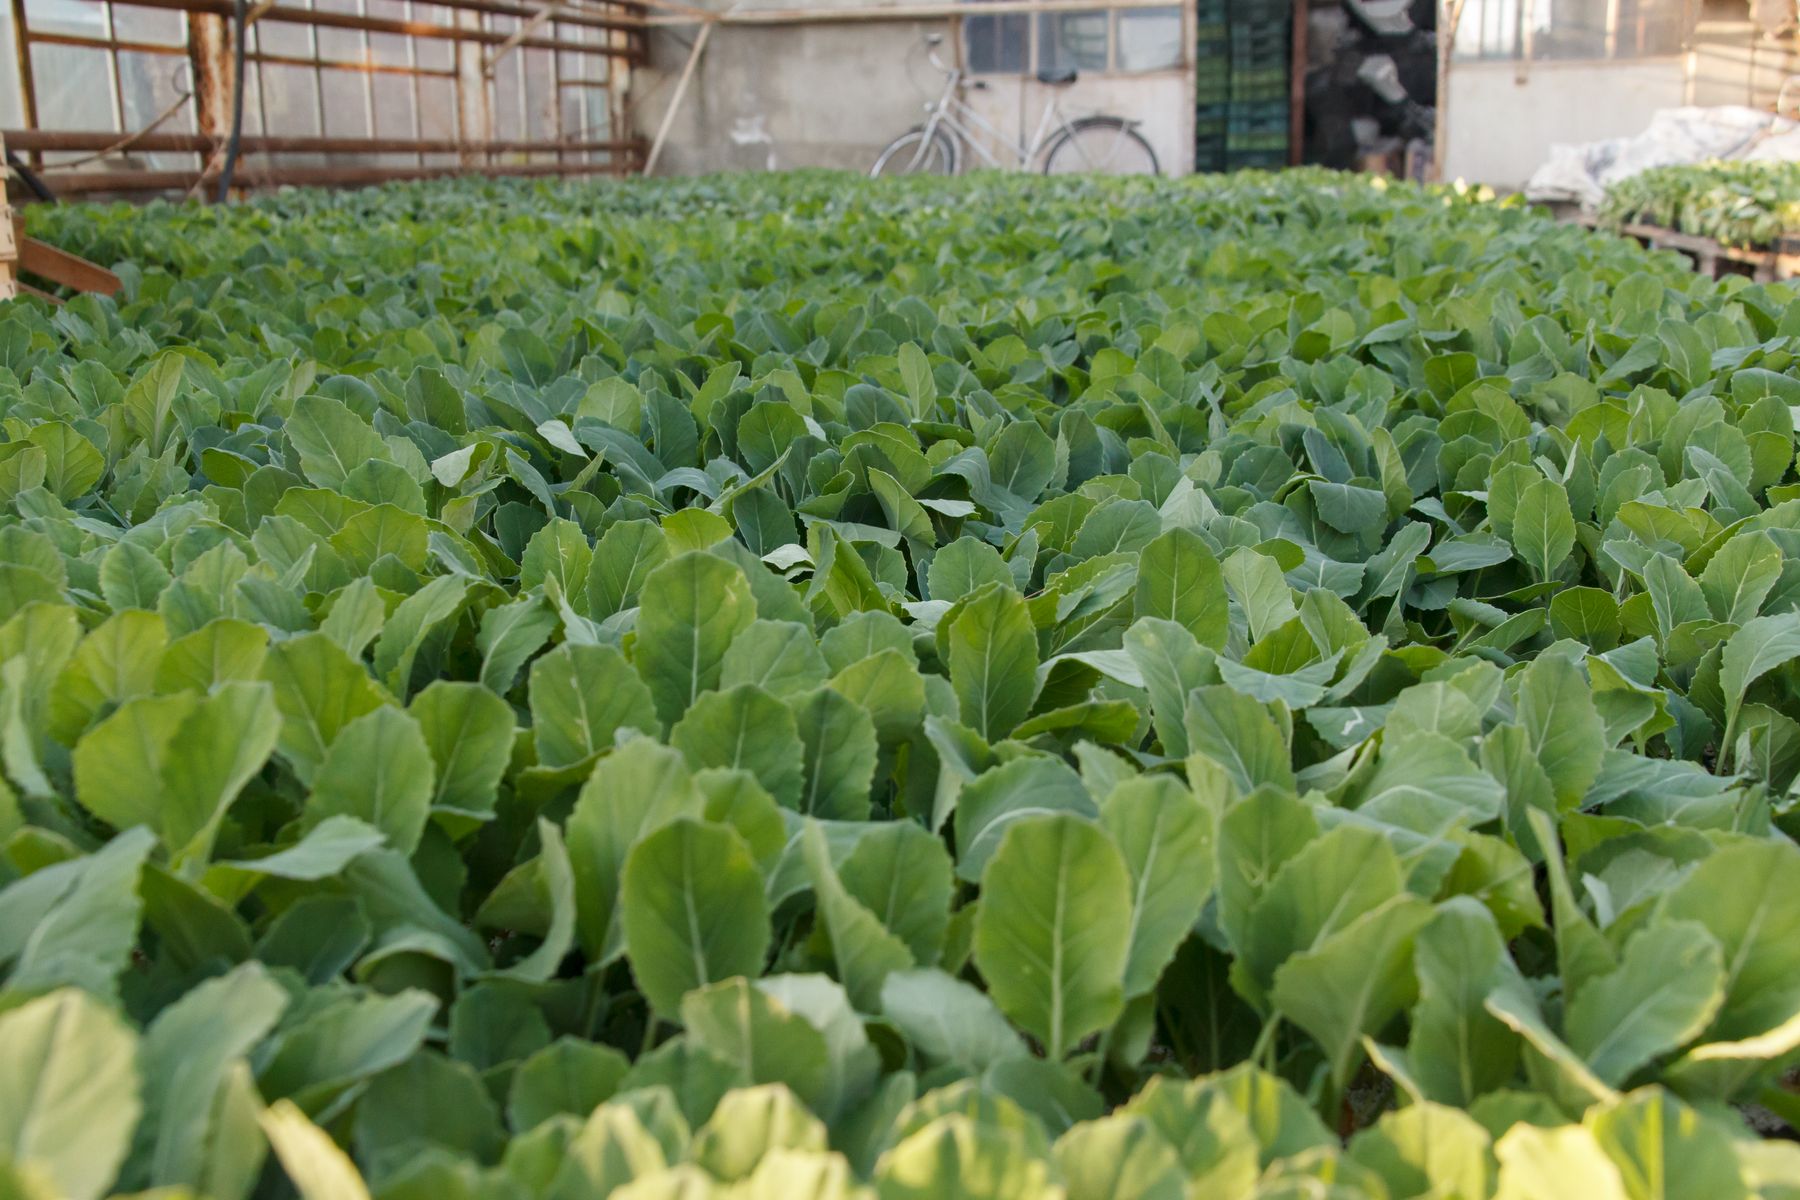
Before planting, choose seed garlic suited to your growing conditions. Hardneck types are commonly favored in regions with colder winters and are known for producing edible flower stalks called scapes. Softneck types are often better suited to milder climates and generally produce more cloves per bulb while storing for a long time. If you are experimenting, growing more than one type can be a useful way to discover which performs best in your garden.
Hardneck Garlic
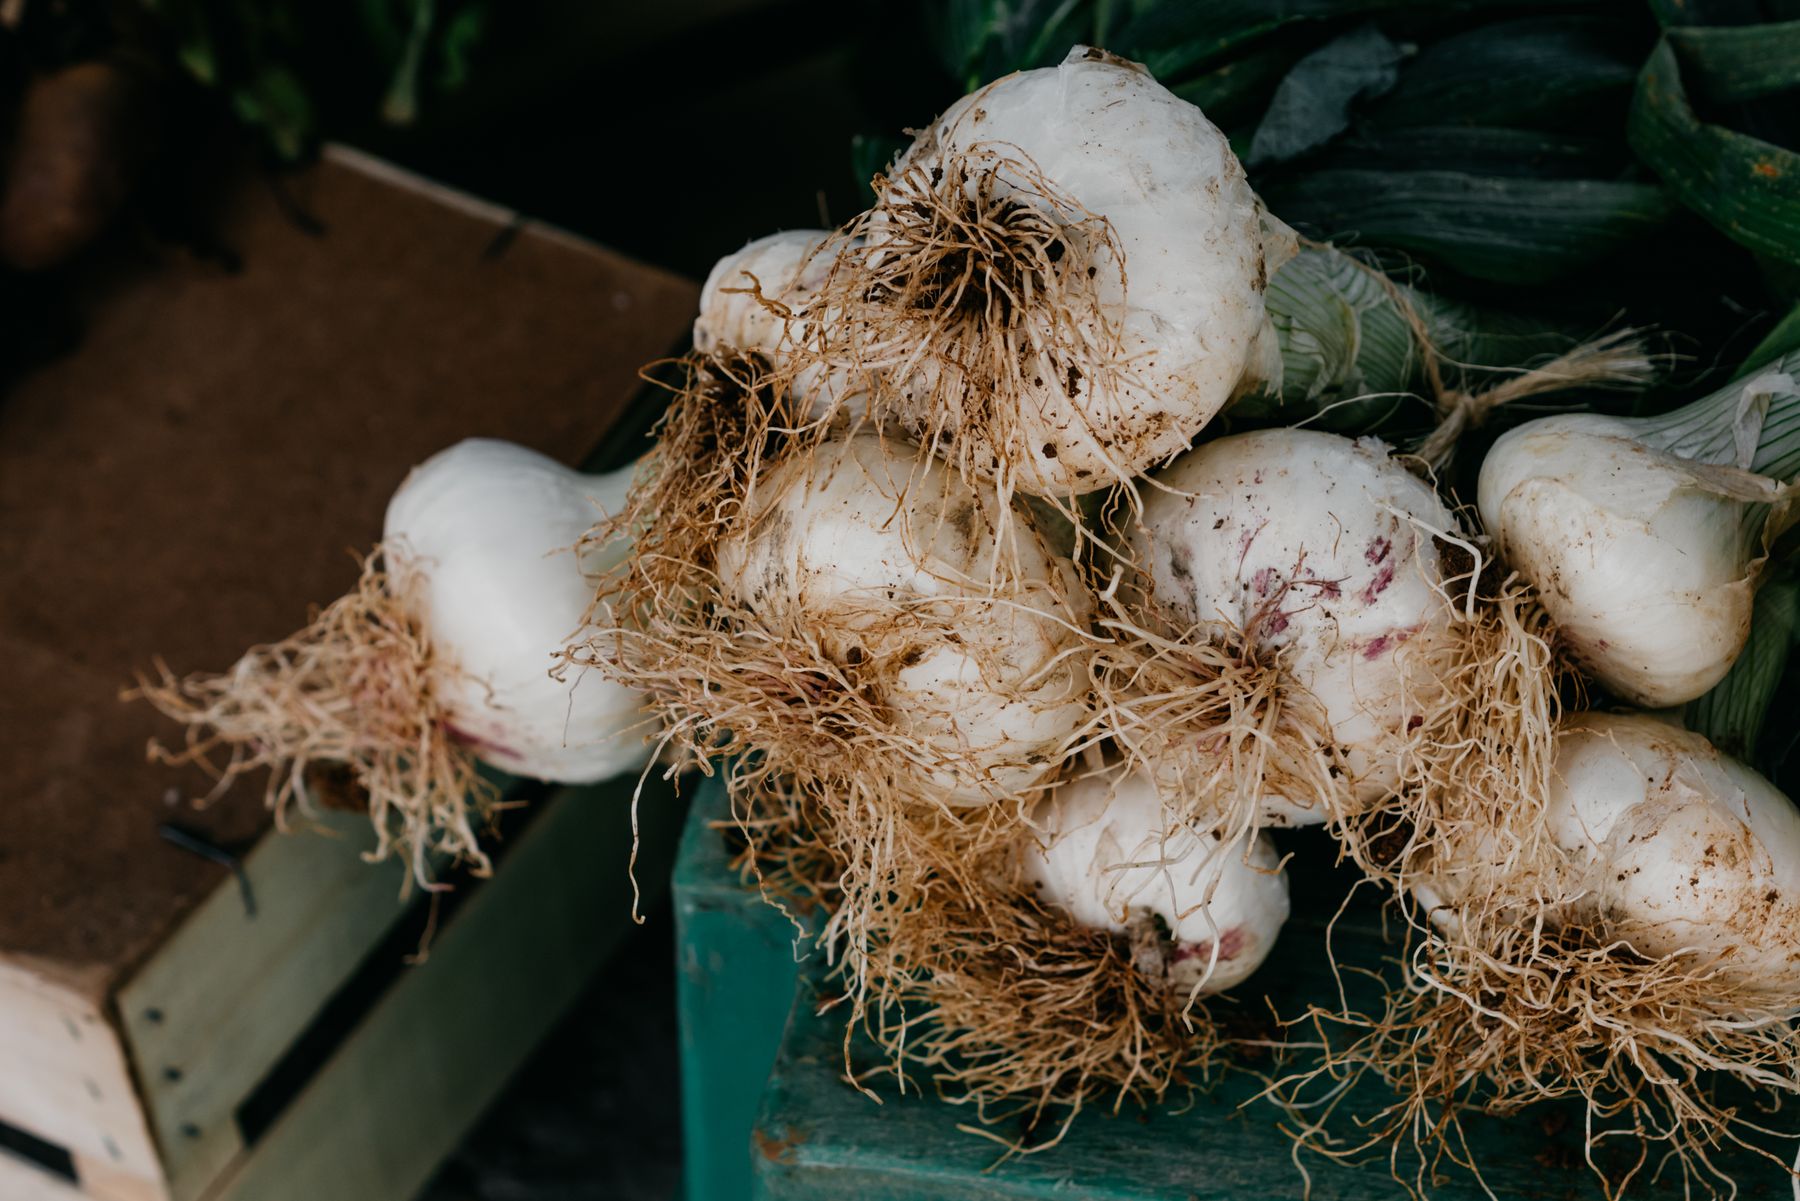
Hardneck garlic produces a central stalk and typically forms fewer but often larger cloves. In spring, it can produce scapes that curl as they mature and can be harvested for cooking. Its strong flavor and ability to perform well through cold winters make it a popular choice for gardeners in northern climates. Good-quality seed cloves are more important than simply choosing the largest-looking bulb at the market.
Softneck Garlic
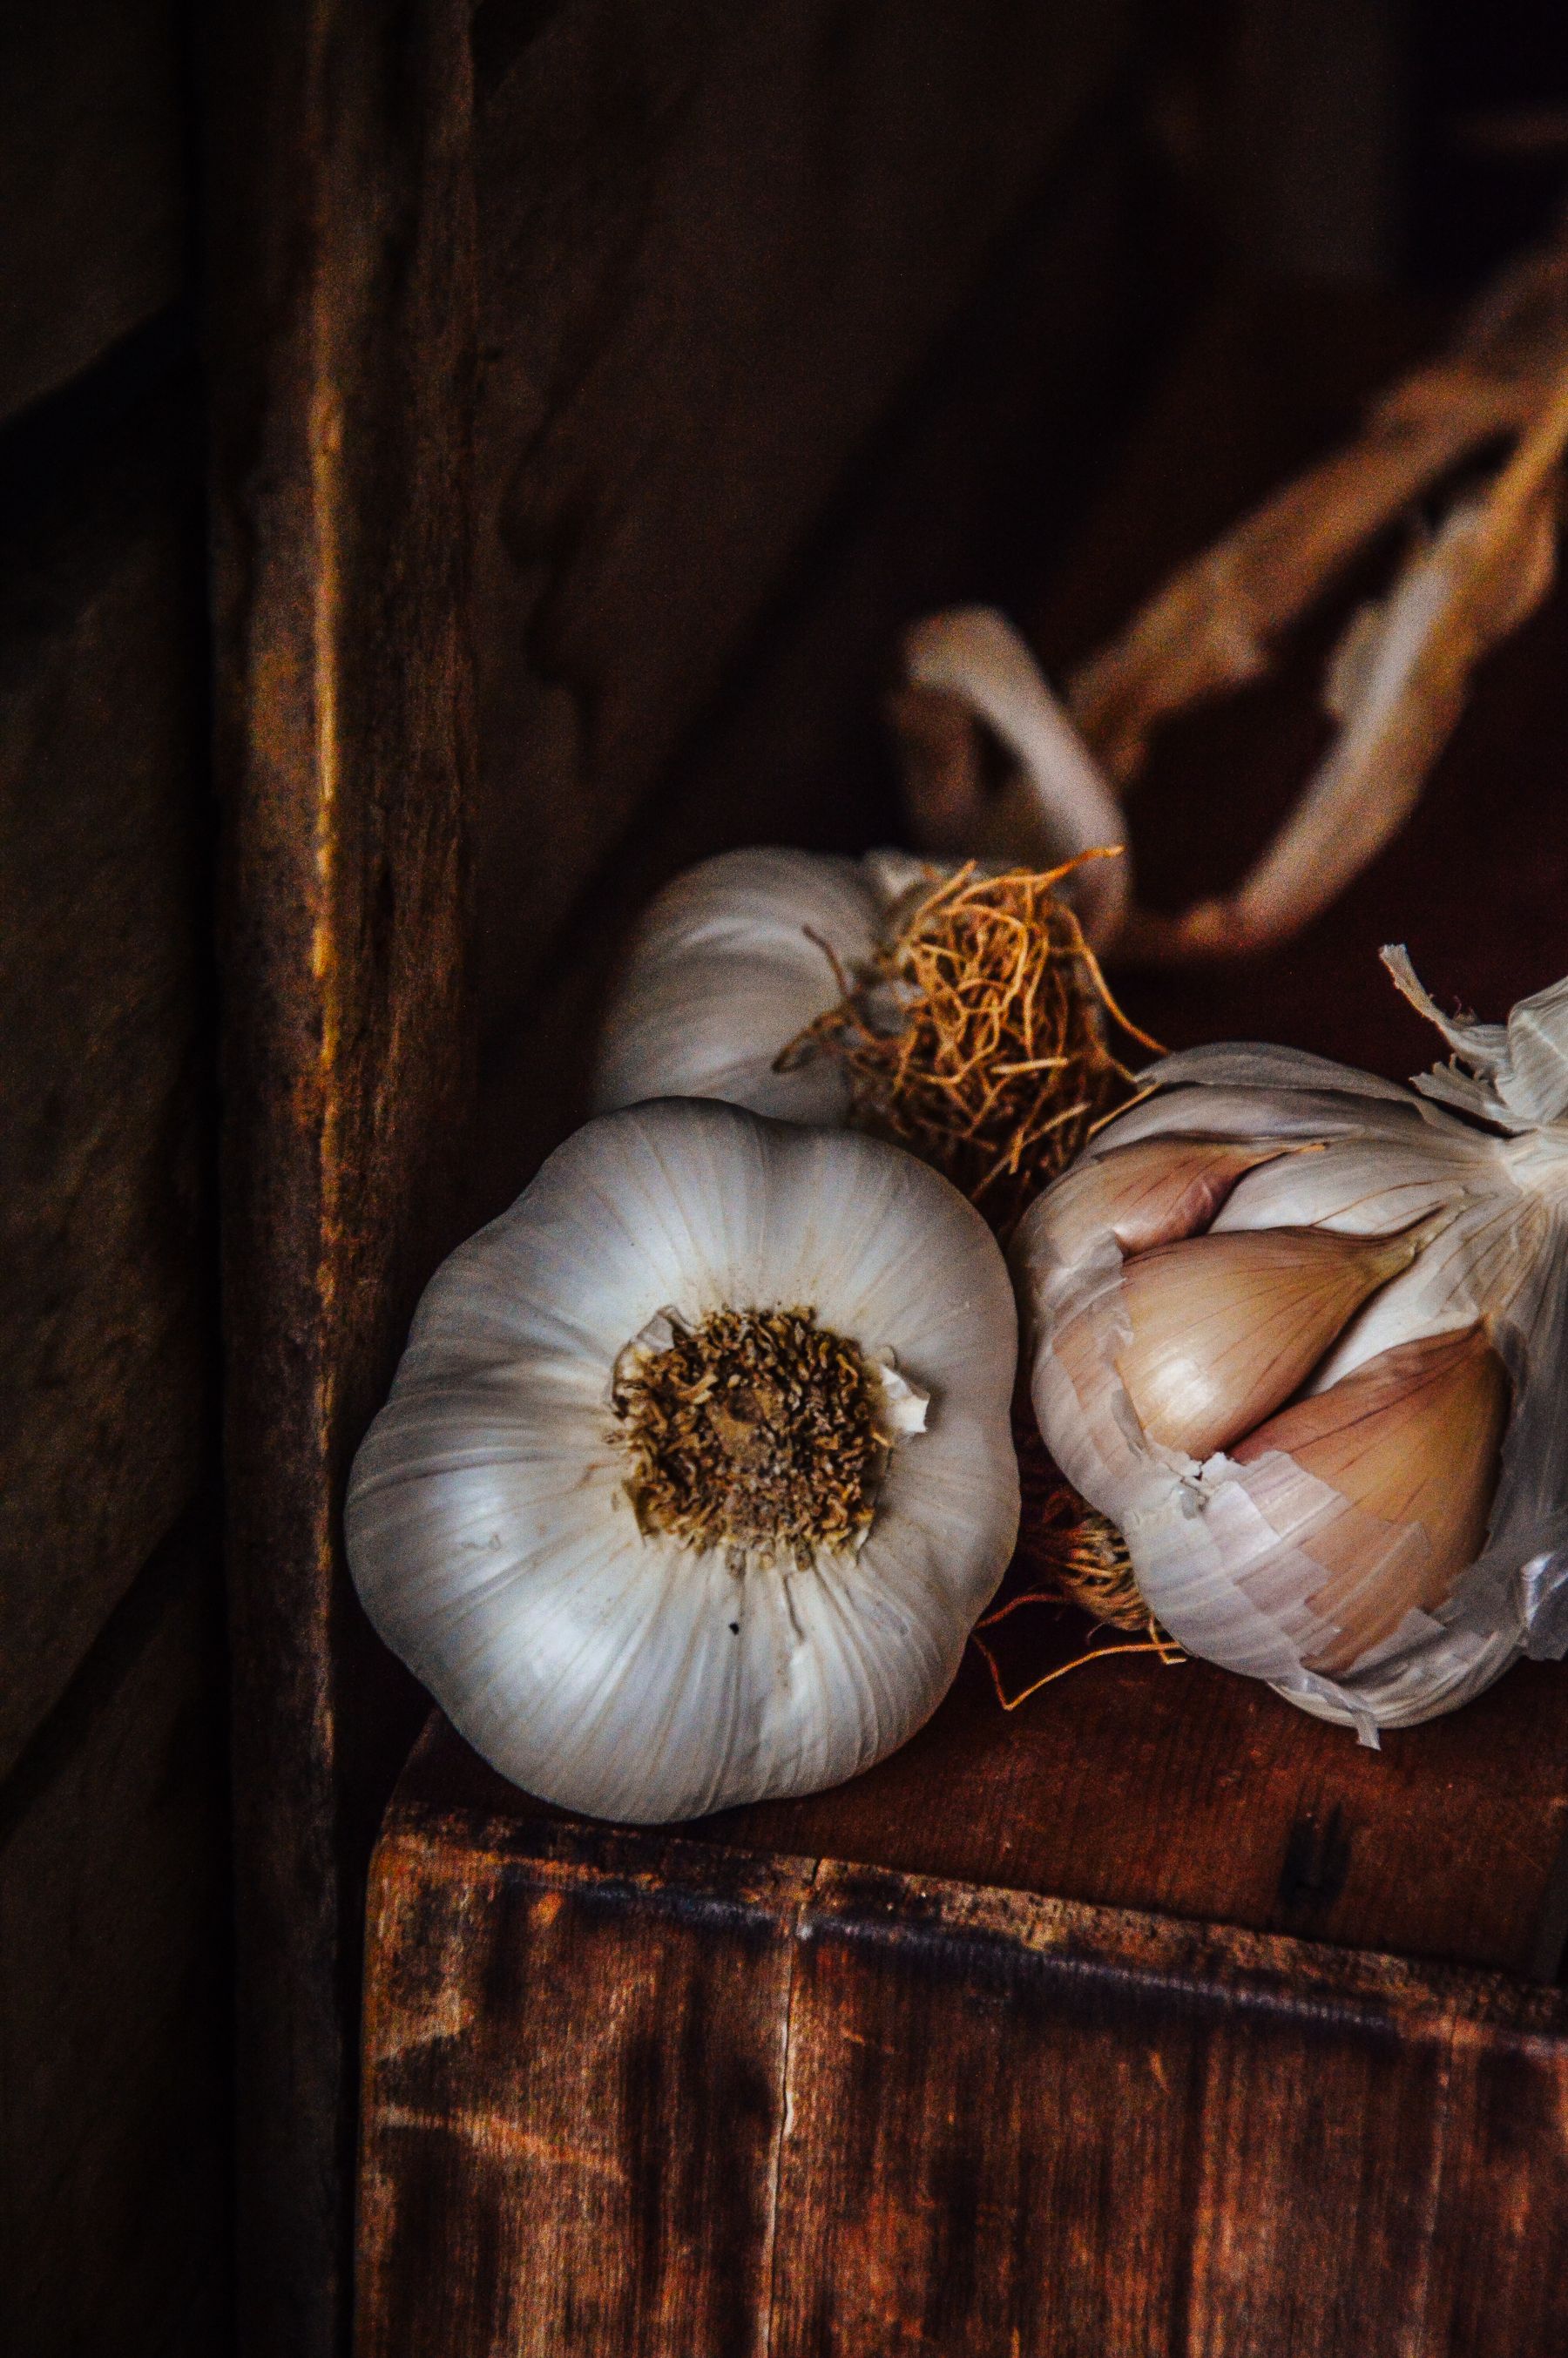
Softneck garlic does not normally produce the prominent scape associated with hardneck varieties. It can produce many cloves and is especially useful where winters are relatively mild. Another advantage is storage: properly cured softneck bulbs can keep for many months under suitable conditions. Matching the variety to your climate is therefore one of the easiest ways to improve the odds of a successful crop.
Prepare the Bed Before Planting
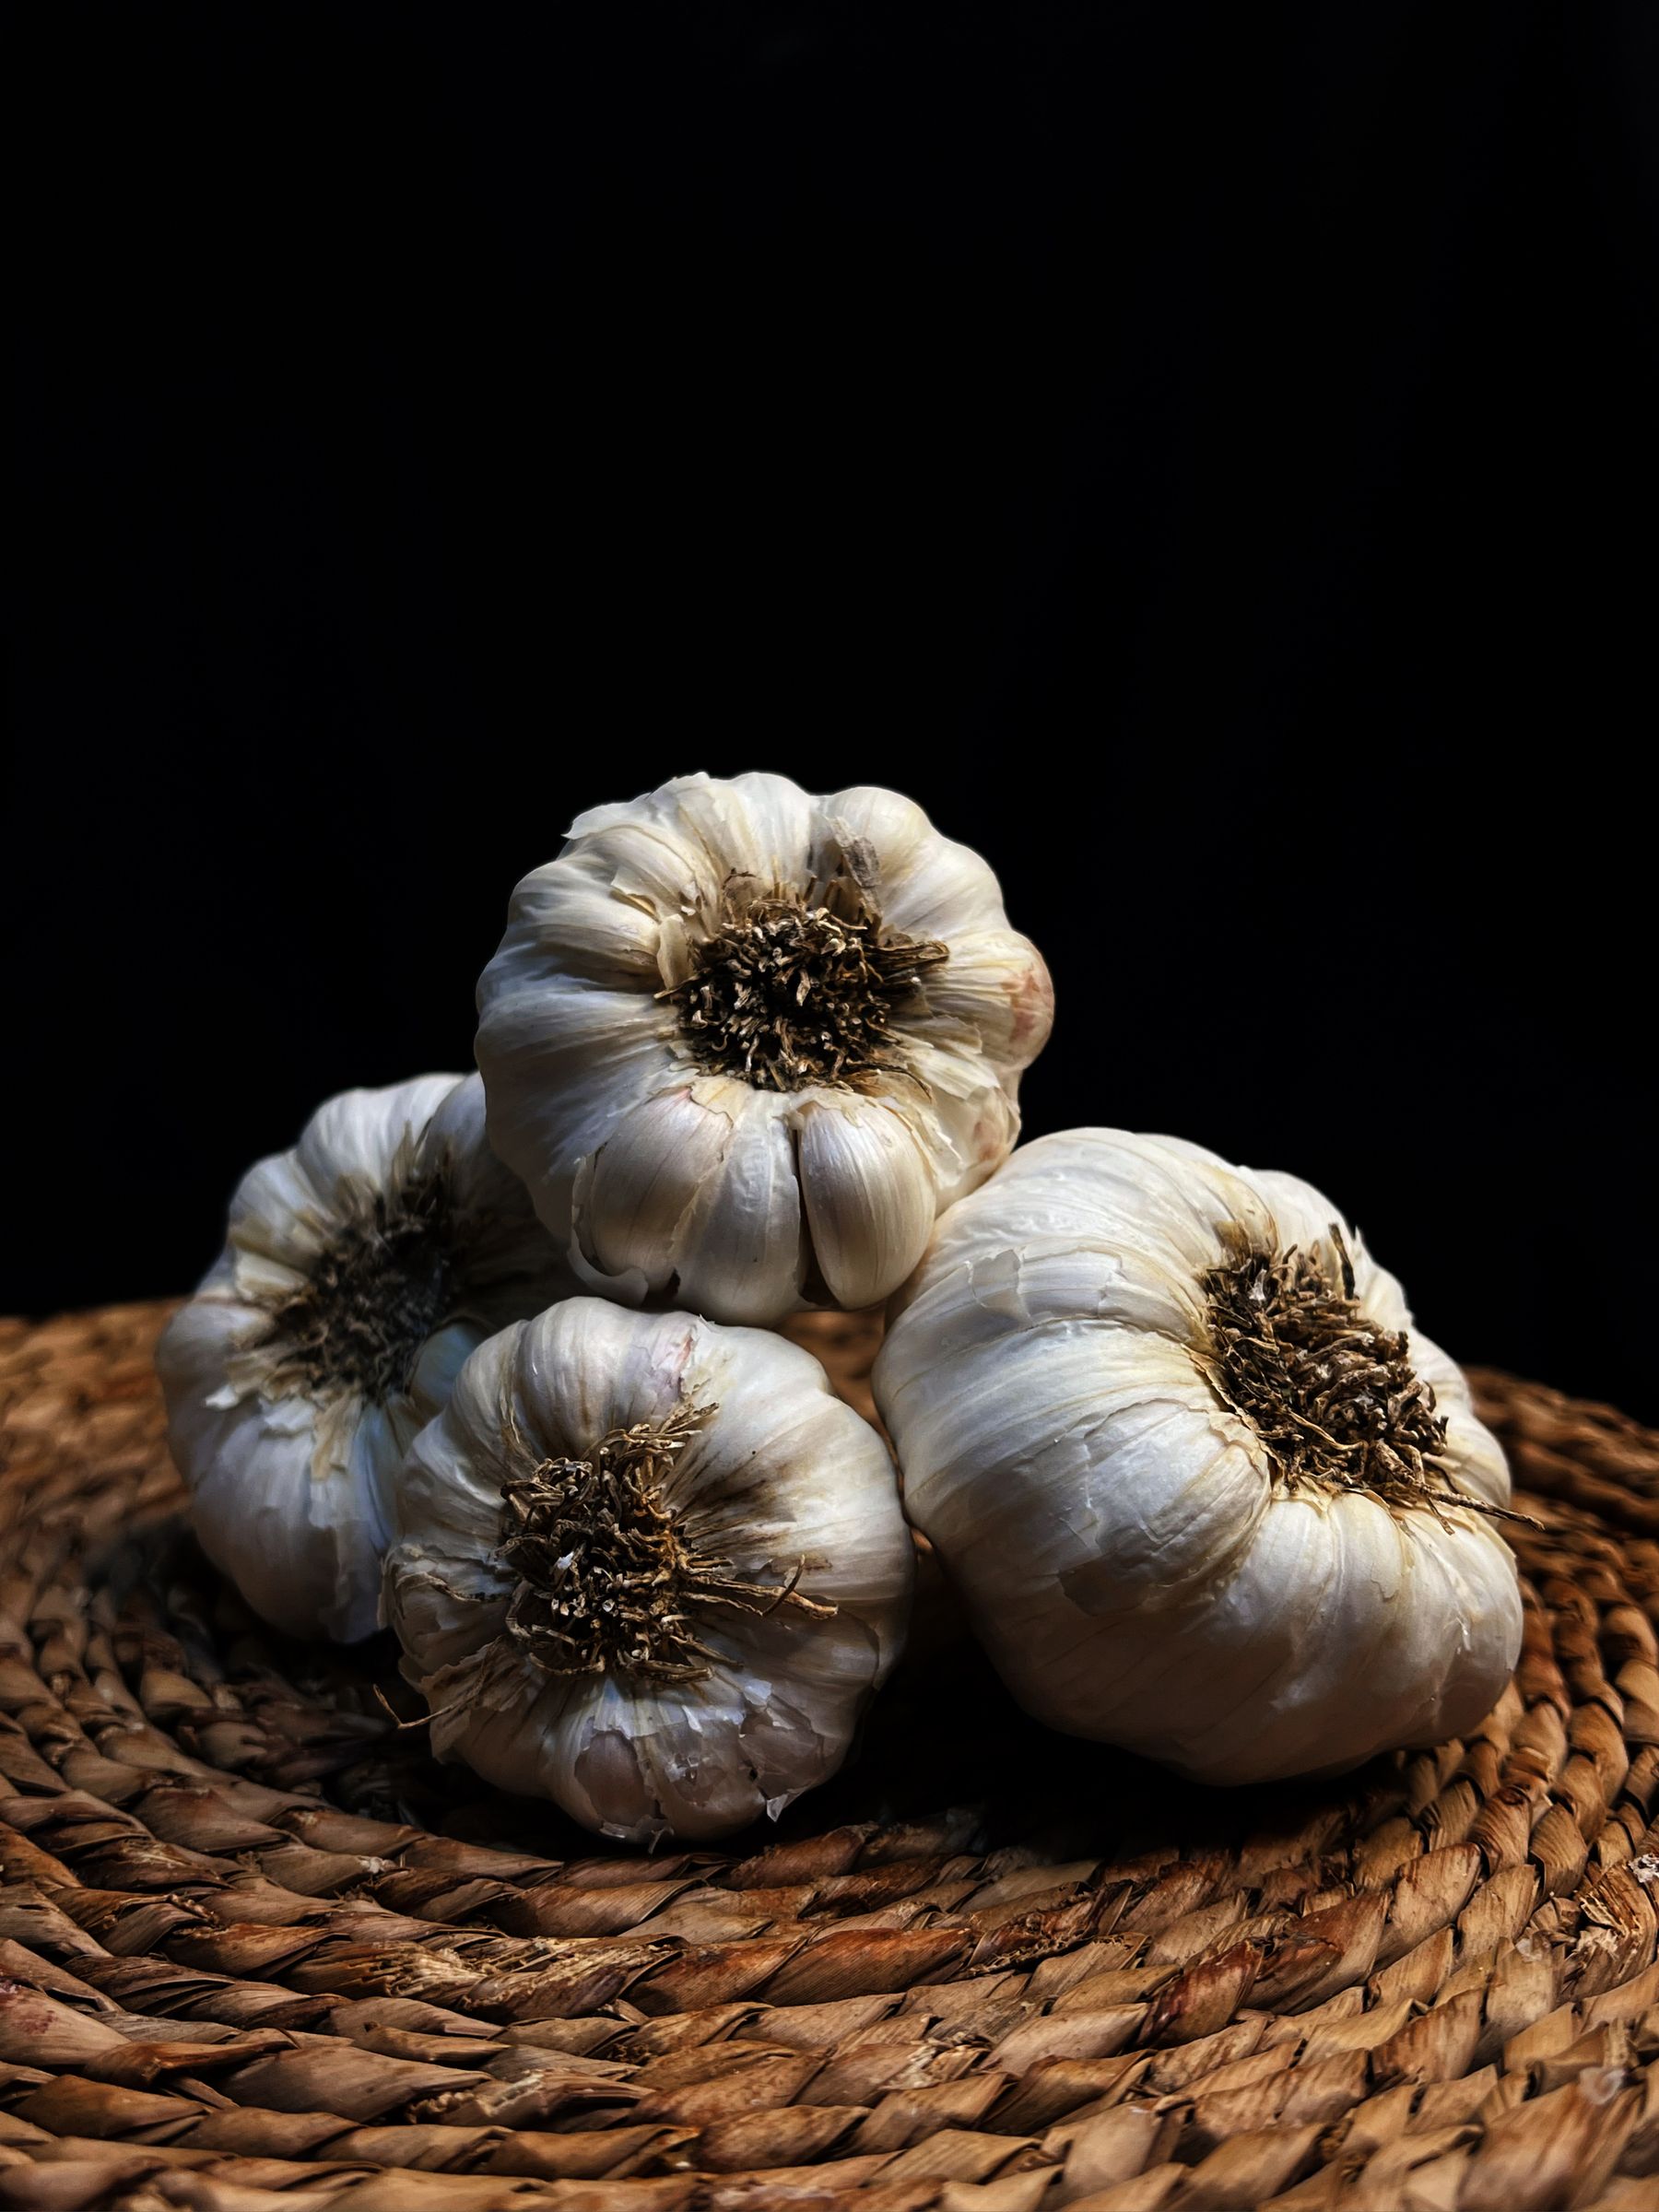
Choose a sunny location where garlic will receive roughly six to eight hours of light. The soil should be loose, fertile, and well drained because garlic does not perform well when its roots remain waterlogged. Work compost or well-aged organic matter into the planting area and loosen the soil deeply enough for roots and developing bulbs to expand without hitting a hard, compacted layer.
Check the Soil
Garlic generally prefers slightly acidic to neutral soil, and the source recommends a pH around 6.0 to 7.5. A soil test is more useful than guessing because it tells you whether amendments are actually needed. Avoid planting garlic immediately where onions or garlic have recently grown if disease pressure is a concern. Crop rotation can reduce the chance of carrying problems from one allium crop into the next.
Break the Bulb Into Cloves
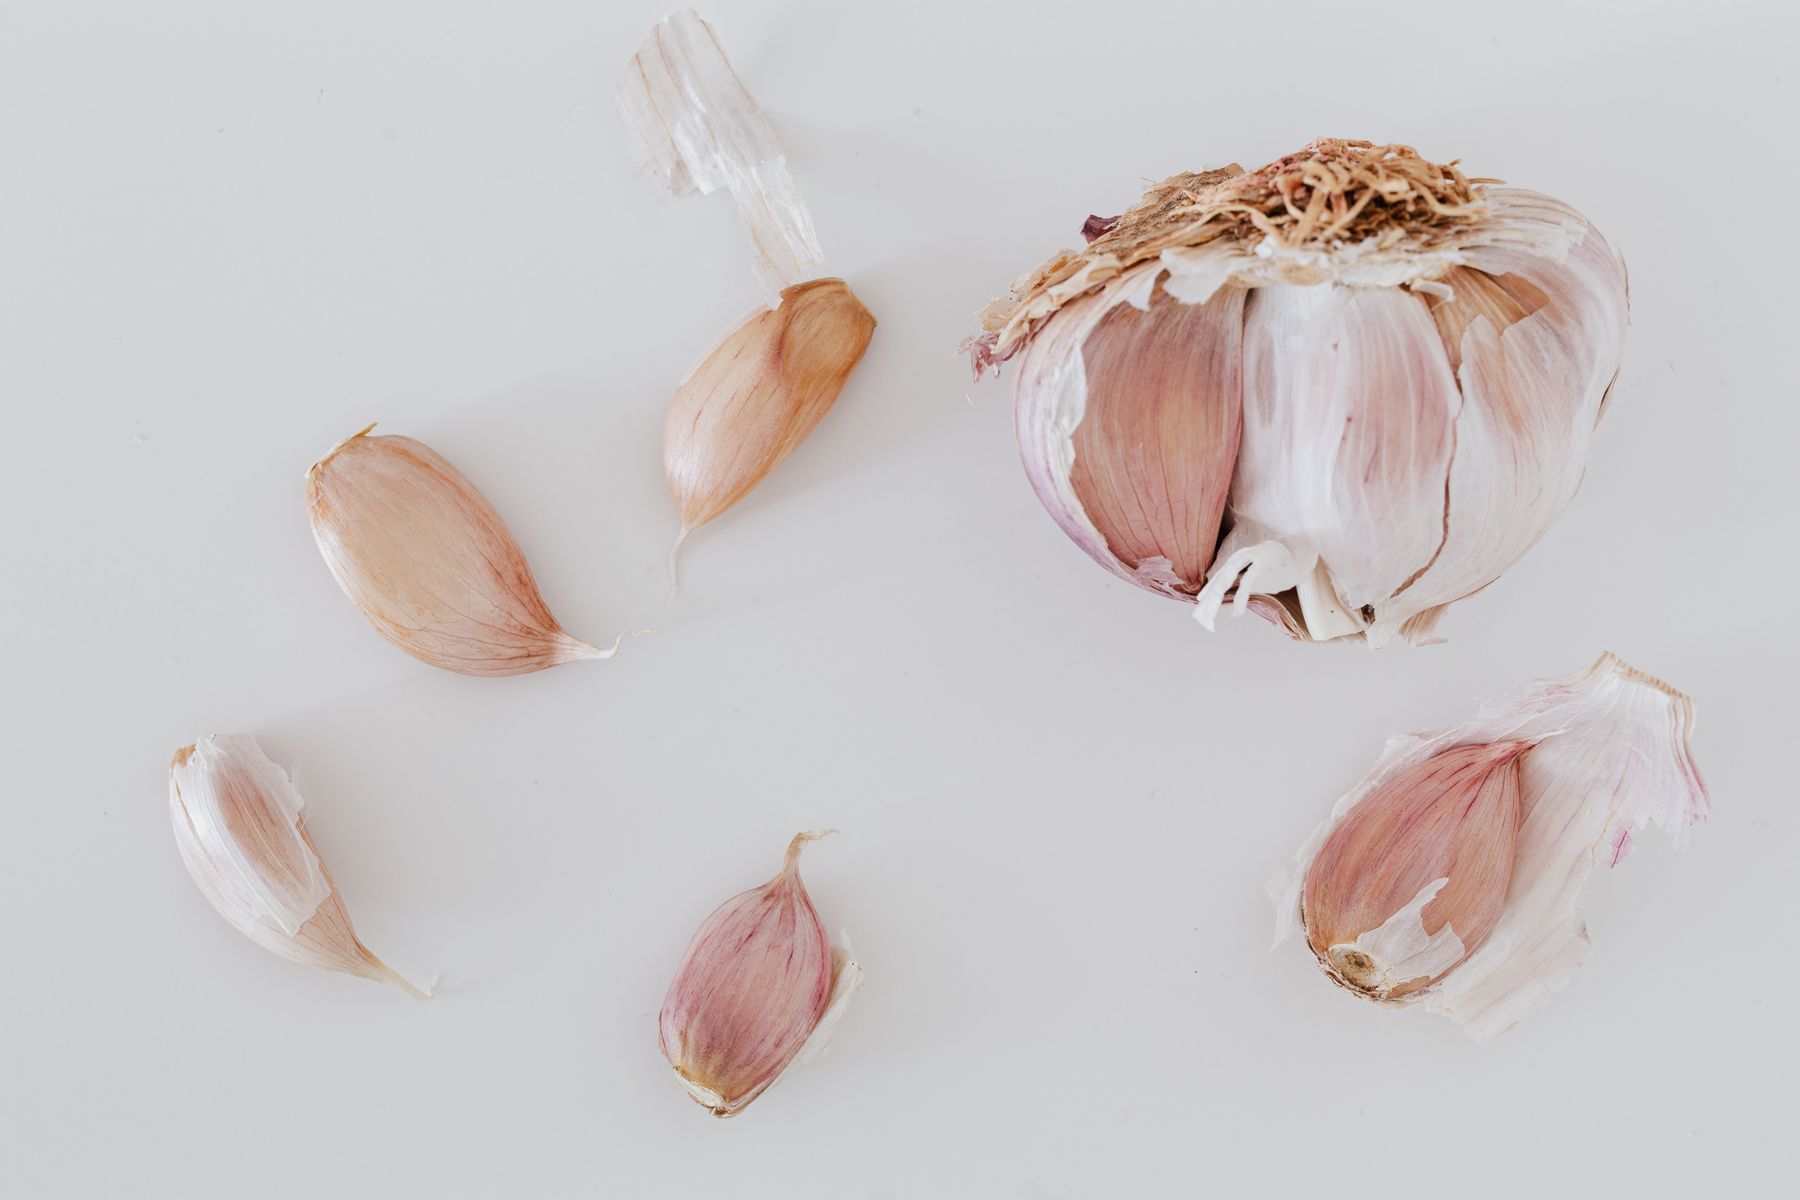
Wait until just before planting to separate the garlic bulb. Gently pull the bulb apart into individual cloves and keep the papery skin around each clove intact. Select firm, healthy, substantial cloves for planting and discard any that are soft, damaged, moldy, or visibly diseased. Larger planting cloves often have more stored energy to support strong early growth.
Plant Each Clove Correctly
Place each clove with the pointed end facing upward. The source recommends planting about two inches deep and spacing cloves roughly four to six inches apart, with rows about twelve inches apart. These distances give developing bulbs room while leaving enough space to weed and water. In very cold or unusual climates, local recommendations may call for adjustments, so your regional planting guidance should take priority.
Water and Add Mulch
Water thoroughly after planting so the soil settles around the cloves and roots can begin developing. Then add a protective layer of straw, shredded leaves, or another suitable mulch. Mulch helps moderate temperature swings, protects cloves from severe winter conditions, and suppresses weeds. Avoid creating a permanently soggy layer, especially in heavy soils, because excessive moisture can encourage rot.
October: Let the Roots Establish
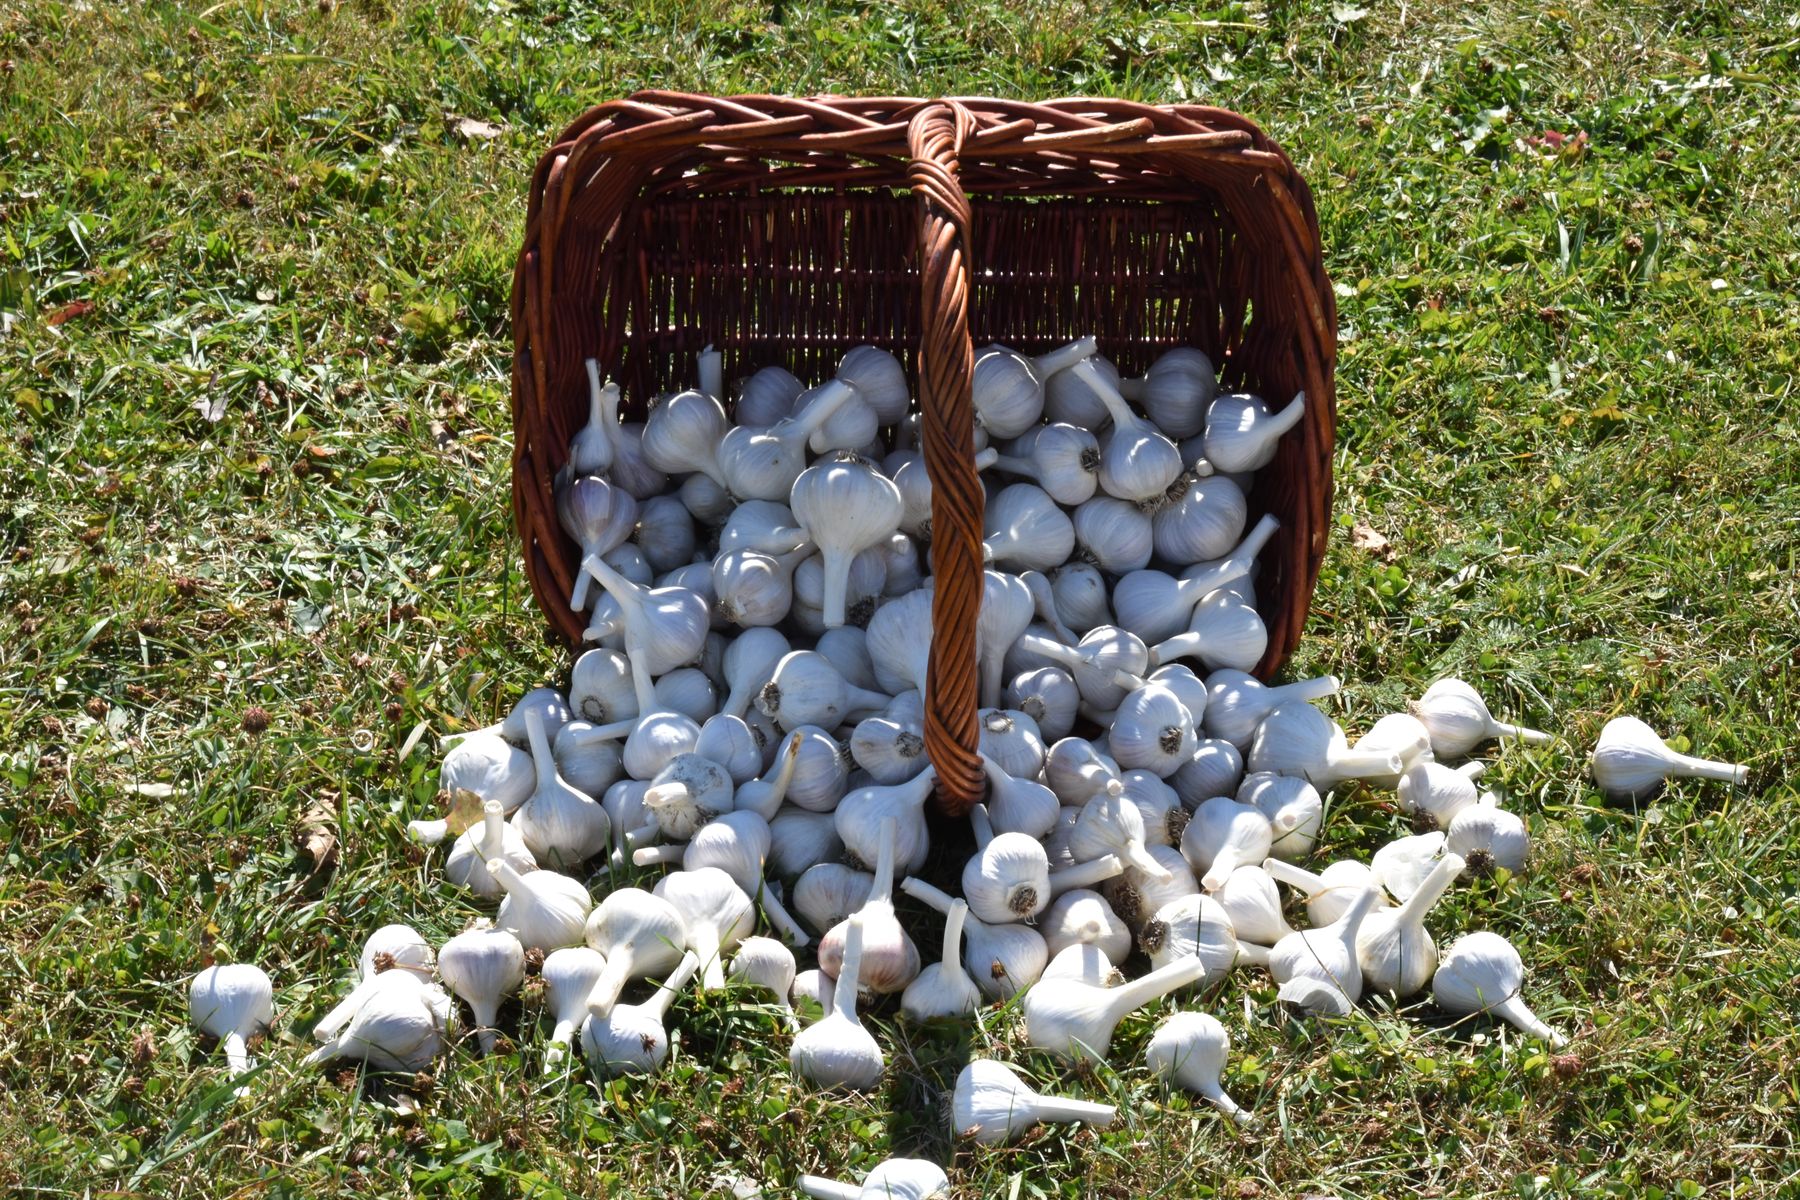
During October, much of the important work is happening below the surface. Roots continue developing even while the garden looks quiet. Keep the mulch in place and water only when conditions are unusually dry. You do not need to keep the bed constantly wet. The objective is steady establishment, not saturated soil.
November: Prepare for Winter
As temperatures drop, check the mulch and make sure it still provides an even protective cover. In particularly cold regions, an additional layer may be helpful. Small green shoots appearing before winter are not automatically a problem; garlic can show some top growth before entering a slower winter phase. Avoid disturbing the cloves simply because the bed looks different from a dormant vegetable plot.
December Through February: Keep Things Simple
Winter is mostly a waiting period for fall-planted garlic. The roots can continue growing slowly while the top growth becomes less active. Check occasionally after severe weather to make sure mulch has not completely blown away and that drainage remains good. Resist the temptation to overwater or overwork the bed. Garlic benefits from a relatively quiet winter period.
March and April: Spring Growth Returns
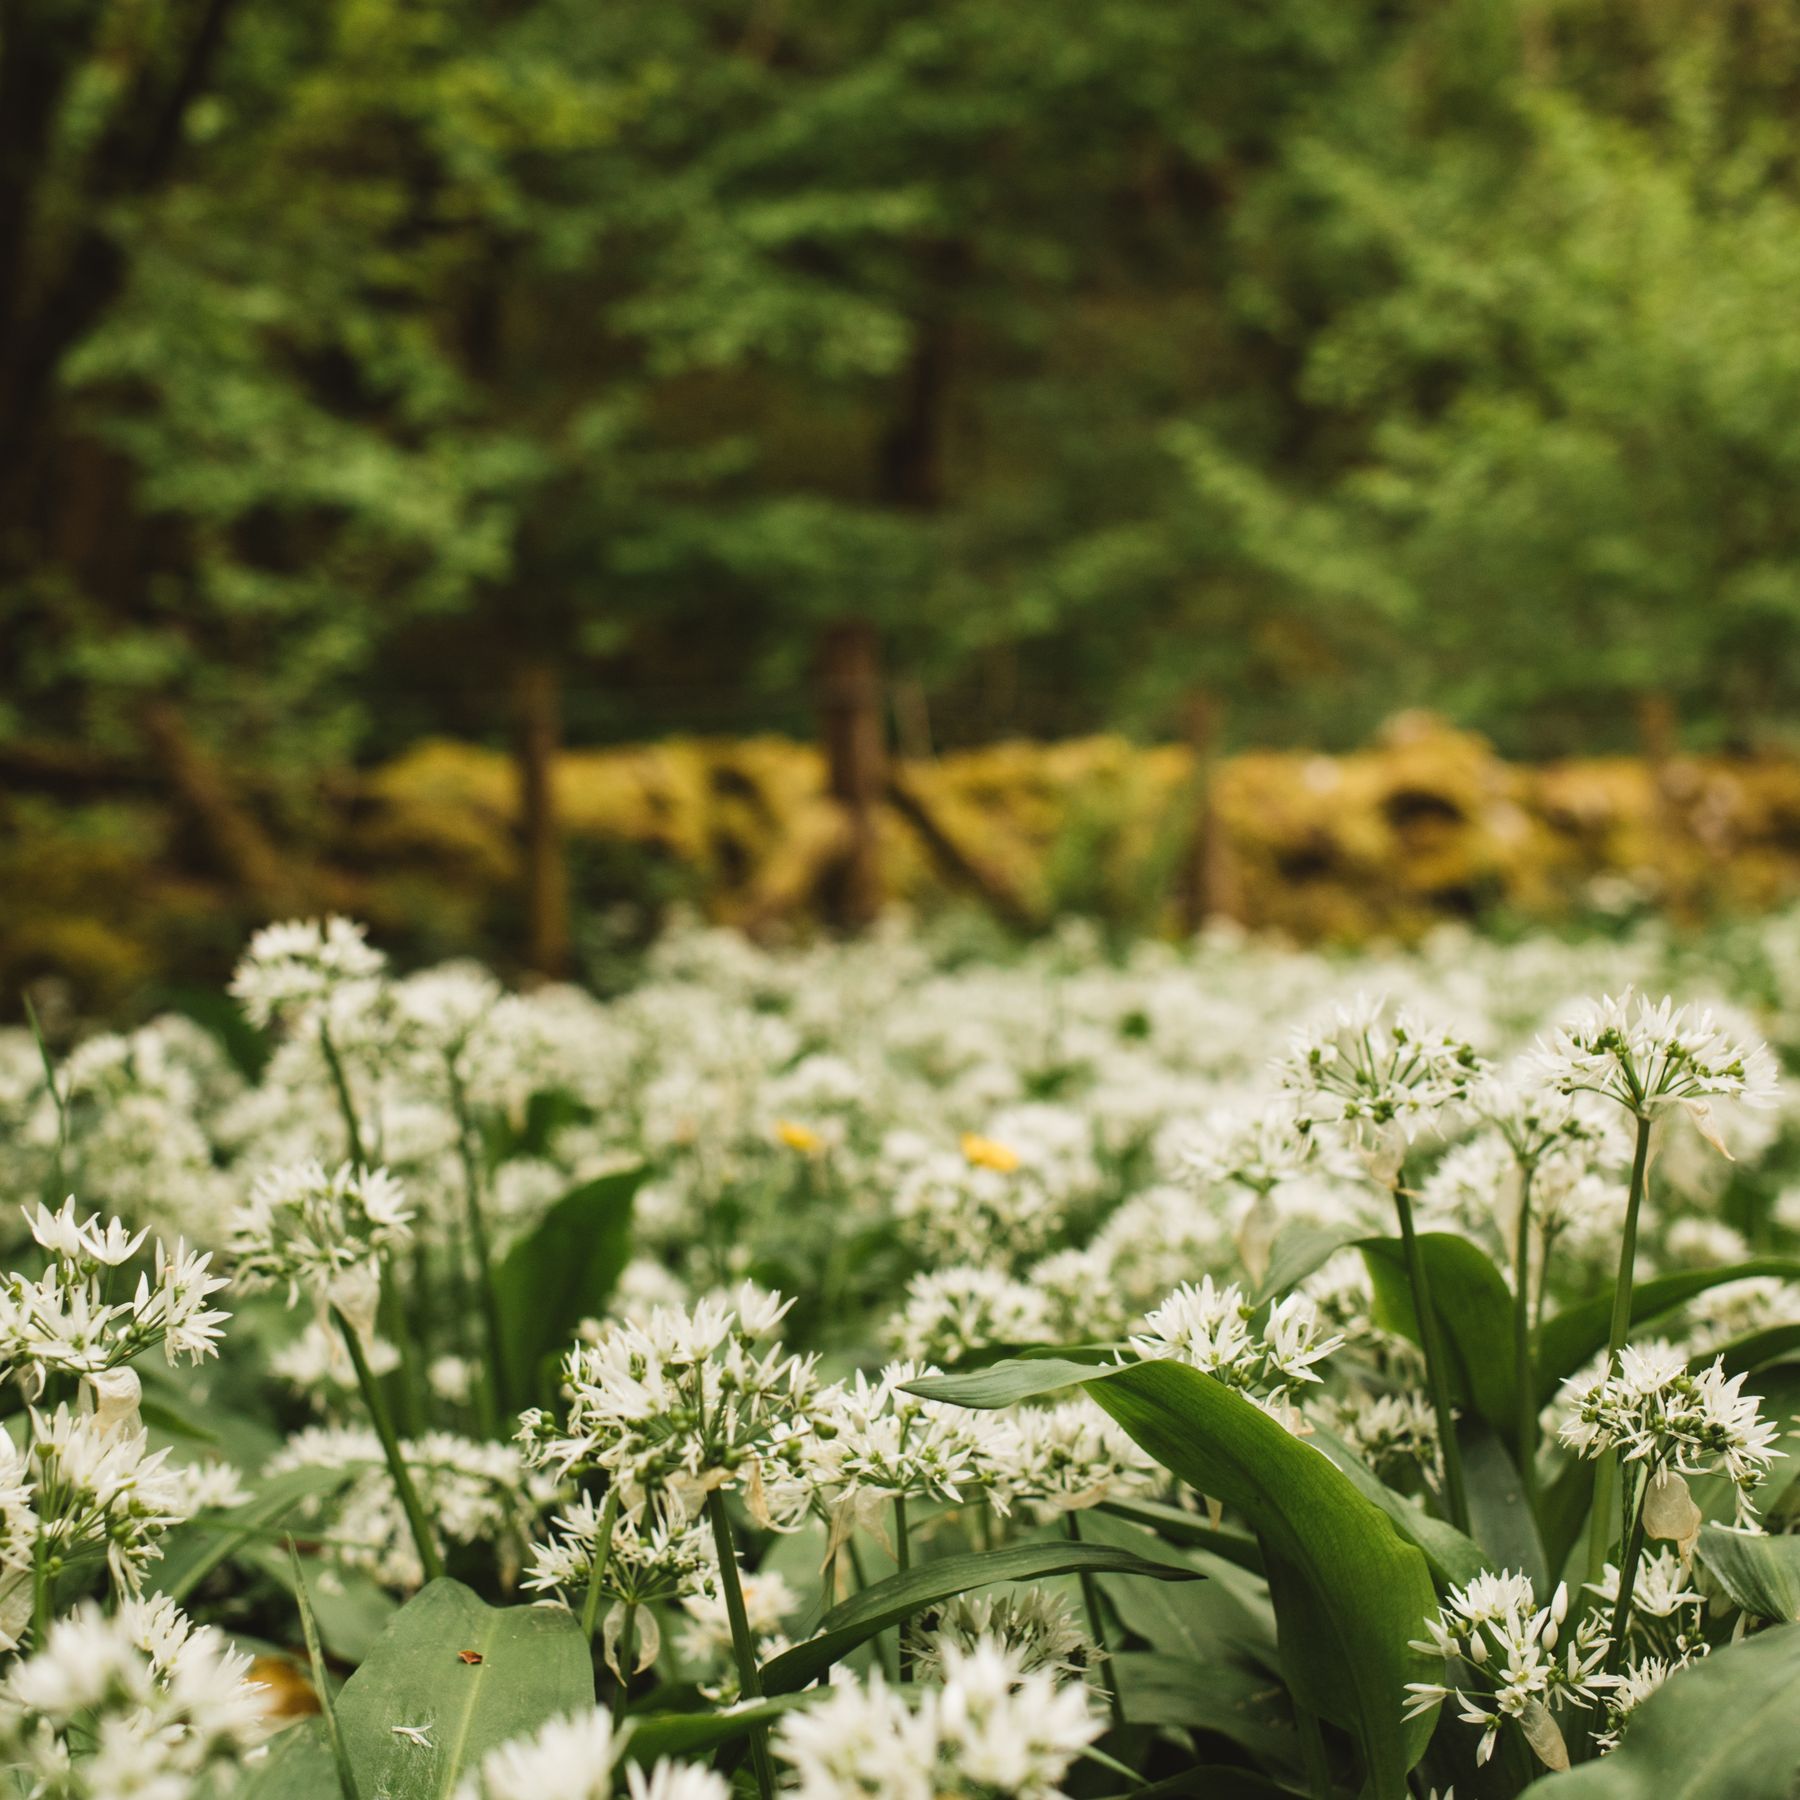
As temperatures rise, garlic resumes active growth. Gradually move aside some mulch where necessary so the soil can warm and new shoots can develop freely. Water when the soil is dry, and keep weeds under control because garlic does not need to compete with a dense carpet of spring weeds. During vigorous leaf growth, a suitable nitrogen source can be useful when the soil and crop actually need additional fertility.
May: Watch for Scapes
If you planted hardneck garlic, late spring may bring the appearance of scapes. These are the curling flower stalks that emerge from the center of the plant. They can be harvested while tender and used in cooking. Removing scapes is also traditionally used by gardeners to redirect the plant’s energy toward bulb development. Softneck garlic generally does not produce these same scapes.
June and July: Bulb Development and Harvest
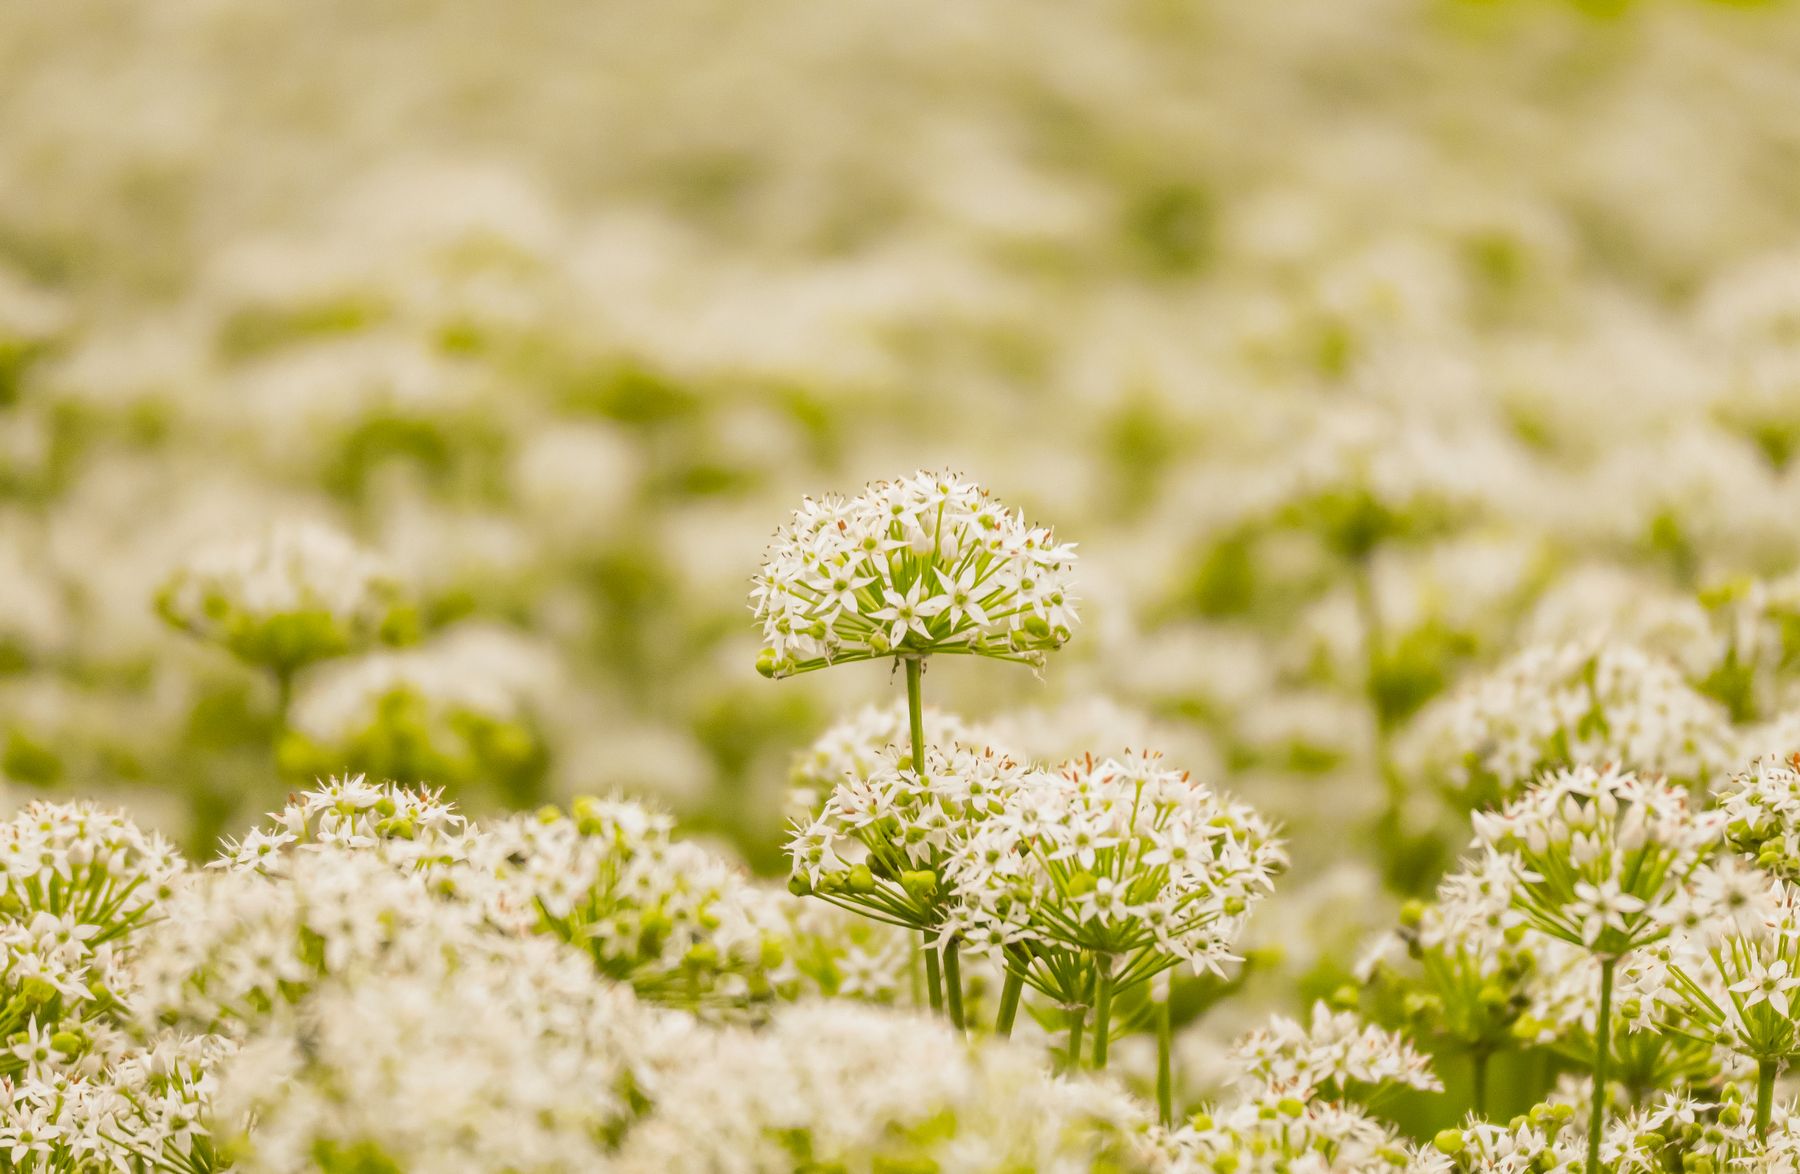
As summer approaches, the plant’s attention shifts toward finishing the bulb. Keep moisture reasonably consistent while avoiding waterlogged soil, and stop routine feeding as the bulbs mature. Harvest timing depends on variety and climate, but a useful visual cue is yellowing lower leaves while several upper leaves remain green. Lift bulbs carefully with a garden fork rather than pulling hard on the foliage.
Cure and Store the Harvest
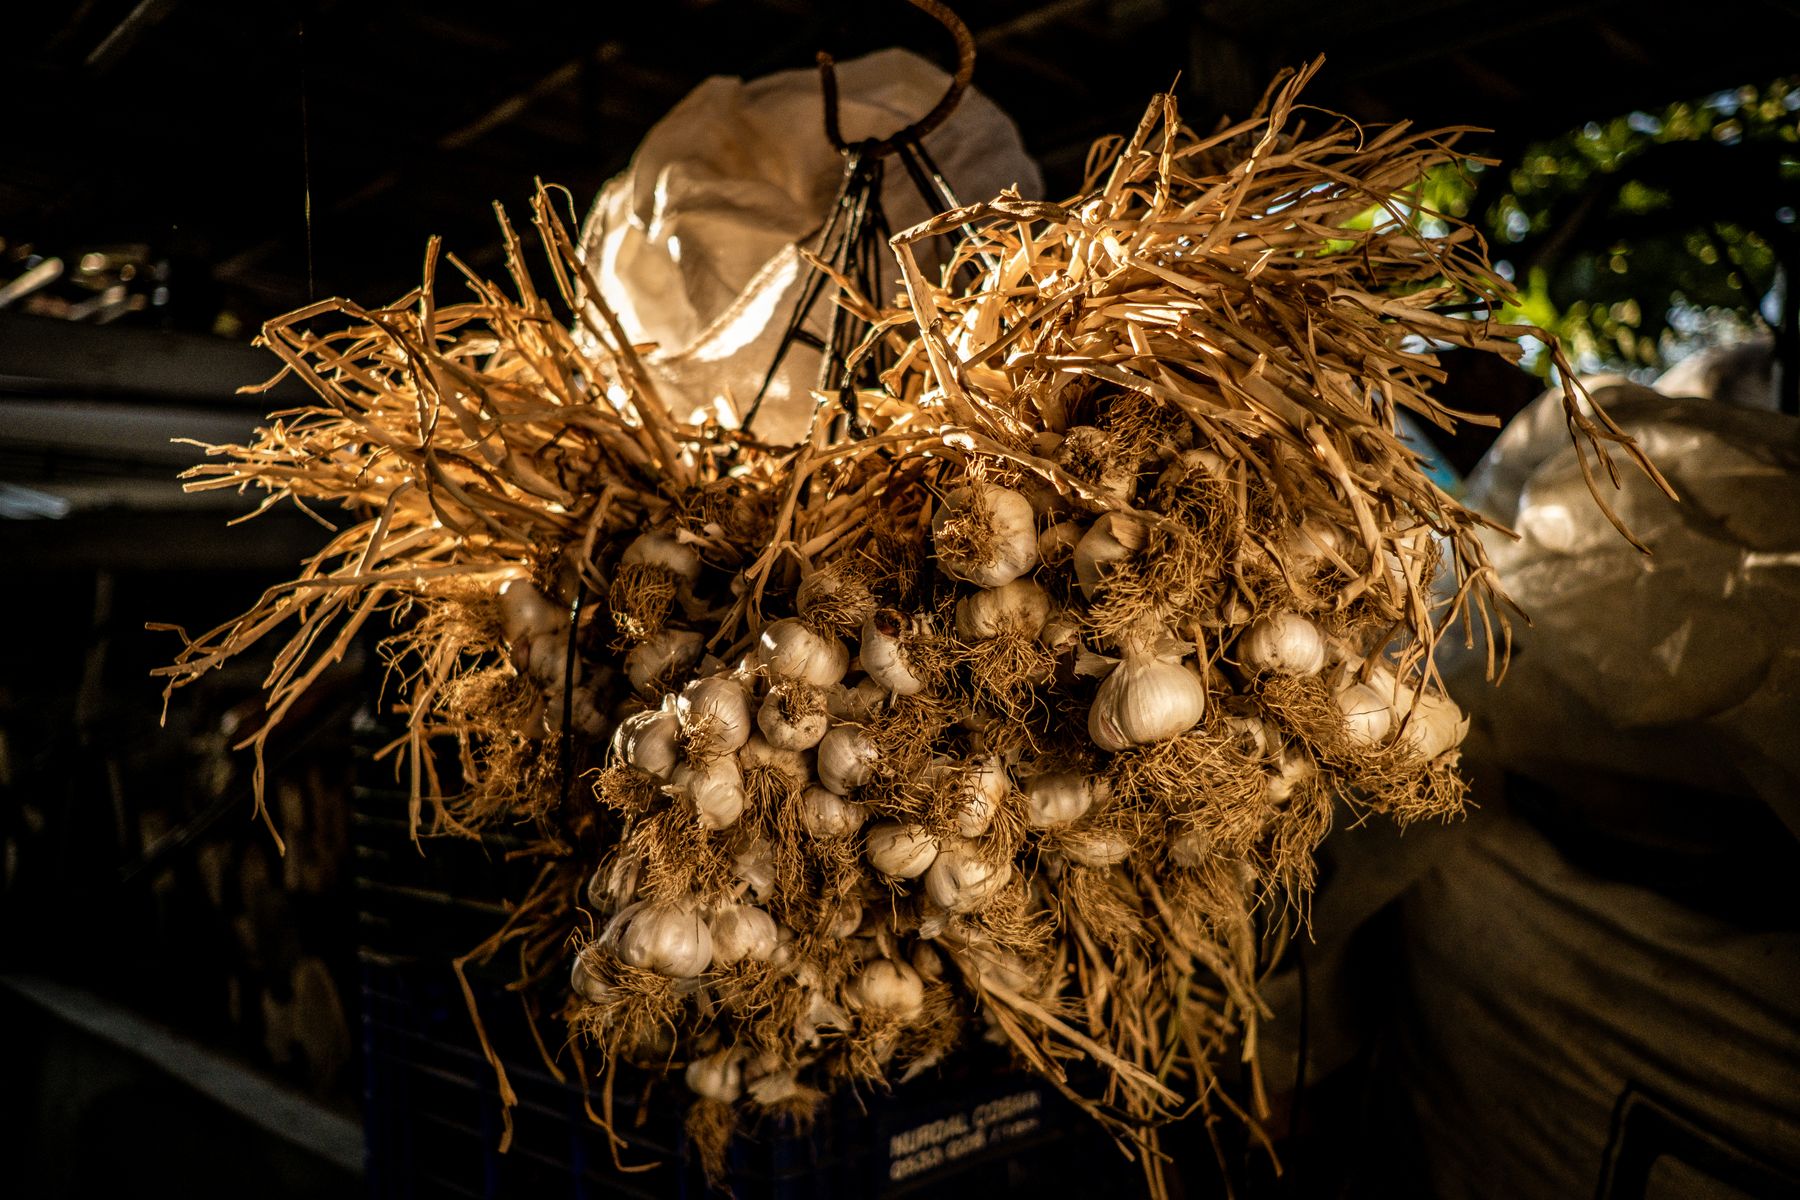
After lifting the bulbs, cure them in a shaded, dry, airy location for roughly two to three weeks, allowing the outer layers to dry. Once properly cured, trim roots and stalks as appropriate for the variety and store the bulbs somewhere cool, dry, and well ventilated. Good curing is important because it helps the outer skin dry and improves storage life.
Common Mistakes to Avoid
Several simple mistakes can reduce a garlic harvest. Planting too shallow can expose cloves to winter damage, while overwatering can encourage rot. Planting undersized or unhealthy cloves can lead to smaller bulbs. Grocery-store garlic may also be a poor choice because it may be treated to inhibit sprouting or may not be suited to your local growing conditions. Starting with healthy seed garlic and preparing the bed properly is a much better foundation.
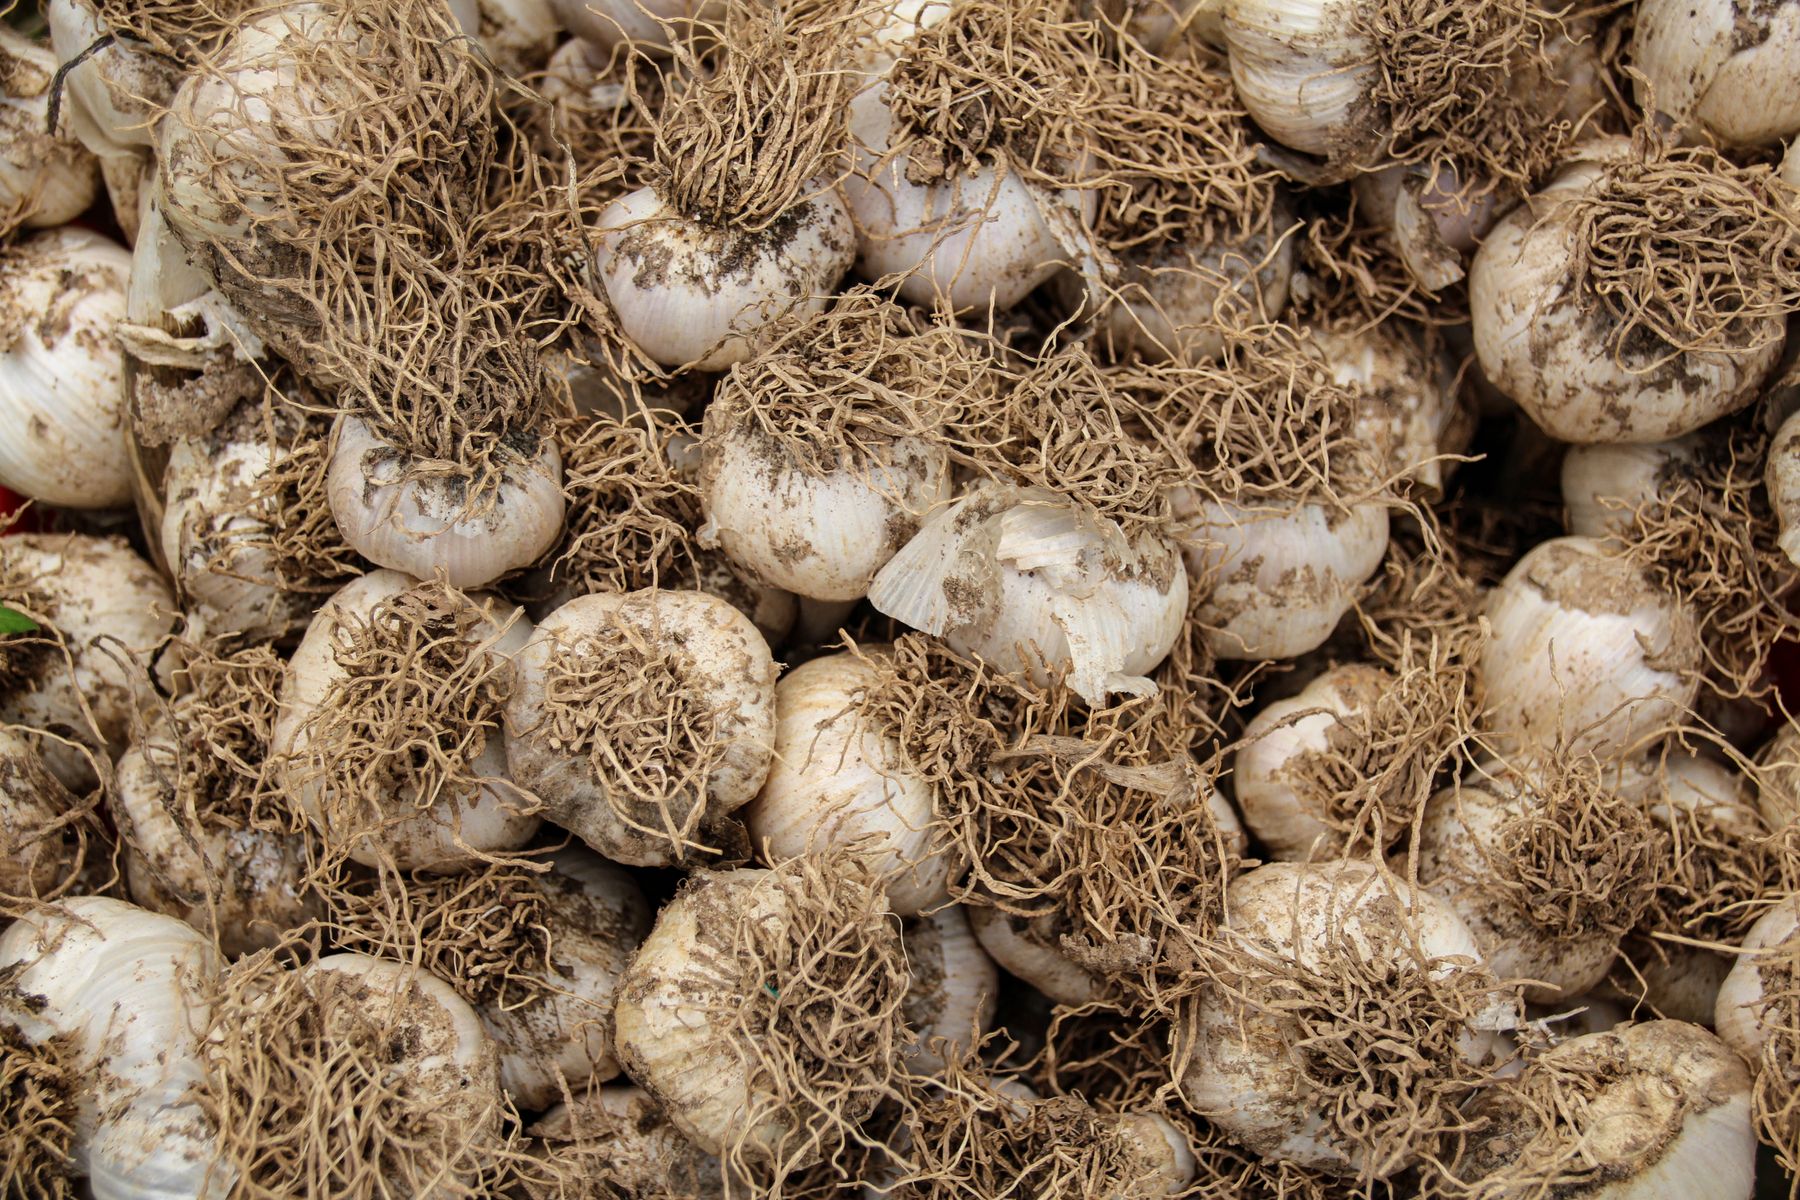
Why I Keep Planting Garlic Every September
Garlic rewards gardeners who plan one season ahead. A few minutes spent choosing good cloves and preparing a bed in September can lead to months of quiet root development, an early spring start, and a satisfying summer harvest. The exact timing should always be adjusted for local climate, but the principle is simple: give garlic time to establish before winter, protect the bed without making it waterlogged, and let the plant follow its natural seasonal rhythm.