
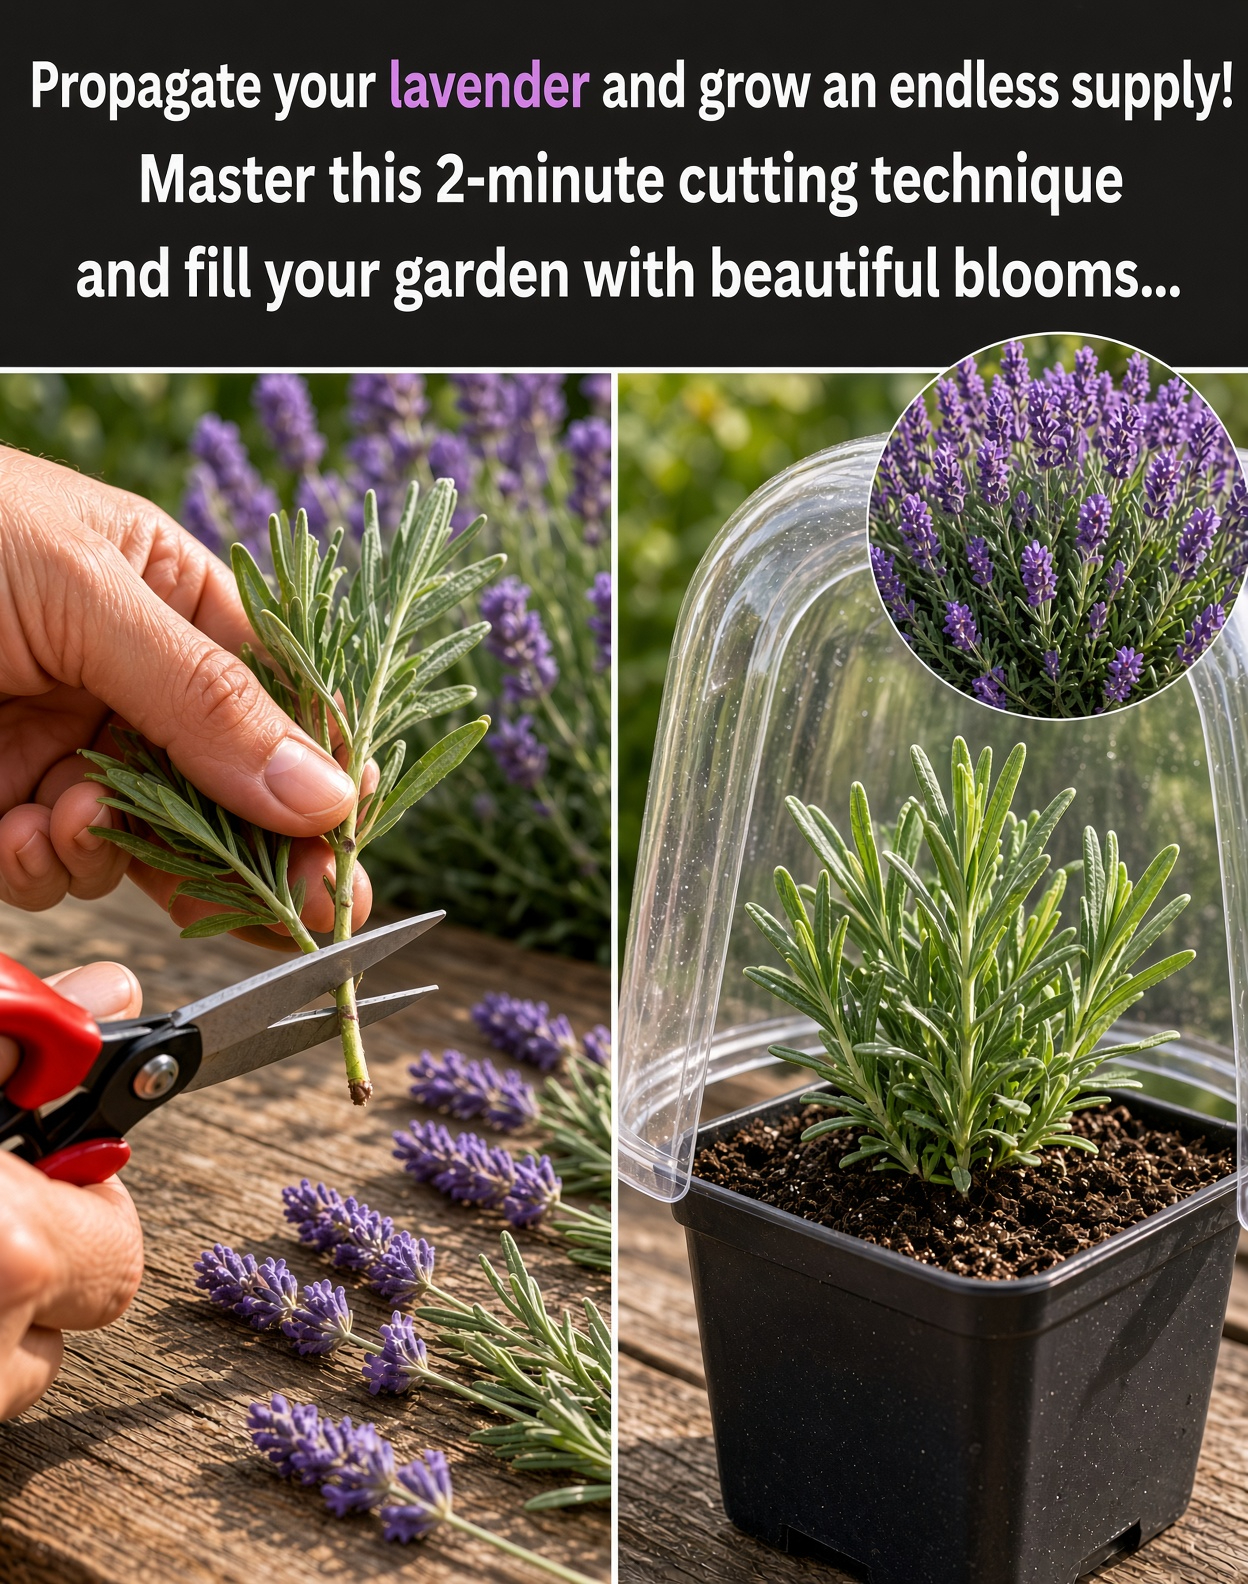
Want to grow more lavender without buying additional plants? Propagating lavender from cuttings is a simple way to expand your garden, fill empty borders, or grow matching plants in containers. With a healthy parent plant and a few basic supplies, preparing a cutting takes only a couple of minutes.
The rooting process takes longer, but the method is straightforward. Choose healthy stems, prepare them correctly, use a free-draining growing mix, and provide gentle light and careful moisture while the roots develop.

Why Grow Lavender From Cuttings?
Lavender is valued for its fragrant foliage, colorful flowers, and ability to thrive in sunny, well-drained locations. Propagating it from cuttings lets you create new plants that retain the characteristics of the parent plant.
- Save money: Use healthy growth from a plant you already own instead of purchasing every new plant.
- Repeat your favorite variety: Cuttings generally produce plants with the same characteristics as the parent.
- Fill garden borders: Grow additional plants for paths, containers, and sunny beds.
- Support pollinators: Mature flowering lavender can provide nectar for bees and other pollinators.
- Refresh your garden: New plants can help replace older lavender that has become sparse or woody.
What You Need to Get Started
Gather your supplies before taking the cuttings so the freshly cut stems don’t sit around and dry out.
- A healthy lavender plant
- Clean, sharp garden snips or pruning shears
- Small pots or a propagation tray with drainage holes
- Fresh, free-draining propagation mix
- A pencil or small dibber for making planting holes
- A clear cover or loose plastic bag, if the air is particularly dry
- Rooting hormone, if desired
A mixture of propagation compost and perlite or coarse horticultural grit can provide the drainage and air space that young lavender cuttings need. Avoid heavy garden soil, which may hold too much water in a small pot.
Step 1: Choose the Right Lavender Stems
Look for vigorous, healthy side shoots without flowers or developing flower buds. Young, flexible stems are often suitable for propagation in late spring and early summer, while firmer semi-ripe stems can be used later in the growing season.
A cutting around 3–6 inches (8–15 cm) long is a useful starting size. Avoid stems that are diseased, badly damaged, or excessively woody for the method you’re using.
Use clean tools to make a neat cut just below a leaf joint, known as a node. Keeping the cutting healthy and minimizing damage gives it a better chance of forming roots.
Step 2: Remove the Lower Leaves
Carefully strip the leaves from the bottom 1–2 inches (2.5–5 cm) of each cutting. Leave a small cluster of healthy leaves near the tip so the cutting can continue photosynthesizing.
The bare lower section will go into the propagation mix. Removing leaves from that portion helps prevent buried foliage from rotting and keeps the growing medium cleaner.
If the cutting has flower buds, remove them. The aim at this stage is to encourage root development rather than flowering.
Step 3: Use Rooting Hormone if You Wish
Rooting hormone is optional. Lavender cuttings can form roots without it, provided the stems are healthy and the growing conditions are suitable.
If you choose to use a rooting product, follow its label carefully and apply only the recommended amount. It cannot compensate for waterlogged soil, poor-quality cuttings, or insufficient light.
Prepare the pot and planting hole before inserting the cutting. This helps avoid scraping the stem or disturbing the hormone when the cutting is placed into the growing medium.
Step 4: Plant the Cuttings in a Free-Draining Mix
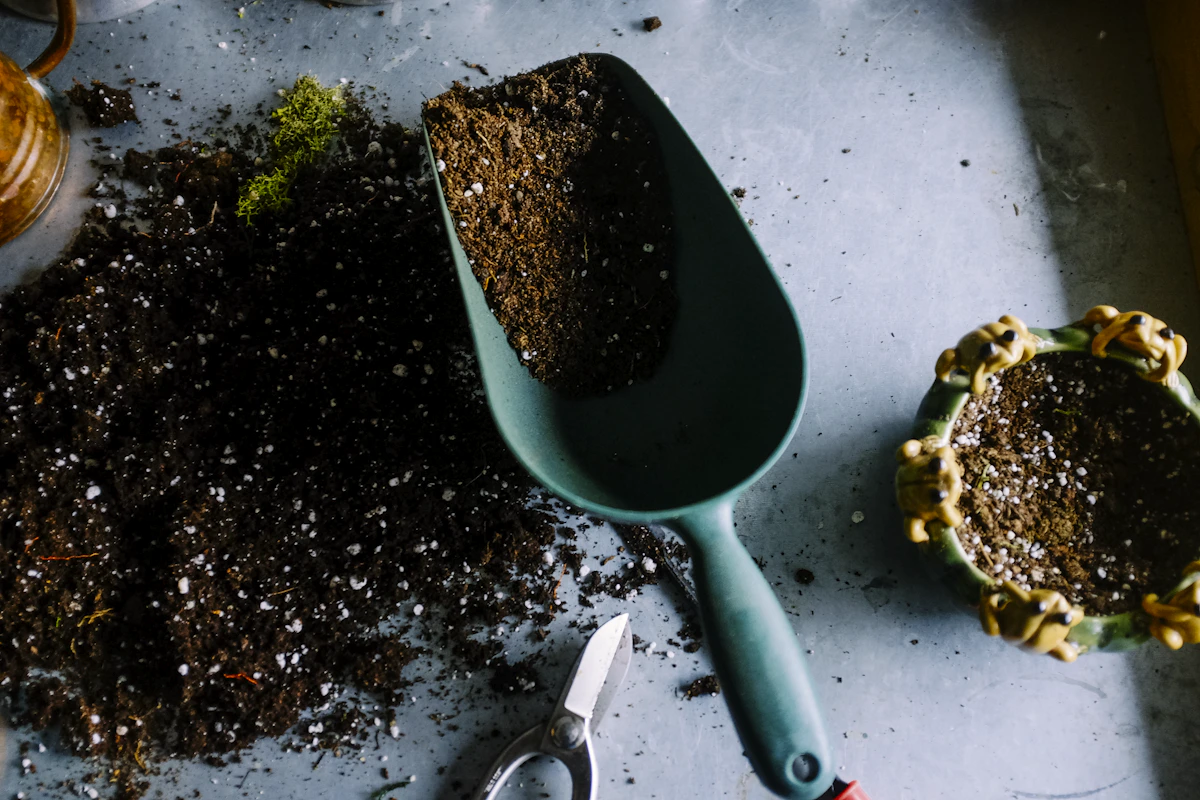
Fill a small pot with lightly moistened propagation mix. Make a hole with a pencil or dibber, then insert the bare lower section of the cutting into the mix.
Gently firm the medium around the stem so it stands upright. Make sure no leaves are buried and that the pot has drainage holes to allow excess water to escape.
You can place several cuttings in a wider pot, provided they have enough space for air to circulate between their leaves. Label each pot if you are propagating different lavender varieties.
Step 5: Provide Gentle Light and Suitable Humidity
Place the pot somewhere bright but protected from strong direct sunlight. Unrooted cuttings cannot replace lost moisture as efficiently as established plants, so intense sun and heat can cause them to wilt.
If your indoor air is dry, a loose clear cover can help maintain humidity. Keep the cover from touching the leaves and provide ventilation regularly to reduce condensation and fungal problems.
Keep the growing medium lightly moist, not saturated. Check it regularly and water when the surface begins to dry. Always allow excess water to drain away.
Step 6: Wait for Roots to Develop
Many lavender cuttings begin rooting within approximately 2–6 weeks, although some take longer depending on the variety, the maturity of the stem, temperature, and growing conditions.
A cutting that remains green and firm is encouraging, but it doesn’t necessarily mean roots have formed. Avoid repeatedly pulling stems out of the mix to inspect them.
Instead, look for signs of steady growth and gently check for resistance after several weeks. Once a cutting has developed a healthy root system, it can be moved into its own pot.
Step 7: Pot Up and Acclimate Your New Lavender Plants
When the cuttings have rooted well, transfer them into individual pots containing free-draining potting mix. Handle the young plants carefully so you don’t damage their new roots.
Water after potting, allow excess water to drain, and keep the plants in a sheltered, bright location while they adjust. Gradually introduce them to outdoor conditions rather than moving them straight into strong sun or drying winds.
Before planting them in the garden, choose a sunny spot with well-drained soil. Lavender generally prefers conditions that are not constantly wet, and good drainage is particularly important during colder or rainy periods.
Common Problems When Propagating Lavender
- Black or soft stems: The growing medium may be too wet, or the cutting may be rotting. Remove damaged material and improve drainage.
- Wilted leaves: Excessive heat, direct sun, or insufficient moisture can cause wilting. Move cuttings into bright indirect light and check the mix.
- Yellowing foliage: Check for overwatering, poor drainage, and inadequate ventilation.
- No visible roots: Some cuttings need more time. Review the growing conditions and wait before discarding a firm, healthy cutting.
- Mold around the pot: Improve airflow, remove decaying leaves, and avoid keeping the medium constantly wet.
When Is the Best Time to Propagate Lavender?
Softwood cuttings are commonly taken in late spring or early summer, when fresh growth is flexible. Semi-ripe cuttings can be taken later in summer as the lower portions of new stems begin to firm up.
The best timing depends on your local climate and the type of lavender you grow. Avoid taking cuttings from a plant that is severely stressed by heat or drought, and choose a period when you can provide suitable conditions while the cuttings establish.
Final Thoughts
Propagating lavender is an easy way to expand your garden using a plant you already enjoy. Preparing each cutting takes only a short time, but successful rooting depends on healthy stems, clean tools, free-draining growing mix, gentle light, and careful watering.
Be patient while the roots develop, and move the young plants into the garden only after they are established. With the right care, a single lavender plant can help you create a larger, fragrant display over time.