
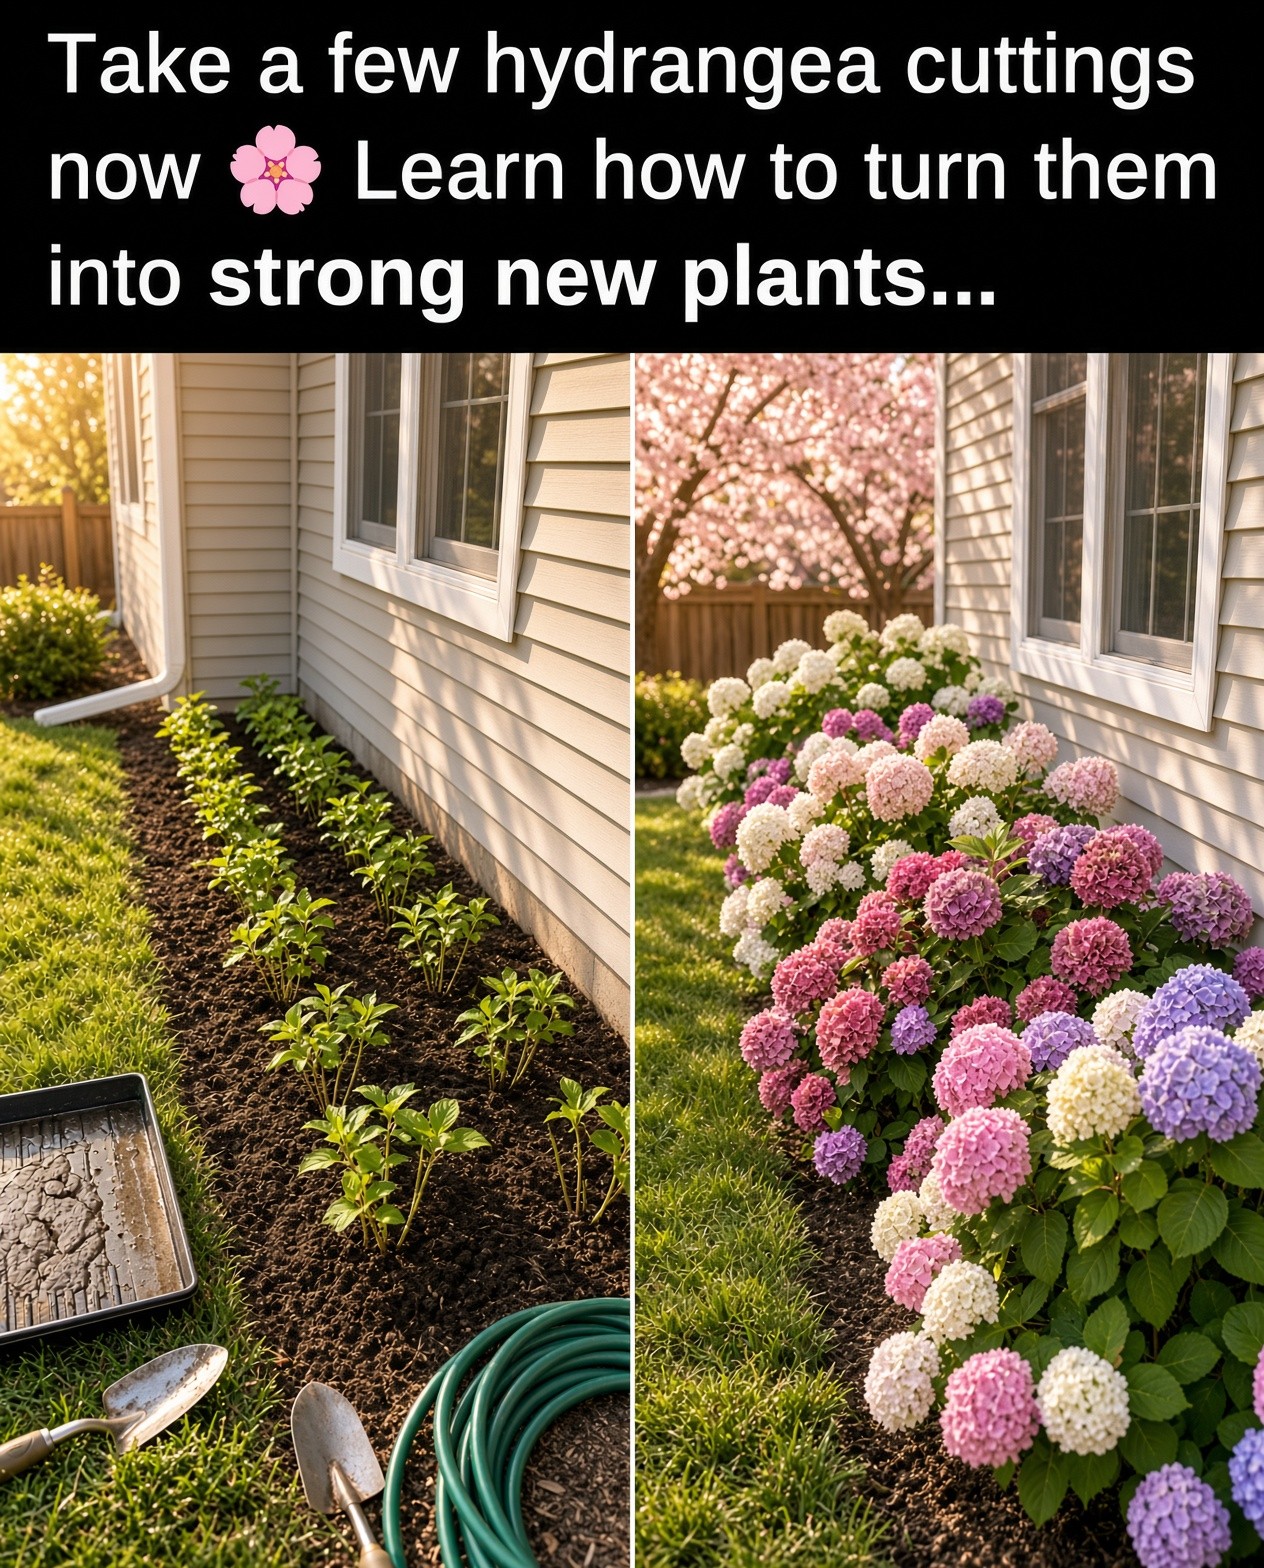
Hydrangeas are among the most beloved flowering shrubs in residential landscaping, famous for their massive, breathtaking globes of blue, pink, purple, and white blooms. However, purchasing mature hydrangea shrubs from local nurseries can quickly become an expensive gardening endeavor. Fortunately, propagating hydrangeas from existing plants is remarkably easy, deeply rewarding, and entirely free. With a few simple tools and some patience, you can multiply your favorite bushes to fill your entire yard.

Whether you want to create a stunning flowering hedge along your walkway, share cuttings with fellow gardening enthusiasts, or simply save money while expanding your outdoor oasis, mastering hydrangea propagation is a crucial milestone for any home gardener. This comprehensive beginner’s guide breaks down the exact steps required to successfully take, root, and transplant healthy hydrangea cuttings.

Understanding Hydrangea Propagation Basics
While hydrangeas can be grown from seed or divided at the root ball, stem cuttings are by far the most reliable, fastest, and most popular method used by both professional nursery growers and home gardeners. By taking non-flowering green stem cuttings during late spring or early summer, you create an exact genetic clone of the parent plant, ensuring you get the exact same flower color, petal shape, and growth habit.
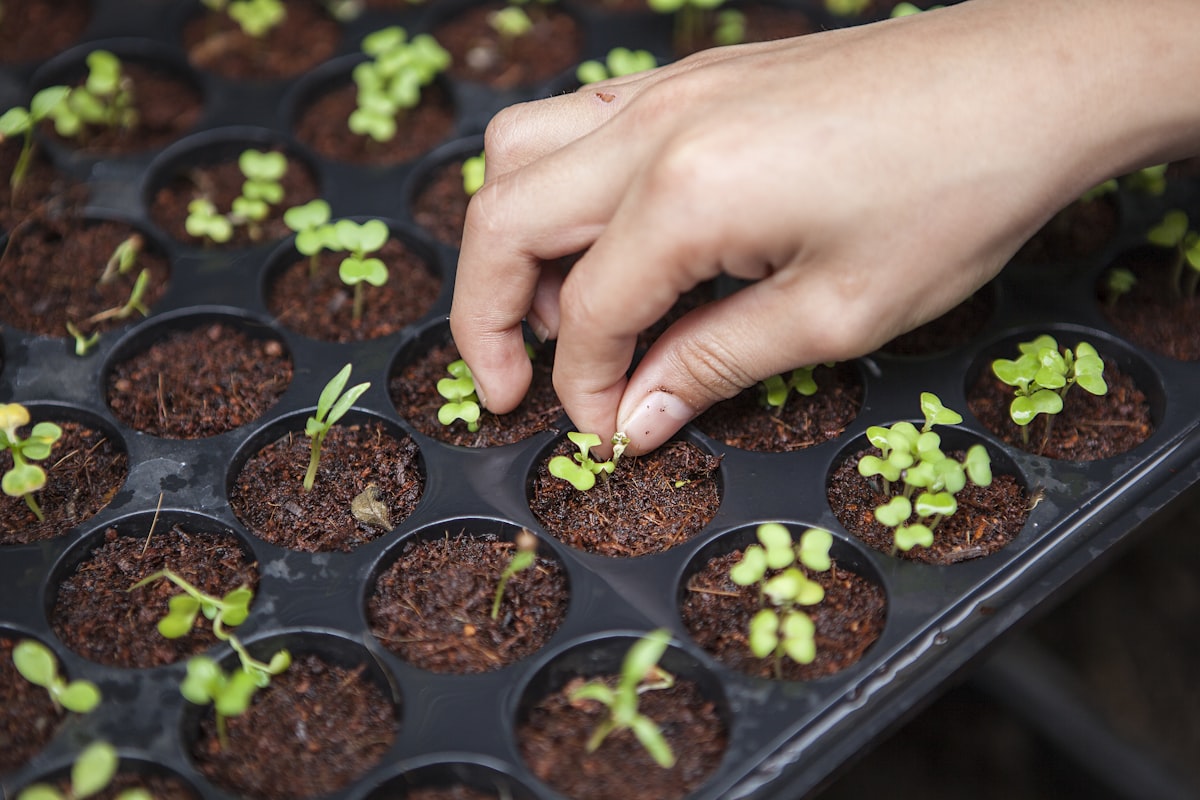
Step-by-Step Guide to Propagating Hydrangeas
Step 1: Select and Cut Healthy Stems
Timing & Cutting
Choose a healthy, vigorous mother shrub and look for non-flowering stems (often called “water shoots” or vegetative stems). Using sterilized shears, cut a 4-to-6-inch section of stem just below a leaf node. Make sure your cutting has at least two to three sets of leaves along the upper portion of the stem.
Step 2: Prepare Your Cuttings
Foliage Prep
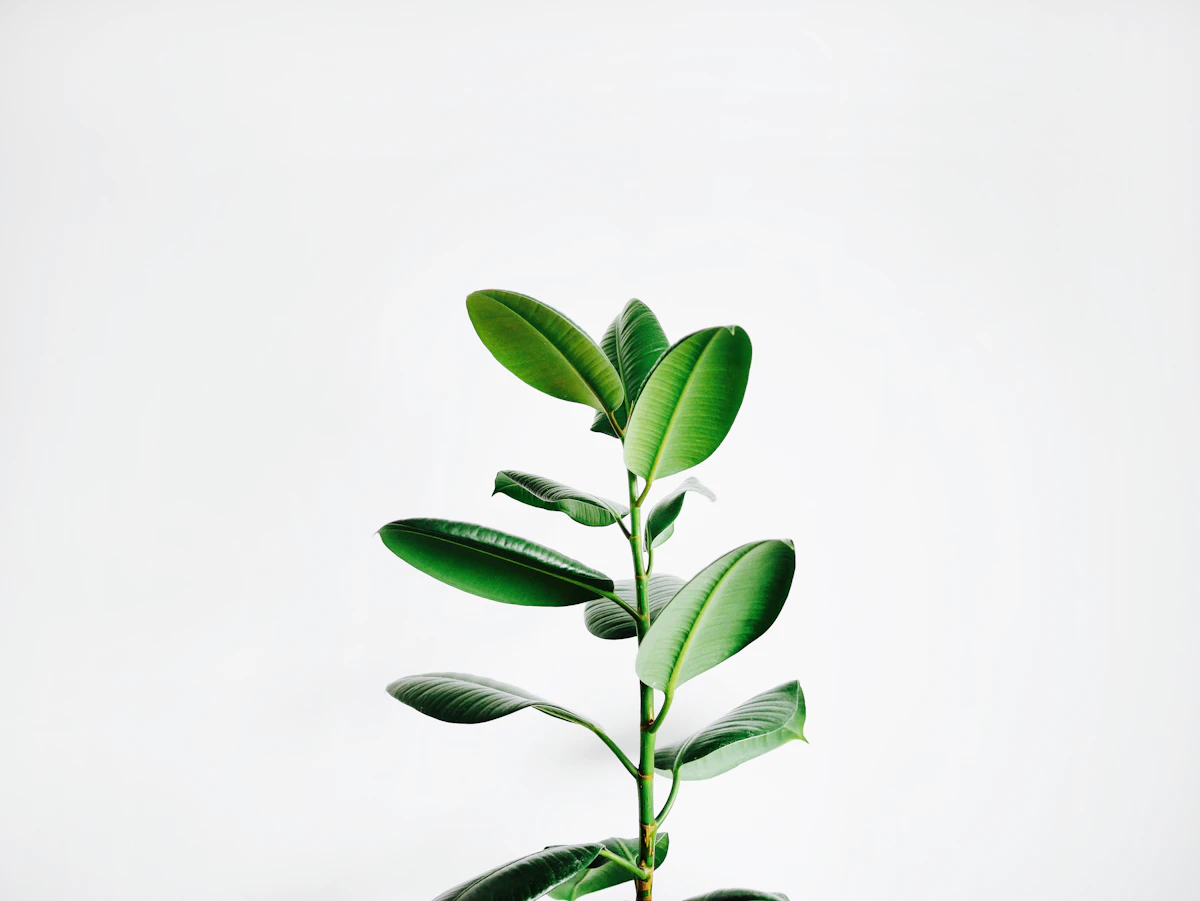
Carefully strip away the lower sets of leaves from the cutting, leaving only the top one or two pairs of leaves intact. If those remaining leaves are exceptionally large, snip them in half horizontally to reduce moisture loss through transpiration while the cutting focuses its remaining energy entirely on growing roots.
Step 3: Apply Rooting Hormone and Plant
Rooting Setup
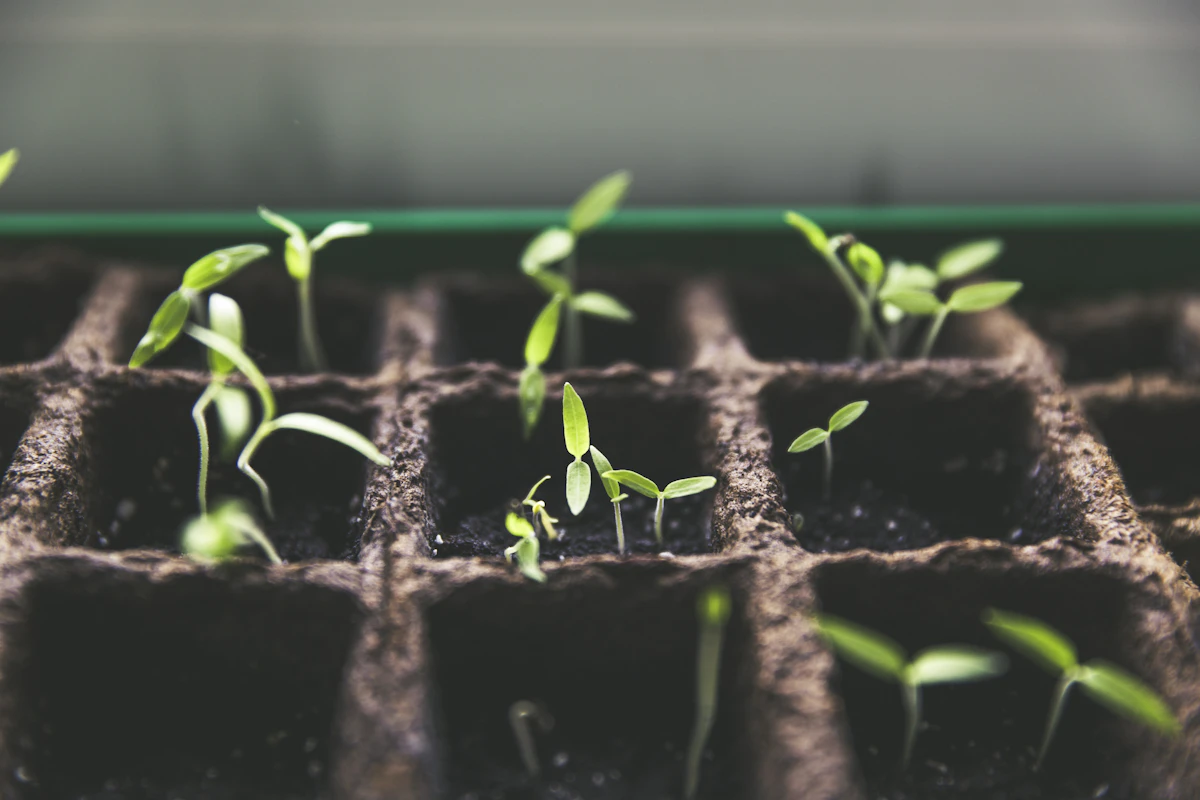
Dip the freshly cut bottom end of your stem into rooting hormone powder or gel to accelerate root cell development and protect against fungal pathogens. Insert the cutting about 2 inches deep into a pre-moistened potting mix composed of equal parts perlite and peat moss, firming the soil gently around the stem to secure it upright.

Step 4: Maintain High Humidity and Moisture
Aftercare
Because cuttings lack roots, they cannot absorb water efficiently through their stems. Cover your potted cuttings with a clear plastic bag or a dome to trap humidity, placing them in bright, indirect sunlight. Mist the foliage and check soil moisture regularly until roots establish firmly within 4 to 6 weeks.
