
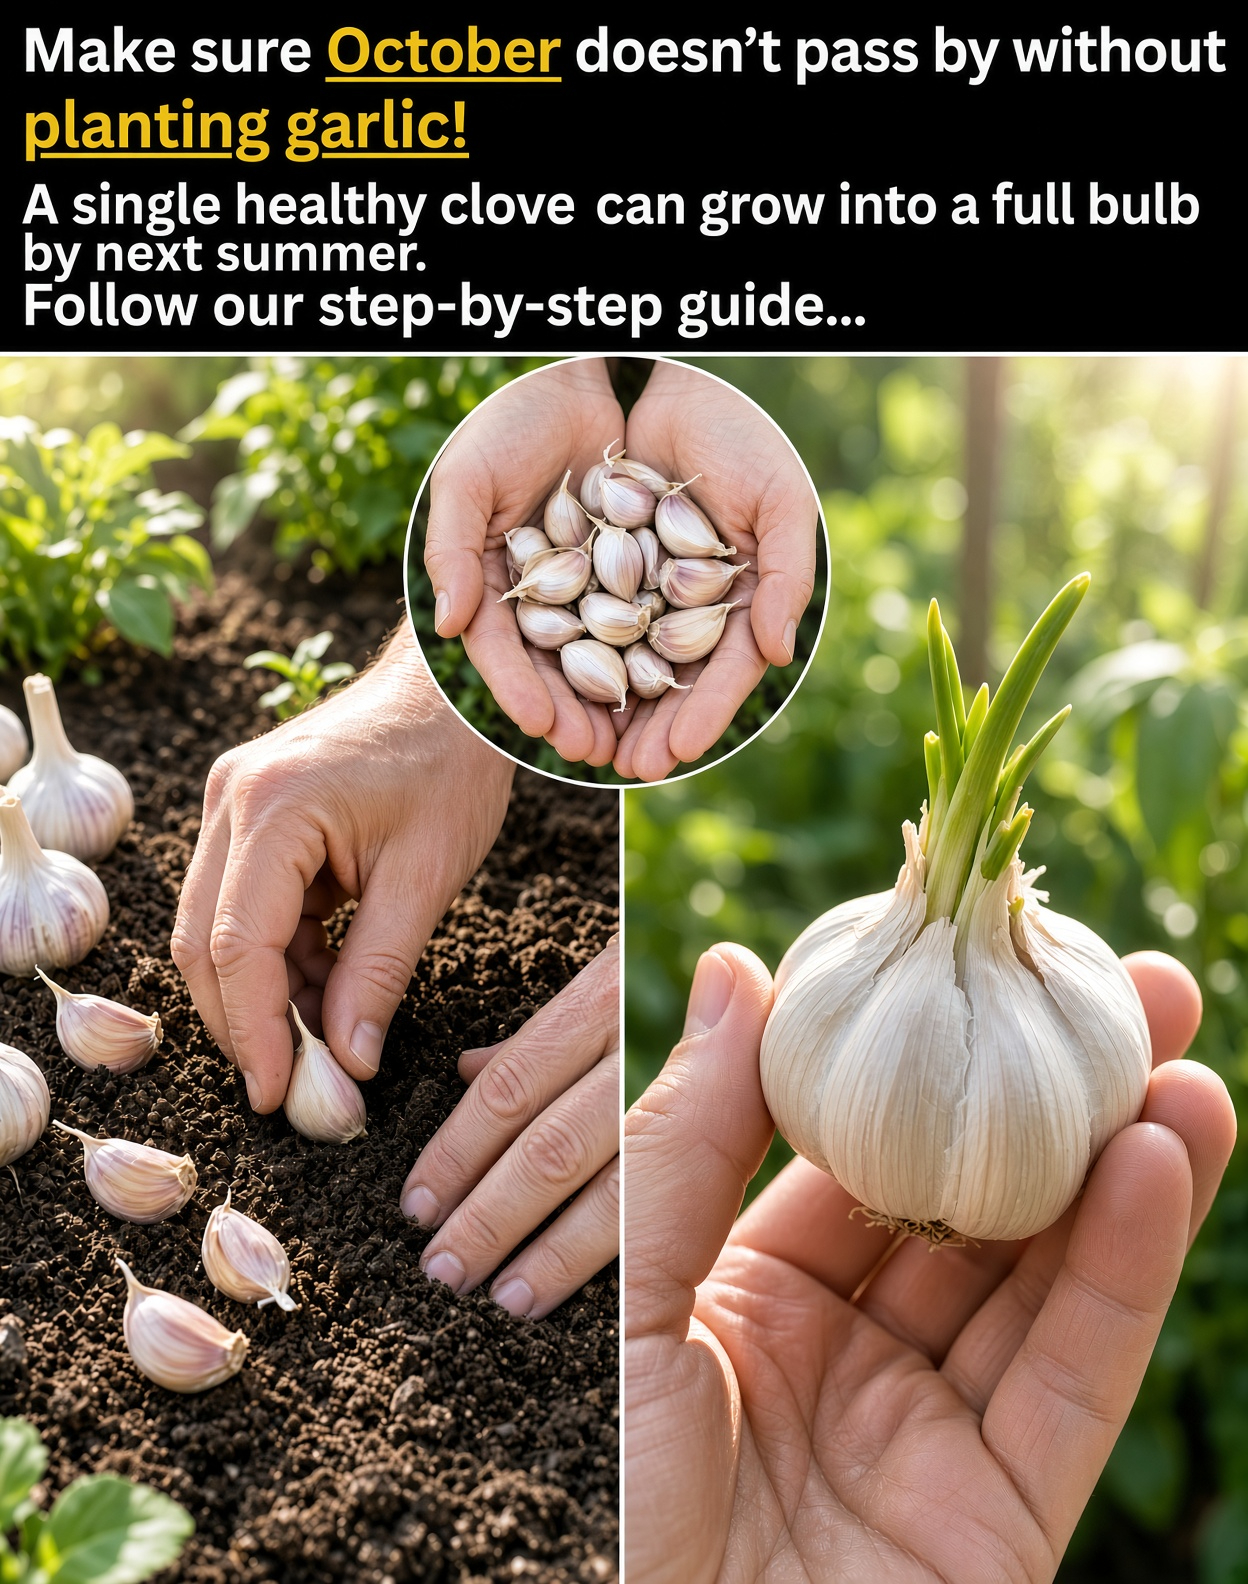
Growing garlic at home is one of the most rewarding ways to turn a small amount of planting material into a useful harvest. A single healthy garlic clove can develop into a new bulb containing several cloves, giving you more garlic to cook with and plant again next season.
The process is straightforward, but the right variety, planting time, soil conditions, and seasonal care all influence the final result. Whether you have a vegetable garden, a raised bed, or a large container, you can grow garlic successfully by following a few essential steps.

Why Grow Garlic at Home?
Garlic is a useful crop for gardeners because it takes up relatively little space and can be stored after harvest. Once established, it generally needs less attention than many vegetables, provided the soil drains well and weeds are controlled.
- Good use of space: Garlic grows well in garden beds, raised beds, and suitably sized containers.
- Simple propagation: Each healthy clove can grow into a new bulb.
- Kitchen convenience: Homegrown garlic can be harvested when needed and stored after proper curing.
- Repeatable harvests: You can save healthy cloves from your best bulbs for the following planting season.
- Flexible varieties: Different types are available for colder and milder growing conditions.
Step 1: Choose the Right Garlic Variety
Garlic varieties differ in their cold tolerance, flavor, clove size, and storage life. Choosing one suited to your climate is an important first step.
Hardneck Garlic
Hardneck garlic is often a good choice for regions with cold winters. It usually produces fewer but larger cloves and develops a firm central flower stalk, known as a scape. These curly shoots can be harvested while young and used in cooking.
Softneck Garlic
Softneck garlic is commonly grown in regions with milder winters. It often produces more cloves per bulb and can store well when properly cured. Its flexible stems are also suitable for braiding.
For the best results, purchase planting garlic from a reputable garden supplier or local grower. Grocery-store garlic may sprout, but its variety, storage history, and suitability for your climate can be uncertain.

Step 2: Separate the Bulb and Select Healthy Cloves
Shortly before planting, gently separate the garlic bulb into individual cloves. Keep the thin, papery skin around each clove intact because it helps protect the planting material.
Choose large, firm cloves without obvious mold, soft spots, or damage. Larger planting cloves often produce larger bulbs, although variety and growing conditions also influence the harvest.
Don’t separate the cloves too far in advance. Preparing them close to planting time helps avoid unnecessary drying and damage.
Step 3: Plant Garlic at the Right Time
In climates with cold winters, garlic is commonly planted in autumn, several weeks before the ground freezes. This gives roots time to establish before winter, allowing the plants to resume growth in spring.
In milder climates, some varieties can be planted in late autumn or winter, and spring planting may also be possible. Follow local growing guidance because the best timing depends on your climate and the garlic variety.
Garlic needs the appropriate seasonal conditions to develop a well-formed bulb. Planting at the wrong time can lead to smaller bulbs or plants that produce an undivided round rather than the familiar multi-clove head.
Step 4: Prepare Loose, Well-Drained Soil
Garlic grows best in fertile, loose soil that drains well. Heavy, waterlogged soil can encourage rot and make it difficult for bulbs to develop properly.
Before planting, loosen the soil and work in mature compost if the bed needs organic matter. Avoid using fresh manure directly around the cloves.
A soil pH around 6.0–7.0 is generally suitable. If your soil is very acidic or alkaline, a soil test can help you decide whether any amendment is necessary.
If you’re growing garlic in a container, choose a pot with drainage holes and use a good-quality potting mix that holds some moisture without becoming soggy.
Step 5: Plant Each Clove Correctly
Once the bed is ready, plant each clove with its pointed end facing upward and its flat root end facing downward.
- Depth: Plant cloves approximately 1–2 inches deep, adjusting for your local climate and growing advice.
- Spacing: Leave around 4–6 inches between cloves.
- Rows: Keep rows roughly 6–12 inches apart, depending on the space available and the variety.
- Water: Water after planting if the soil is dry.
- Mulch: Apply a loose layer of clean straw or shredded leaves to help moderate soil temperature and suppress weeds.
Good spacing matters because overcrowded plants compete for light, water, and nutrients. Giving each clove enough room helps the developing bulb grow properly.

Step 6: Water and Maintain Your Garlic
After planting, keep the soil appropriately moist while the roots establish. During active spring growth, garlic needs a consistent supply of water, especially when rainfall is limited.
Around one inch of water per week, including rainfall, is a useful general starting point during active growth. Adjust according to the weather, soil type, and condition of the plants.
Keep Weeds Under Control
Garlic does not compete especially well with weeds. Remove weeds regularly, taking care not to damage the shallow roots or developing bulbs.
Use Mulch Thoughtfully
A suitable organic mulch can reduce weed growth and help the soil retain moisture. In colder climates, it can also moderate temperature changes during winter. Check the mulch in spring and adjust it if it is excessively thick or keeping the soil too wet.
Feed During Active Growth
If the soil needs additional nutrients, a suitable fertilizer applied according to its label can support healthy leaf growth. Avoid excessive feeding, and consider a soil test before adding large amounts of fertilizer.
As harvest approaches and the foliage begins to mature, reduce watering. Allowing the soil to become drier before lifting the bulbs helps prepare them for curing.
Step 7: Remove Garlic Scapes When Appropriate
:max_bytes(150000):strip_icc()/garlic-scapes-growing-in-garden-5194142-hero-7f1aefb1c0a14dbe9c3e1b5d2c4b7f8d.jpg)
Hardneck garlic produces a curly flower stalk called a scape during late spring or early summer. Many gardeners cut the scape when it begins to curl, allowing the plant to focus more of its resources on bulb development.
Scapes are edible and can be chopped into stir-fries, mixed into sauces, or blended into pesto. They have a mild garlic flavor.
Softneck varieties generally do not produce the same prominent scapes, so this step mainly applies to hardneck garlic.
Step 8: Harvest Garlic at the Right Time
Garlic bulbs usually mature in late spring or summer, depending on the variety and planting date. Harvesting too early may produce small bulbs, while leaving them in the ground too long can cause the wrappers to split.
Watch the foliage for clues. When several lower leaves have turned yellow or brown while some upper leaves remain green, the bulbs may be ready. The exact timing varies, so check a test bulb if you’re unsure.
Loosen the soil beside the plant with a garden fork, then lift the bulb gently. Avoid pulling hard on the leaves, which can break the stems or damage the bulb.
Step 9: Cure and Store the Harvest
Freshly harvested garlic contains more moisture than cured garlic and is not ready for long-term storage. Curing allows the outer layers and neck to dry, helping the bulbs keep longer.
- Brush away loose soil gently. Avoid washing the bulbs before curing.
- Arrange or hang the garlic in a dry, shaded, well-ventilated place.
- Allow roughly two to four weeks for curing, depending on humidity and airflow.
- Once the outer skins and necks are dry, trim the roots and stems if desired.
- Store sound bulbs in a cool, dry place with good airflow.
Mesh bags, paper bags, or ventilated baskets are generally better than sealed plastic bags. Check stored garlic occasionally and remove any bulbs that show signs of mold or decay.
Step 10: Save Cloves for the Next Planting Season
One of the most satisfying parts of growing garlic is being able to continue the process year after year. After harvesting, set aside a few healthy, well-formed bulbs for planting.
When the next planting season arrives, separate those bulbs into cloves and choose the largest healthy ones. Repeating this process allows you to maintain a supply of planting material suited to your garden.
Rotate garlic to a different bed when possible, and avoid planting it repeatedly in soil where garlic or related alliums have recently suffered from disease.
Common Garlic-Growing Problems
- Small bulbs: Possible causes include overcrowding, poor soil, unsuitable planting dates, or inadequate light.
- Yellowing leaves too early: Check for water stress, nutrient problems, poor drainage, or pests.
- Soft or rotting bulbs: Improve drainage and avoid keeping the soil excessively wet.
- Bulbs splitting: Harvest timing may have been too late, or the plants may have experienced inconsistent conditions.
- Plants producing green leaves but small bulbs: The variety, seasonal temperature requirements, planting time, or growing conditions may be unsuitable.
Can You Grow Garlic in Containers?
Yes. A deep container with drainage holes can support garlic on a balcony, patio, or sunny outdoor space. Choose a pot that provides enough room for the number of cloves you want to grow.
Use a free-draining potting mix, space cloves adequately, and provide plenty of sunlight. Containers can dry out faster than garden beds, so check soil moisture regularly without allowing the mix to remain waterlogged.
Growing garlic indoors can provide fresh green shoots, but producing full-sized bulbs is more demanding. Garlic generally needs suitable seasonal conditions and adequate light to form well-developed bulbs.
Final Thoughts
Growing a whole garlic bulb from a single clove is a simple way to begin producing your own kitchen crop. Choose healthy planting material, prepare fertile soil, plant at the right time, and provide steady care through the growing season.
When the foliage begins to mature, harvest carefully and cure the bulbs thoroughly before storing them. Save a few of the best cloves for next season, and your garlic patch can become a rewarding part of your garden year after year.
“`