
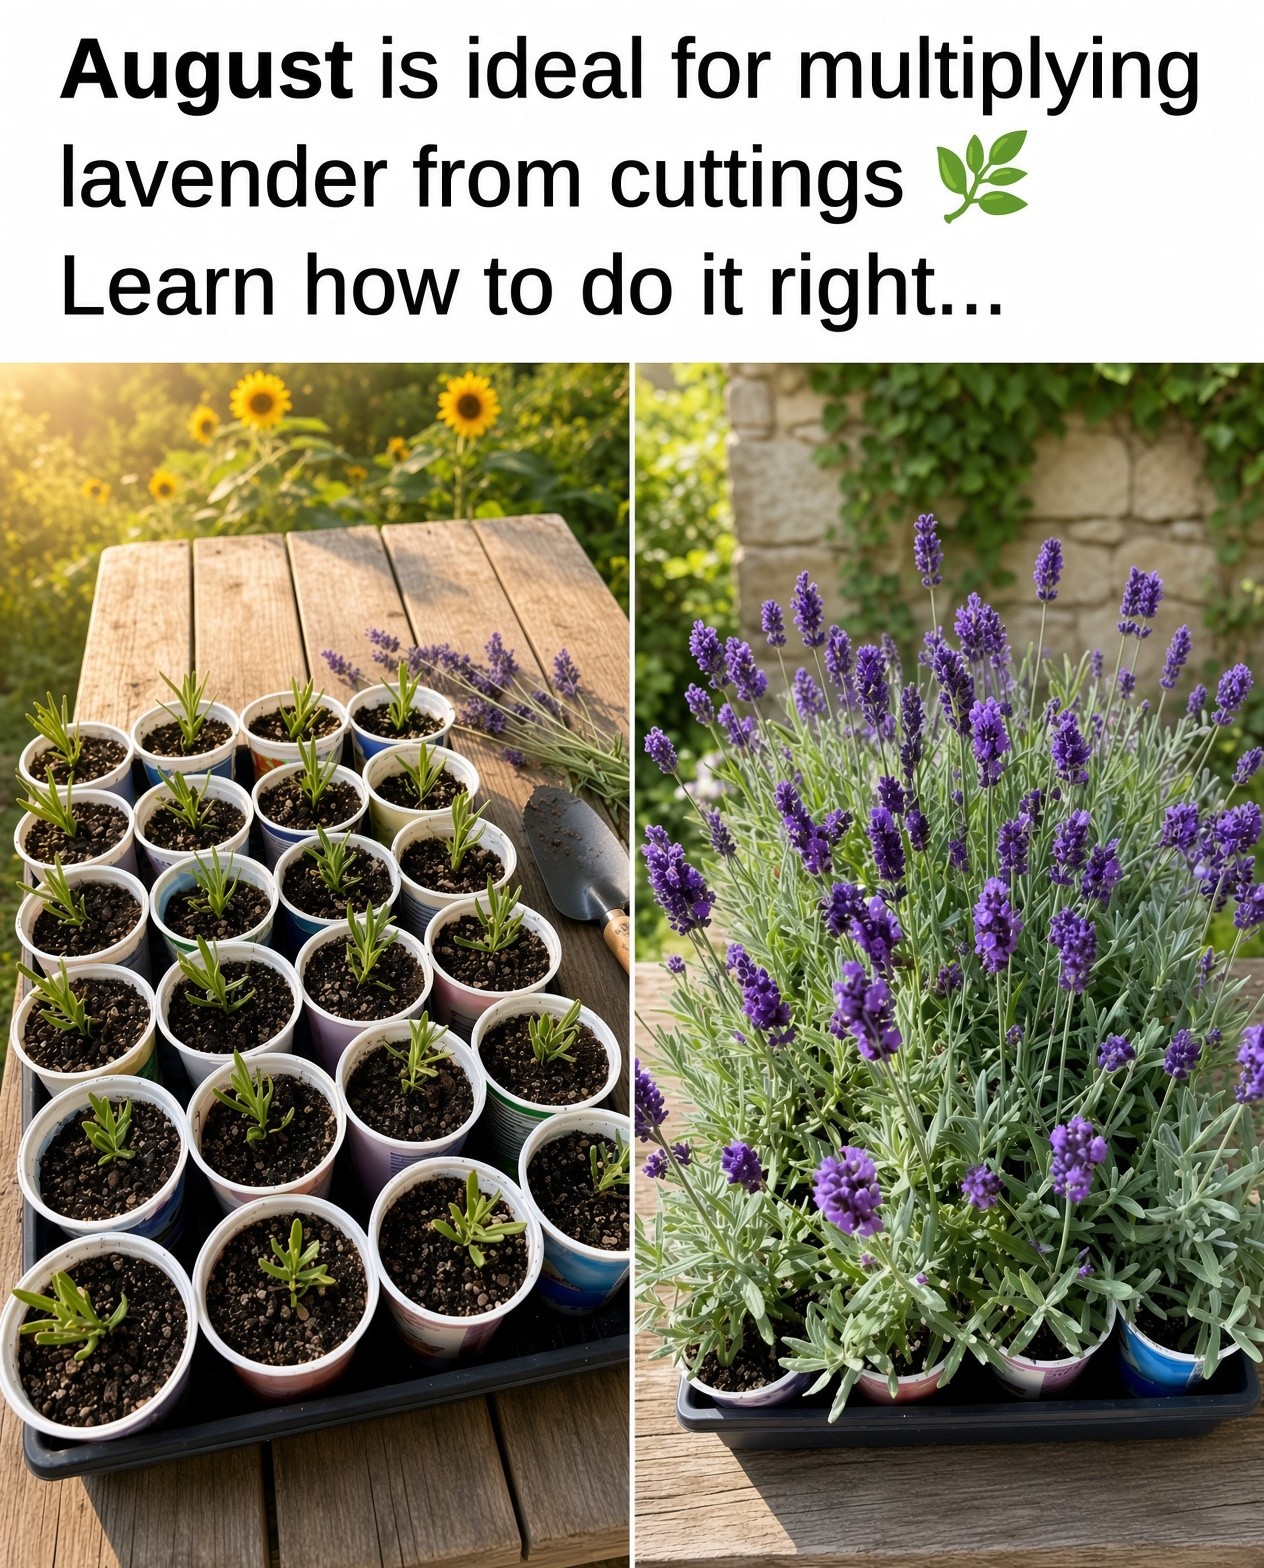
Introduction
Lavender is one of the easiest plants to fall in love with. Its fragrant foliage, purple flowers, and neat shape make it a favorite for borders, containers, herb gardens, and sunny paths. If you already have a healthy lavender plant, you can create more plants from it without buying additional nursery stock. Propagating lavender from cuttings is an affordable and satisfying way to expand your garden.

The best part is that you do not need complicated equipment. With a healthy parent plant, clean scissors, small pots, and a free-draining rooting mix, beginners can get started. The key is choosing the right stems and keeping the new cuttings from becoming either too dry or too wet while they develop roots.
When Is the Best Time to Propagate Lavender from Cuttings?
Lavender can be propagated at several times of year, but semi-ripe cuttings taken in late spring or summer are especially useful. At this stage, the newest growth has begun to firm up, while the stem is still young enough to root.

Avoid taking cuttings from weak, diseased, yellowing, or heavily stressed plants. A vigorous parent plant gives you the best starting material. If the weather is extremely hot, take cuttings during the cooler part of the day and move them into a sheltered spot immediately.
What You Need
Before taking your first cutting, gather everything you need so the stems spend as little time exposed to air as possible. Prepare a healthy lavender plant, a clean pair of sharp scissors or pruning snips, small pots with drainage holes, and a light, well-draining propagation mix.

A simple mix containing potting compost and extra perlite, grit, or coarse sand works well because lavender does not like permanently wet roots. Rooting hormone is optional. A clear plastic bag or propagation cover can also help maintain humidity, although it should not press against the foliage.
Step 1: Choose a Healthy Lavender Stem
Start by selecting a healthy, non-flowering shoot from the current season’s growth. A cutting of roughly 4 to 6 inches is a practical size for most home propagation. Look for a stem that feels firm near the base but is still flexible toward the tip.
Use clean scissors to make a neat cut just below a leaf node. The node is the point where leaves emerge from the stem, and it is a useful place from which roots can develop. Taking several cuttings instead of relying on just one also improves your overall chance of success.
Step 2: Prepare the Lavender Cutting
Once you have the stem, remove the leaves from the lower half. You want a short section of bare stem that can be inserted into the propagation mix without leaves sitting below the surface. Keep a few healthy leaves near the top so the cutting can continue photosynthesizing while it develops roots.
Handle the cutting gently and avoid crushing the stem. If you have prepared several cuttings, keep them shaded and protected while you work. The goal is to prevent unnecessary moisture loss before they are planted.
Step 3: Plant the Cutting
Fill a small pot with your prepared, well-draining rooting mix and moisten it lightly. Make a hole in the center with a pencil, dibber, or your finger so the stem can slide into the mix without being scraped or damaged.

Insert the bare portion of the lavender cutting into the hole and gently firm the mix around it. The stem should stand upright and feel secure. Do not bury the leafy portion. Good contact between the lower stem and the moist mix is more important than pushing the cutting deeply into the pot.
Should You Put Lavender Cuttings in Water First?
You may see advice recommending that lavender cuttings be rooted in water before planting. Although some gardeners experiment with this method, lavender generally does well when cuttings are placed directly into a light, well-draining rooting medium. Direct rooting avoids the need to transition delicate water-grown roots into soil later.
If you do experiment with water propagation, change the water regularly and move the cutting into a suitable mix once roots appear. For beginners, however, direct propagation in a free-draining medium is a simple approach that reduces unnecessary handling.
Step 4: Water Carefully
After planting, water the cutting gently so the mix settles around the stem. Do not leave the pot sitting in a saucer full of water. Lavender is especially vulnerable to problems when the rooting medium stays saturated for long periods.

Going forward, check the surface of the mix regularly. The goal is consistent light moisture, not a permanently soggy pot. Small containers can dry faster than you expect in warm weather, so check them more frequently during hot spells.
Step 5: Give the Cuttings the Right Light and Humidity
Fresh cuttings need enough light to stay healthy, but strong direct afternoon sun can cause them to lose water faster than they can replace it. Bright indirect light or gentle morning sun is often a safer choice while roots are forming.
Humidity can also help. A loose clear plastic bag or propagation cover can slow moisture loss, but leave some ventilation and check the cutting regularly. If condensation becomes excessive or the foliage begins to look unhealthy, increase airflow. A humid environment should never become a stagnant, waterlogged one.
How Long Does Lavender Take to Root?
Rooting time varies with temperature, the condition of the cutting, the lavender variety, and the growing environment. Some cuttings may begin producing roots within a few weeks, while others take longer. Rather than pulling on the stem every few days, watch for signs of fresh growth and allow the root system time to develop.
Once the cutting feels established and begins putting out new growth, it is a good indication that propagation is progressing. Patience is important because repeatedly disturbing the stem can damage newly developing roots.
Step 6: Transplant Rooted Lavender Cuttings
When a cutting has developed a healthy root system, move it into a slightly larger pot filled with a quality, well-draining potting mix. Handle the young roots carefully and avoid breaking up the root ball more than necessary.
Water the new plant after transplanting and place it somewhere bright and sheltered while it adjusts. Once it is growing strongly, gradually acclimate it to the conditions where you intend to grow it permanently. Lavender ultimately prefers plenty of sun and excellent drainage.
Common Mistakes When Propagating Lavender
One of the most common mistakes is taking cuttings from weak or unhealthy plants. Another is choosing very soft, floppy shoots or old woody stems that are difficult to root. Starting with suitable semi-ripe growth gives you a much better foundation.
Overwatering is another frequent problem. Lavender is a Mediterranean plant that generally prefers drainage over constant moisture. Poor airflow, excessive fertilizer, harsh direct sunlight, and repeatedly disturbing the cuttings can also reduce success. When in doubt, keep the setup simple and stable.
Tips for Better Lavender Propagation Success
Take more cuttings than you ultimately need. This gives you a safety margin if some fail to root. Label different varieties if you are propagating more than one type, and keep the containers organized so you can monitor them consistently.
It is also helpful to make propagation part of your normal pruning routine. Whenever you trim healthy lavender at the appropriate time, you may be able to select suitable pieces for propagation rather than discarding all of the material. Always prioritize healthy stems and clean tools.
Final Thoughts
Propagating lavender from cuttings is a straightforward gardening project once you understand the basic principles. Choose a healthy stem, cut below a node, remove the lower leaves, plant the cutting in a free-draining mix, and provide gentle light, moisture, and humidity while roots develop.
The process takes patience, but the reward is a collection of new lavender plants that can eventually fill sunny borders, containers, pathways, and herb gardens. Start with several cuttings, avoid overwatering, and give the young plants time to establish. With a little practice, lavender propagation can become one of the easiest ways to grow more of a favorite garden plant.
SEO Keywords
how to propagate lavender from cuttings, propagate lavender, lavender cuttings, how to grow lavender from cuttings, lavender propagation, propagate lavender step by step, rooting lavender cuttings, when to take lavender cuttings