
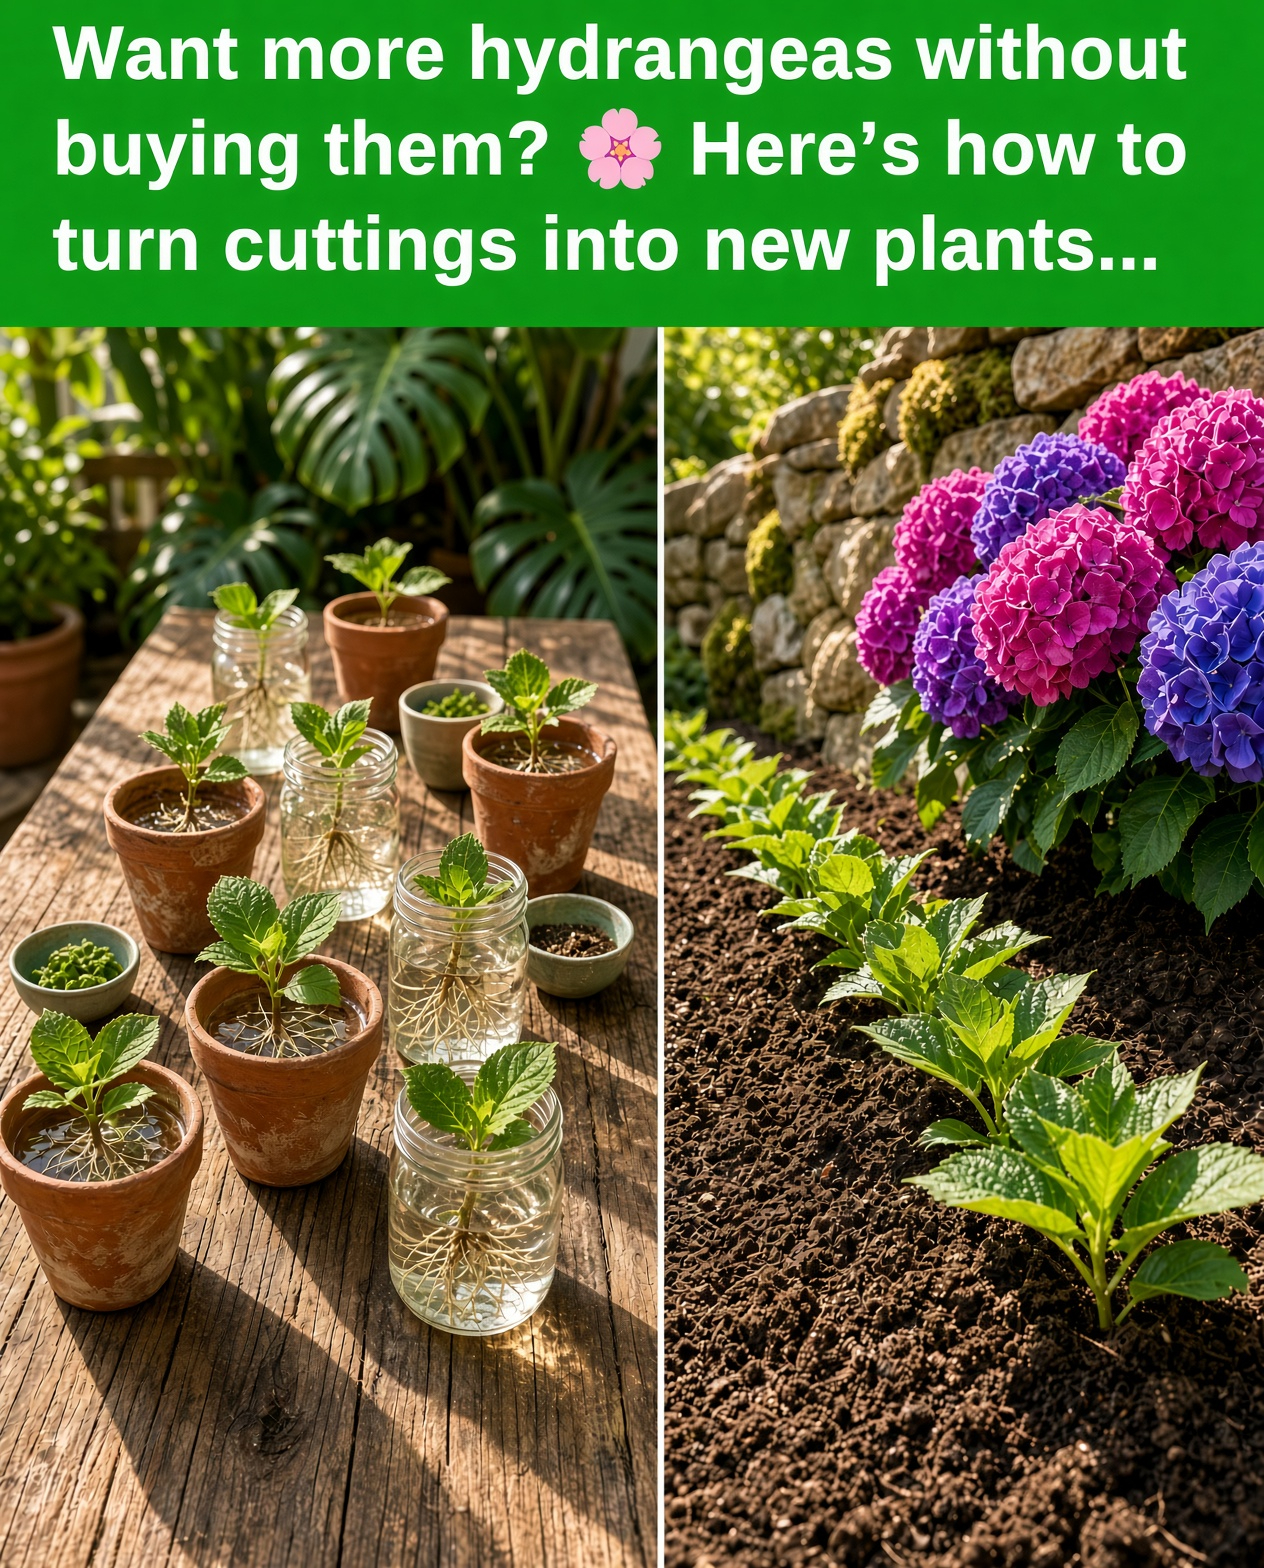

Hydrangeas are particularly rewarding plants to propagate because a single established shrub can provide several suitable cuttings. The process does not require a greenhouse or expensive equipment. With clean pruning shears, a small pot, suitable propagation mix, and a way to maintain humidity, beginners can get started.

When Is the Best Time to Propagate Hydrangeas?
For beginners, late spring through summer is an excellent period to take softwood or semi-ripe hydrangea cuttings. The exact timing depends on your climate and the growth stage of the plant. Look for young stems that have developed some firmness but are not yet completely woody.
Choose stems that have not produced flowers whenever possible. Flowering stems have already invested energy into producing blooms, while a healthy non-flowering shoot can put more energy toward forming roots. A suitable cutting is usually around 4 to 6 inches long and should contain several leaf nodes.
What You Need to Propagate Hydrangeas
You do not need a complicated propagation setup. Gather clean sharp pruning shears, small pots with drainage holes, a light propagation or potting mix, water, and optionally rooting hormone. A transparent propagation dome or clear plastic cover is also useful because it helps maintain humidity around the cutting.

The propagation mix should hold moisture without becoming saturated. A light, well-draining medium is preferable because developing roots need both moisture and air. Avoid heavy garden soil that becomes compacted inside a small pot.

Step 1: Choose a Healthy Hydrangea Stem
Begin by examining the plant carefully and selecting a strong, healthy shoot. Avoid stems with damaged leaves, disease symptoms, severe pest damage, or obvious weakness. A vigorous parent plant gives your cutting a much better starting point.
Ideally, choose a non-flowering shoot from the current season. Early morning can be a convenient time to take cuttings because the plant is generally well hydrated after the cooler overnight period.
Step 2: Cut the Hydrangea Stem
Use clean, sharp pruning shears to make a clean cut. A cutting around 4 to 6 inches long is a practical size for most home propagation projects. Try to include at least two leaf nodes, because these points along the stem are important when preparing the cutting for rooting.
The lower cut is commonly made just below a leaf node. The node is the point where leaves emerge from the stem, and it is an important area for root development. Keep the cutting upright so you do not accidentally reverse the planting direction.

Step 3: Remove the Lower Leaves
Once the stem has been cut, remove the leaves from the lower portion of the cutting. Any leaves that would be buried beneath the propagation mix should be removed because they can decay and create problems around the stem.
Leave a small amount of healthy foliage at the top. These remaining leaves allow the cutting to continue photosynthesizing while it develops roots, but reducing the amount of foliage also helps limit water loss.

Step 4: Trim the Remaining Leaves
Hydrangea leaves can be fairly large, so trimming them can be useful when propagating from cuttings. If the upper leaves are large, cut them across the leaf blade so that roughly half of the surface remains.
This step is not about making the cutting look perfect. Its purpose is to reduce the amount of leaf surface that loses moisture while the stem does not yet have roots. Keeping a small amount of healthy foliage gives the cutting useful green tissue without putting excessive demand on its limited water supply.
Step 5: Use Rooting Hormone if Desired
Rooting hormone is optional when propagating hydrangeas. Many healthy cuttings can root without it, but some gardeners use a commercial rooting product to encourage root development. If you use one, follow the instructions on the product label.
Dip only the lower portion that will be inserted into the propagation medium, then remove excess powder. You do not need to coat the entire stem. The important part is keeping the rooting treatment concentrated around the section that will contact the growing medium.
Step 6: Prepare the Pot and Propagation Mix
Fill a small pot with a light, well-draining propagation mix and moisten it before planting. The medium should be damp enough to support the cutting but not dripping wet.
Make a narrow planting hole with a pencil, dibber, or similar clean tool. Creating the hole first prevents the rooting hormone from being rubbed away when you push the cutting into the soil.
Step 7: Plant the Hydrangea Cutting
Insert the lower portion of the cutting into the prepared hole, making sure at least one leaf node is beneath the surface. Gently press the propagation mix around the stem so it remains upright and has good contact with the moist medium.
Do not bury the remaining leaves. The lower stem should be in contact with the growing medium while the foliage stays above it. Firm the mix gently rather than compacting it heavily around the cutting.
Step 8: Water the Cutting Carefully
After planting, water or mist the propagation medium thoroughly enough to settle it around the stem. Allow excess water to drain away. The goal is to keep the mix evenly moist rather than saturated.

During rooting, check the medium regularly. Do not allow it to become completely dry, but avoid repeatedly soaking the pot. Too much water can reduce air around the developing roots and increase the risk of rot.
Step 9: Keep the Cuttings Humid
Fresh cuttings have no established root system, so they can lose water through their leaves quickly. A clear plastic cover or propagation dome helps trap humidity around the foliage and can make the rooting environment more stable.

Keep the covered container in a bright location away from harsh direct sunlight. Strong sun can heat the enclosed space rapidly and cause the leaves to wilt. Bright indirect light or gentle shade is safer while roots are forming.
How Long Do Hydrangea Cuttings Take to Root?
Hydrangea cuttings can begin forming roots within a few weeks when conditions are favorable. Some may root faster than others, so avoid disturbing the cuttings constantly to check their progress. Pulling them out of the medium can damage fragile new roots.
Instead of checking by pulling, look for signs of continued growth. New leaves or fresh shoots can indicate that the cutting is becoming established. Extension guidance notes that hydrangea cuttings may begin rooting in roughly two to three weeks under suitable conditions, although timing varies with temperature and humidity.

What to Do After the Cuttings Root
Once the young hydrangeas have developed roots and begin growing actively, start reducing the humidity gradually. Do not suddenly expose a freshly rooted cutting to harsh outdoor conditions. Give it time to adjust.
Move the plants into slightly larger pots when the existing containers become crowded with roots. Continue providing adequate moisture and gentle light while the young plants become stronger.
Common Hydrangea Propagation Mistakes
Using flowering stems is one mistake beginners can avoid. Non-flowering current-season shoots are generally better suited to cutting propagation because the cutting can concentrate its resources on producing roots instead of maintaining flowers.
Overwatering is another common problem. A hydrangea cutting needs moisture, but permanently saturated soil can create poor conditions for developing roots. Use a container with drainage holes and a loose propagation medium.
Too much direct sunlight can also cause newly planted cuttings to wilt, particularly when they are enclosed beneath clear plastic. A bright, sheltered and lightly shaded position is usually much more appropriate while roots are developing.
Can You Propagate Hydrangeas Without Rooting Hormone?
Yes. Rooting hormone is not essential for hydrangea propagation. Healthy cuttings can form roots when they are prepared correctly and kept under suitable conditions. The hormone is simply an optional tool that some gardeners use to encourage rooting.
Can You Propagate Hydrangeas From Hardwood Cuttings?
Hydrangeas can also be propagated from mature woody cuttings, although softwood or semi-ripe cuttings are often more convenient for beginners. Hardwood propagation is generally slower and requires patience because the plant is no longer in the same active growth stage.
When Can You Plant a Propagated Hydrangea Outside?
A newly rooted hydrangea should not be rushed into its permanent position. Allow the young plant to develop a stronger root system and several sets of healthy leaves first. Gradually acclimate it to outdoor conditions before planting it permanently.
In many situations, the safest approach is to keep newly propagated plants protected through their first season and move them into the garden once they are well established. This gives the young roots time to develop before they face winter temperatures, strong sun, wind, or periods of drought.
Final Thoughts
Propagating hydrangeas from cuttings does not have to be complicated. The most important steps are choosing a healthy non-flowering shoot, making a clean cut, removing the lower leaves, reducing large upper leaves, planting the cutting in a moist well-draining medium, and maintaining humidity without overwatering.
With patience and consistent care, a few small stems can eventually become healthy young hydrangea plants. Once you understand the process, you can repeat it whenever your mature hydrangea produces suitable new growth.