
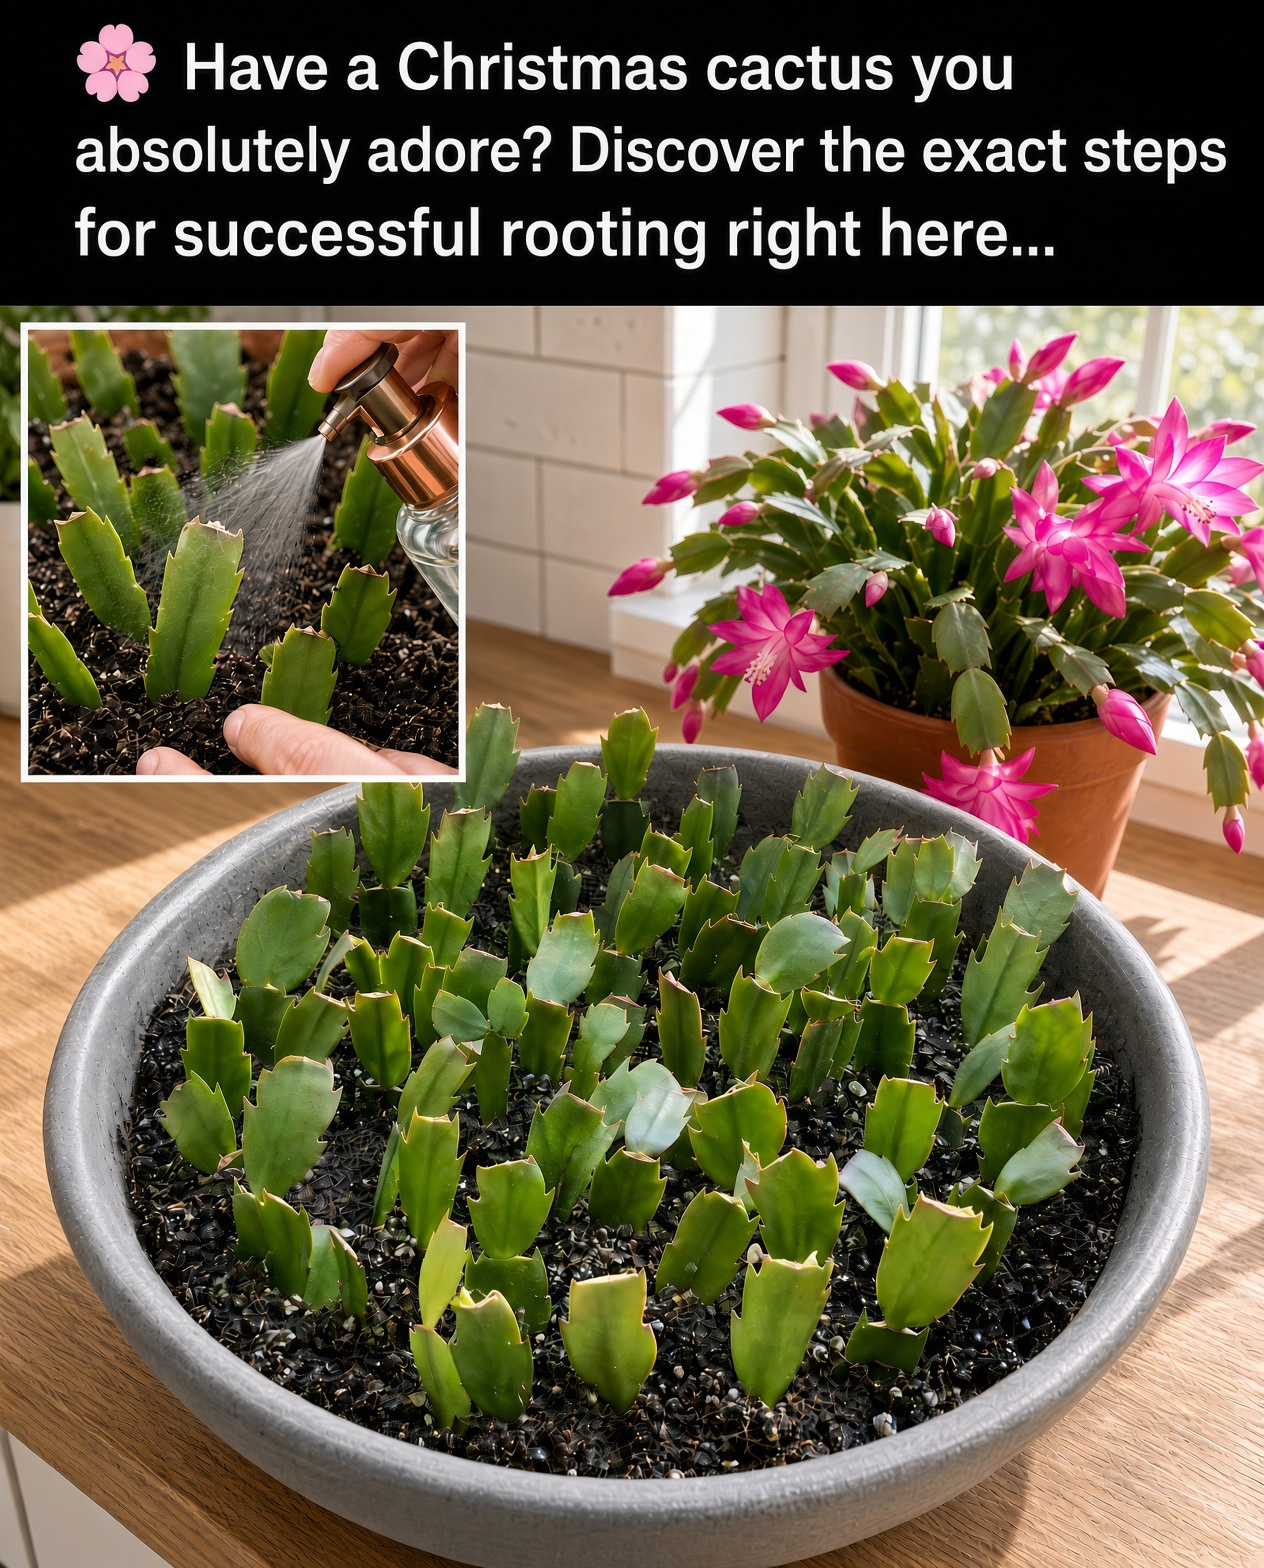
Christmas cacti are beautiful houseplants known for their cascading stems and colorful winter flowers. They are also surprisingly easy to multiply, making them perfect for gardeners who want more plants without buying new ones.
One healthy Christmas cactus can provide several cuttings that eventually develop into independent plants. The easiest method is stem propagation: simply take a few healthy sections, allow the cut ends to dry, and encourage them to develop roots in a suitable growing medium.
With a little patience and the right conditions, you can turn a few small cuttings into attractive new plants to display around your home or share with friends.

When Is the Best Time to Propagate a Christmas Cactus?
The best time to take Christmas cactus cuttings is generally after flowering, during spring or early summer. At this point, the plant can begin producing new growth and has plenty of time to establish roots before its next flowering season.
Propagation can also be successful at other times of the year when the plant is healthy and growing conditions are suitable. However, avoid disturbing a plant that is covered in flower buds or actively blooming.
Choose a healthy parent plant with firm, green segments. Avoid taking cuttings from stems that are shriveled, damaged, or showing signs of disease.
What You Need Before Starting
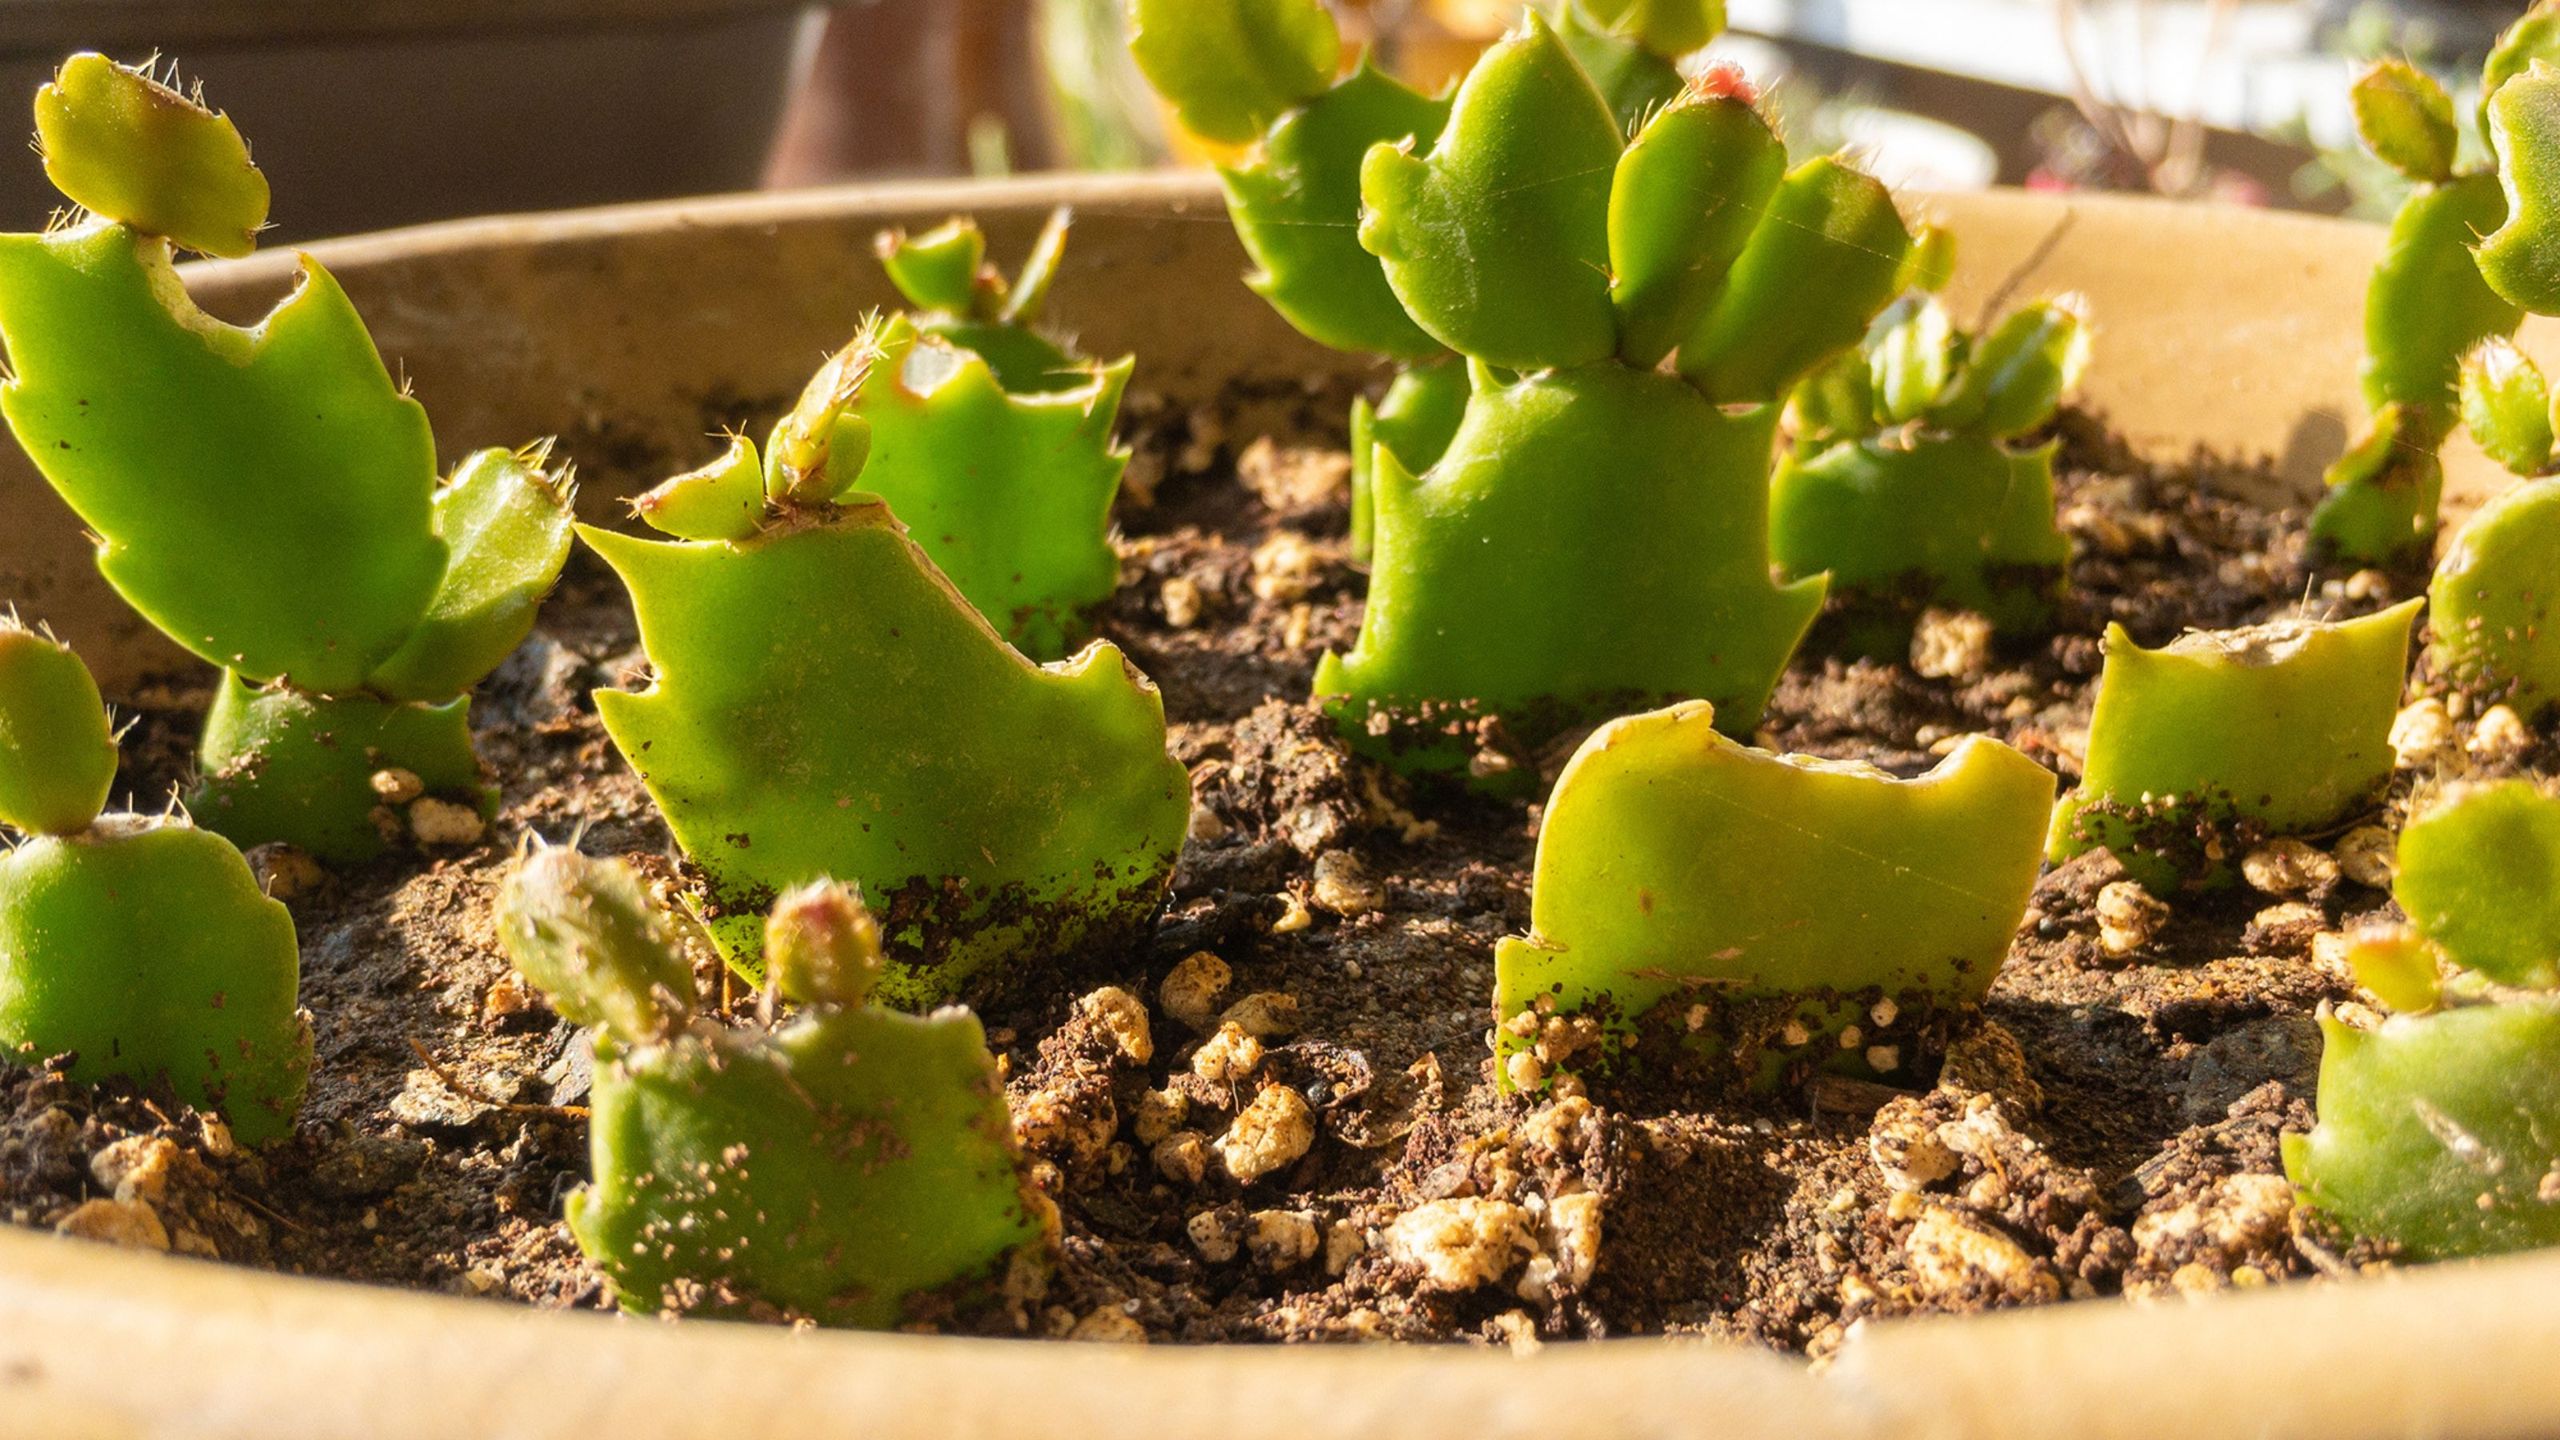
Gather a few basic supplies before taking your cuttings. Having everything ready makes the process easier and reduces the time the cuttings spend exposed to the air.
- A healthy Christmas cactus: Choose a mature plant with strong, green stems.
- Clean scissors or pruning shears: Use a clean cutting tool to separate the segments.
- A small pot: Select a container with drainage holes.
- Rooting medium: Perlite, coarse sand, or a light, well-draining propagation mix can work.
- Water: Use it to moisten the rooting medium without making it soggy.
- Plant labels: Optional, but useful if you are propagating several varieties.
Step 1: Select Healthy Stem Segments
Look for firm, mature stems with a healthy green color. Christmas cactus stems are made up of flattened sections joined together at narrow points.
Choose a cutting containing approximately two to five connected segments. Sections with three segments are a convenient size for beginners and are easy to handle.
Separate the cutting at a natural joint by gently twisting or pinching the stem. You can also use clean scissors to make the separation.
Try not to damage the remaining parent stem. Taking several small cuttings from different branches is usually better than removing one large portion of the plant.

Step 2: Let the Cut Ends Dry
Once you have separated the cuttings, place them in a dry, shaded location for approximately one day. Some growers allow them to dry for two or three days, depending on the conditions.
This short waiting period allows a protective callus to form over the cut surface. It helps reduce the risk of rot when the cutting is placed into moist rooting medium.
Keep the sections away from direct sunlight and avoid placing them somewhere excessively hot. They should remain firm while the cut ends dry.
Important: Do not plant freshly separated sections immediately into very wet soil. Allowing the cut ends to callus first is an important part of successful propagation.
Step 3: Prepare the Rooting Medium
Christmas cacti are not desert cacti. They are tropical plants that naturally grow in humid environments, often attached to trees, where water drains away quickly.
For this reason, they need a rooting medium that holds some moisture while allowing plenty of air around the developing roots.
You can use:
- Perlite.
- Coarse horticultural sand.
- A light, well-draining propagation mix.
- A suitable houseplant mix amended with perlite.
Fill a small container with your chosen medium and moisten it lightly. It should feel damp, not saturated. Make sure the pot has drainage holes so excess water can escape.

Step 4: Plant the Cuttings
Once the cut ends have dried and the rooting medium is ready, it is time to plant.
- Make a small opening in the rooting medium with your finger or a pencil.
- Place the cut end of the segment into the opening.
- Insert approximately one inch of the cutting, or just enough to keep it upright.
- Gently firm the medium around the base.
- Repeat with the remaining cuttings, leaving a little space between them.
Make sure the cuttings are positioned with the correct end facing downward. Planting them upside down can prevent successful rooting.
A small pot can hold several cuttings, provided they have enough space and air circulation. Alternatively, use individual containers to make monitoring each cutting easier.
Step 5: Find a Bright, Suitable Location
Place the newly planted cuttings in a warm location with bright, indirect light. A position near a window is often suitable, provided strong direct sunlight does not reach the young plants.
Direct afternoon sun can dry the rooting medium too quickly and stress the cuttings. A bright room with filtered daylight is generally a better choice.
Try to maintain comfortable, stable indoor temperatures. Avoid cold drafts, heating vents, and sudden temperature changes.

Step 6: Maintain the Right Moisture Level
New cuttings need moisture to develop roots, but excessive water can cause the base to rot before rooting begins.
Check the rooting medium regularly. If the surface begins to dry, add a small amount of water. Allow excess moisture to drain away completely.
Avoid watering automatically every day. The frequency depends on the pot size, temperature, airflow, and type of rooting medium.
Some gardeners use a loose transparent cover to maintain humidity around the cuttings. If you try this method, leave space for airflow and open the cover regularly. Remove it if condensation becomes excessive or mold appears.
Step 7: Wait for Roots to Develop
Rooting takes patience. Depending on the temperature, season, and growing medium, Christmas cactus cuttings may begin forming roots within a few weeks. Some take longer.
Rather than repeatedly pulling the cuttings out of the medium, watch for signs of progress. A cutting that remains firm and begins producing fresh growth is encouraging.
You can also give a cutting a very gentle tug after several weeks. If it offers resistance, roots may have started developing. Avoid pulling hard, as young roots are delicate.
Once the roots are established, the new plant can be transferred into a small container filled with a suitable, well-draining houseplant mix.
Step 8: Care for Your New Christmas Cactus
After rooting, your young plant needs the same basic conditions as an established Christmas cactus, although it is best to avoid sudden changes while it adjusts to its new pot.
- Light: Provide bright, indirect light.
- Water: Water when the upper portion of the growing medium begins to dry.
- Drainage: Use a pot with drainage holes and avoid leaving water in the saucer.
- Temperature: Keep the plant in comfortable indoor conditions, away from drafts.
- Feeding: Wait until the plant is established and actively growing before using a balanced houseplant fertilizer according to its label.
As the young plant develops, it may begin producing additional segments. Over time, these branches can create the full, cascading appearance that makes Christmas cacti so attractive.
Common Mistakes to Avoid When Propagating Christmas Cactus
Planting Before the Cut Ends Have Dried
Freshly separated cuttings placed straight into wet medium are more vulnerable to rot. Give the cut ends time to form a callus before planting.
Using Heavy, Waterlogged Soil
Dense soil can hold too much water around the base. Choose a loose rooting medium with good drainage and airflow.
Exposing Cuttings to Strong Direct Sunlight
New cuttings are more vulnerable to drying out. Keep them in bright, indirect light while roots develop.
Watering Too Frequently
Constantly wet growing medium can damage the cutting. Check moisture before watering and let excess water drain away.
Checking for Roots Too Aggressively
Repeatedly pulling cuttings out of the medium can disturb developing roots. Give them time and check gently only when necessary.
Final Thoughts
Propagating a Christmas cactus is a simple and rewarding way to grow more of a favorite houseplant. Start with healthy stem sections, let the cut ends dry, plant them in a well-draining medium, and provide warmth and bright indirect light.
Keep the rooting medium lightly moist rather than waterlogged, and be patient while the roots develop. Once established, your new plants can grow into beautiful cascading Christmas cacti that may reward you with colorful flowers in the seasons ahead.