
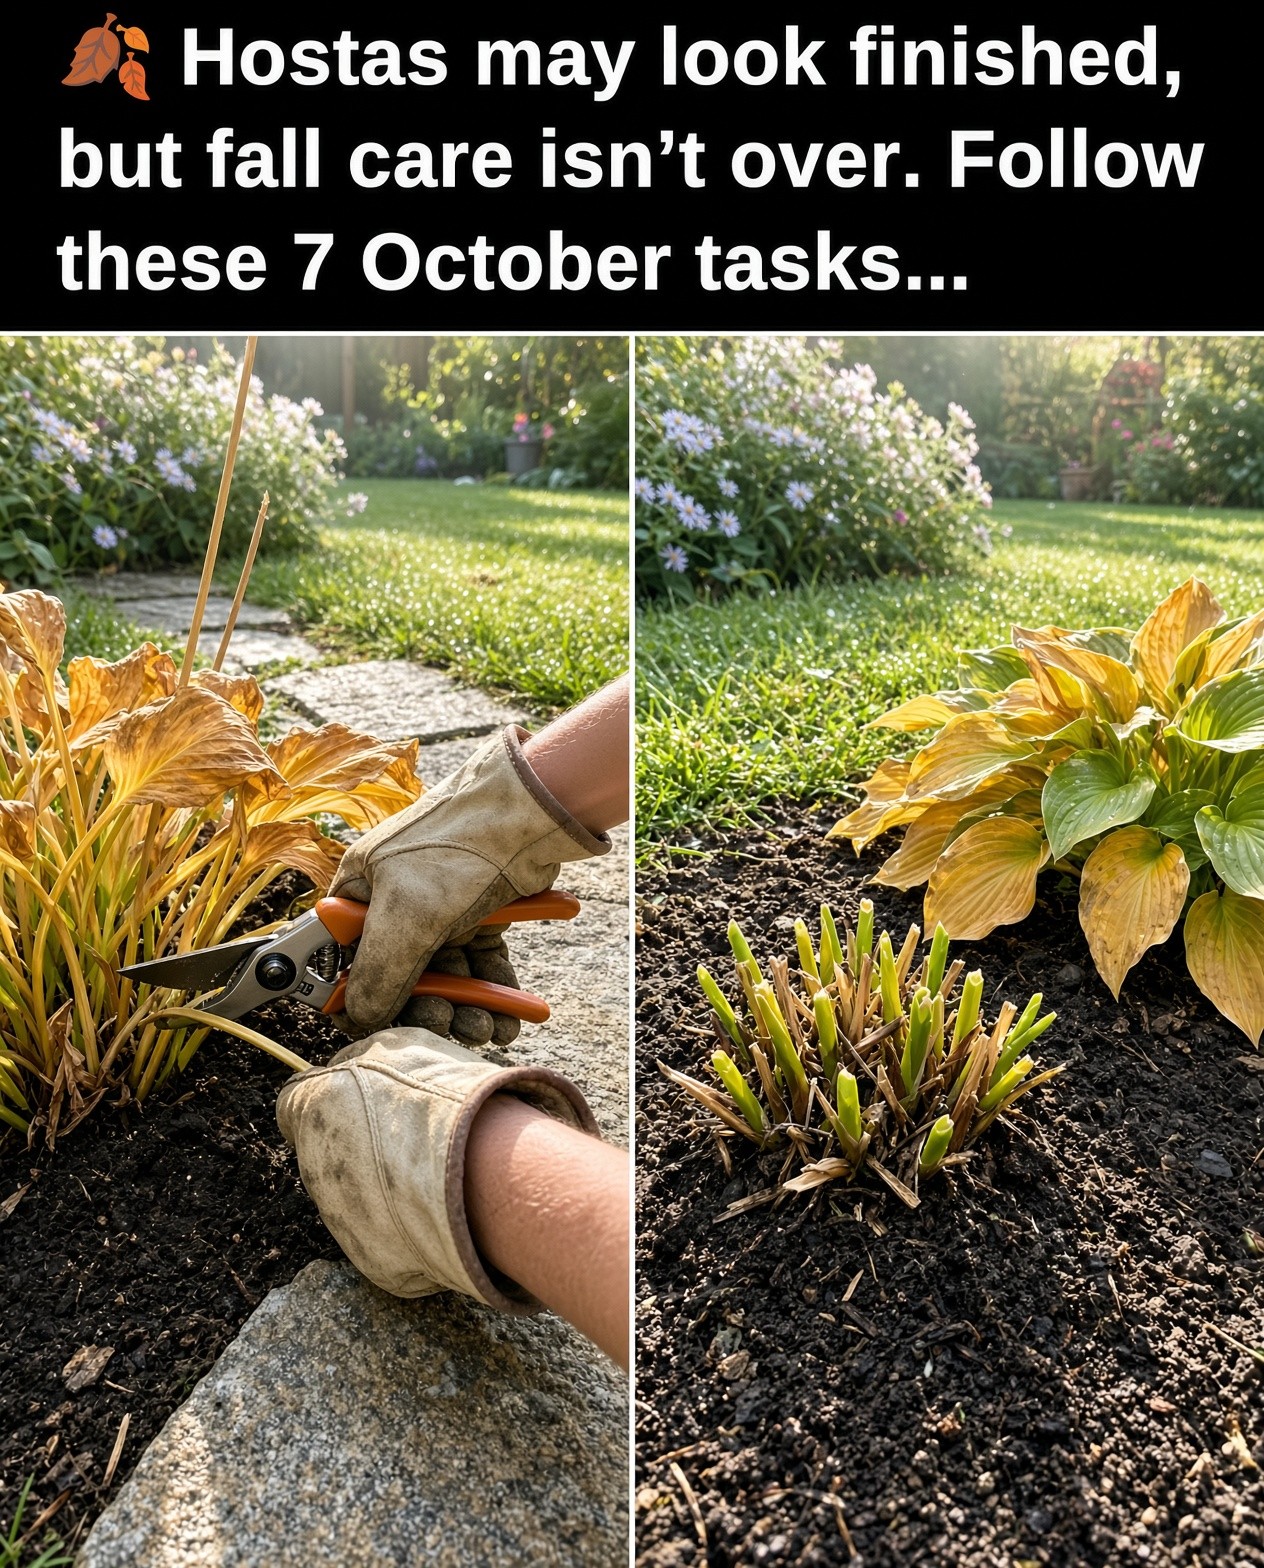
A little timely care now helps hostas enter dormancy cleanly and return with fresh foliage next spring. Let weather and plant condition guide your routine—not the calendar alone.
 Autumn hosta care is mostly about timing, cleanup, and protecting the crown without overdoing it.
What should you do for hostas in October?
Wait for healthy foliage to die back naturally, cut away dead leaves, inspect unusual symptoms, water if autumn is dry, protect vulnerable new plantings when needed, avoid late fertilizing, and postpone division if winter is close. Hostas are hardy perennials, so a few careful decisions are usually better than an aggressive fall makeover.
1Let Green Leaves Finish Their Job

Hostas are perennials that draw energy from their leaves and store it in their crowns and roots for the next growing season. In October, a plant may look tired while it is still doing useful work. If the leaves remain green and firm, let them continue photosynthesizing rather than cutting the whole clump down on a calendar date.
As temperatures fall, foliage usually turns yellow, then brown, and eventually collapses after frost. That natural decline is the cue to clean up. A hard frost may flatten leaves quickly, but a mild autumn can keep some varieties attractive for longer. Follow the plant and your local weather, not the month alone.
There is no need to rescue every yellow leaf. Seasonal color changes are normal, especially in hostas with gold or chartreuse foliage. The goal is to avoid removing healthy green growth too early while still clearing dead material before winter.
2Cut Back Dead Foliage and Remove Debris

Once most leaves have yellowed, browned, or become limp after frost, use clean, sharp pruners to cut the petioles close to the ground. Work carefully around the crown, the compact growing point at the soil surface, so you do not nick it or pull up the plant. For a large bed, a small pair of shears may speed the job, but make controlled cuts rather than chopping blindly.
Gather up the spent leaves and stalks and remove them from the bed. Wet, decaying foliage creates sheltered places for slugs and snails and can help some pests or disease organisms persist until spring. If the plant had suspicious leaf markings or a known disease problem, do not add that debris to a cool home compost pile; bag it for disposal according to local guidance. Healthy, disease-free leaves can be composted separately.
A tidy crown also makes it easier to see whether mulch has piled up against the plant or whether water is pooling around it. Do not scrape or dig into the crown while cleaning. Hosta buds sit close to the surface and can be damaged by rough tools.
3Inspect Leaves Before You Throw Them Away
Take a moment to look at the foliage before cleanup. Uniform yellowing late in the season is usually ordinary dormancy. Irregular spots, streaks between veins, unusual mottling, puckering, or soft brown tissue near the base deserve a closer look, especially if symptoms appeared while the plant was actively growing.
Foliar nematodes can cause yellow-to-brown streaking between major veins. Anthracnose may produce irregular tan or brown spots with darker margins. Hosta Virus X can cause unusual dark-green mottling, color bleeding along veins, or distorted leaves. These signs are not a definitive diagnosis, and several problems can look similar. Avoid dividing or sharing a plant with unexplained symptoms until you have identified the cause.
If a plant has repeated severe symptoms or you suspect a virus, contact a local extension service or knowledgeable plant clinic. There is no cure for Hosta Virus X; confirmed infected plants are generally removed and disposed of rather than propagated. Clean pruners between plants when disease is suspected, and do not move sap from one hosta to another on dirty tools.
4Water During Dry Autumn Weather
Hostas are often described as shade plants, but their roots still need moisture before the ground freezes. If autumn has been unusually dry, check the soil instead of assuming cool weather means watering is unnecessary. Push a finger or trowel a few inches into the ground near the edge of the clump. If the root zone feels dry, water slowly at soil level so moisture reaches the roots.
Do not water automatically every week. Rainfall, soil texture, shade, and drainage all change how quickly a bed dries. Heavy clay may stay wet for a long time, while sandy soil can dry rapidly. Aim for evenly moist soil, not a saturated crown. Water earlier in the day when practical, and avoid leaving standing water around the plant.
If water regularly pools in the bed, make a note to improve drainage or raise the planting area when conditions are suitable. Adding compost can improve soil structure over time, but it will not fix every drainage problem by itself. Established hostas usually need little attention through winter once the soil is reasonably moist and drainage is good.
5Mulch Selectively, Not Automatically

A thick winter blanket is not necessary for every established hosta. In many gardens, a modest layer of organic mulch already on the bed is enough to protect soil and moderate temperature swings. Extra protection is most useful for newly planted or recently divided hostas and in colder regions where repeated freeze-thaw cycles can heave shallow roots.
Wait until the soil has begun to cool or freeze before adding a protective layer in climates where winter insulation is needed. Use clean straw, pine needles, or shredded leaves, and keep the material loose. A layer around two to four inches may be appropriate for vulnerable new plantings in cold areas, but local conditions matter more than a fixed measurement. Avoid packing mulch tightly against the crown.
Too much wet mulch can shelter slugs and voles or hold moisture against the crown, increasing the risk of rot. If voles are common in your garden, weigh the benefits of extra cover against the extra hiding places it creates. In spring, pull back excessive winter mulch as growth resumes so shoots can emerge freely and the crown does not stay damp.
6Skip Late Fertilizer
October is generally not the time to push hostas into new growth with a dose of nitrogen-rich fertilizer. As the plant prepares for dormancy, fresh tender leaves are unlikely to help it and may be damaged by an early freeze. Established hostas in reasonably fertile soil often need less feeding than gardeners expect.
If your soil is poor, plan to improve it in spring with compost or a fertilizer chosen according to a soil test and product directions. Do not pile manure or concentrated fertilizer over the crown. A thin surface dressing of finished compost can be useful in some gardens, but it should not be confused with forcing late-season growth.
Keep the goal simple: allow the plant to settle into dormancy, keep the root zone from becoming bone dry, and avoid unnecessary disturbance. Healthy hostas store resources in their underground structures and will use those reserves when spring warmth returns.
7Avoid Dividing Too Late in Cold Regions

Hostas can be divided, but late autumn is not ideal everywhere. New divisions need time to re-establish roots before the ground freezes. In colder regions, dividing in October may leave too little time for the pieces to settle, especially when the weather changes quickly. Spring, just as shoots begin to emerge, is often the safer choice.
In milder climates, early autumn division may work if several weeks of root growth remain before hard freezes. Water divisions in well and monitor moisture while they establish. Each section should have a healthy portion of crown and roots, not just a loose leaf or small root fragment. Replant at the same depth as the original clump and avoid burying the crown.
Do not divide a hosta simply because the calendar says it is time. Divide when you need more plants, the clump has outgrown its space, or there is a clear horticultural reason. If you are uncertain about local timing, ask a nearby extension office or nursery familiar with your climate.
8A Simple October Hosta Checklist
Before winter, walk through the shade garden and ask seven questions: Are the leaves still green? If so, can they stay a little longer? Has the foliage fully died back? If yes, can it be cut and cleared without damaging the crown? Do any leaves show suspicious patterns that should be investigated? Is the soil dry enough to need a deep soak? Are recently planted clumps likely to benefit from winter mulch? Is excess mulch touching the crown? And have you avoided late fertilizer and unnecessary division?
These small checks are more useful than following a rigid date. October can bring mild afternoons, hard frosts, heavy rain, or dry spells depending on where you garden. A hosta in a sheltered coastal bed may need different attention from one in an exposed northern garden.
Once the dead foliage is cleared, the soil moisture is reasonable, and vulnerable new plantings are protected if necessary, let the garden rest. Hostas are hardy, dependable perennials; the best autumn care is usually timely cleanup and restraint rather than a long list of treatments.
October Hosta Checklist
- ☐ Leave healthy green leaves until they naturally decline.
- ☐ Cut dead foliage near soil level without injuring the crown.
- ☐ Remove diseased debris from the garden.
- ☐ Check soil moisture and water deeply only when needed.
- ☐ Add winter mulch only for vulnerable plants or local conditions that warrant it.
- ☐ Keep mulch away from the crown and watch for vole activity.
- ☐ Skip late-season fertilizer and delay division if a freeze is near.
Frequently Asked Questions
Should I cut hostas back in October?
Only after the foliage has died back or been flattened by frost. If leaves are still green and healthy, allow them to continue feeding the plant. In many climates, cleanup happens in late autumn rather than on a fixed October date.
Can I leave hosta leaves on the ground as mulch?
It is better to remove hosta foliage, especially if pests or disease have been a problem. Decaying leaves can shelter slugs and may preserve some disease issues. Clean, shredded leaves from other healthy trees can be used as mulch in moderation, but keep the crown clear.
Do hostas need winter mulch?
Established hostas are usually hardy without a thick extra layer. Recently planted or divided clumps may benefit from loose insulation in colder areas where freeze-thaw cycles heave the soil. Local climate and drainage should determine the choice.
Should I fertilize hostas before winter?
Generally, no. Avoid encouraging tender growth as the plant enters dormancy. If soil needs improvement, plan for spring and use compost or fertilizer according to soil conditions and label directions.
Is yellowing hosta foliage always a disease?
No. Yellowing and browning are normal as hostas enter dormancy. Unusual streaks between veins, dark mottling, puckering, or soft rot at the base—particularly earlier in the growing season—deserve closer inspection. Ask a local extension service if you are unsure.