
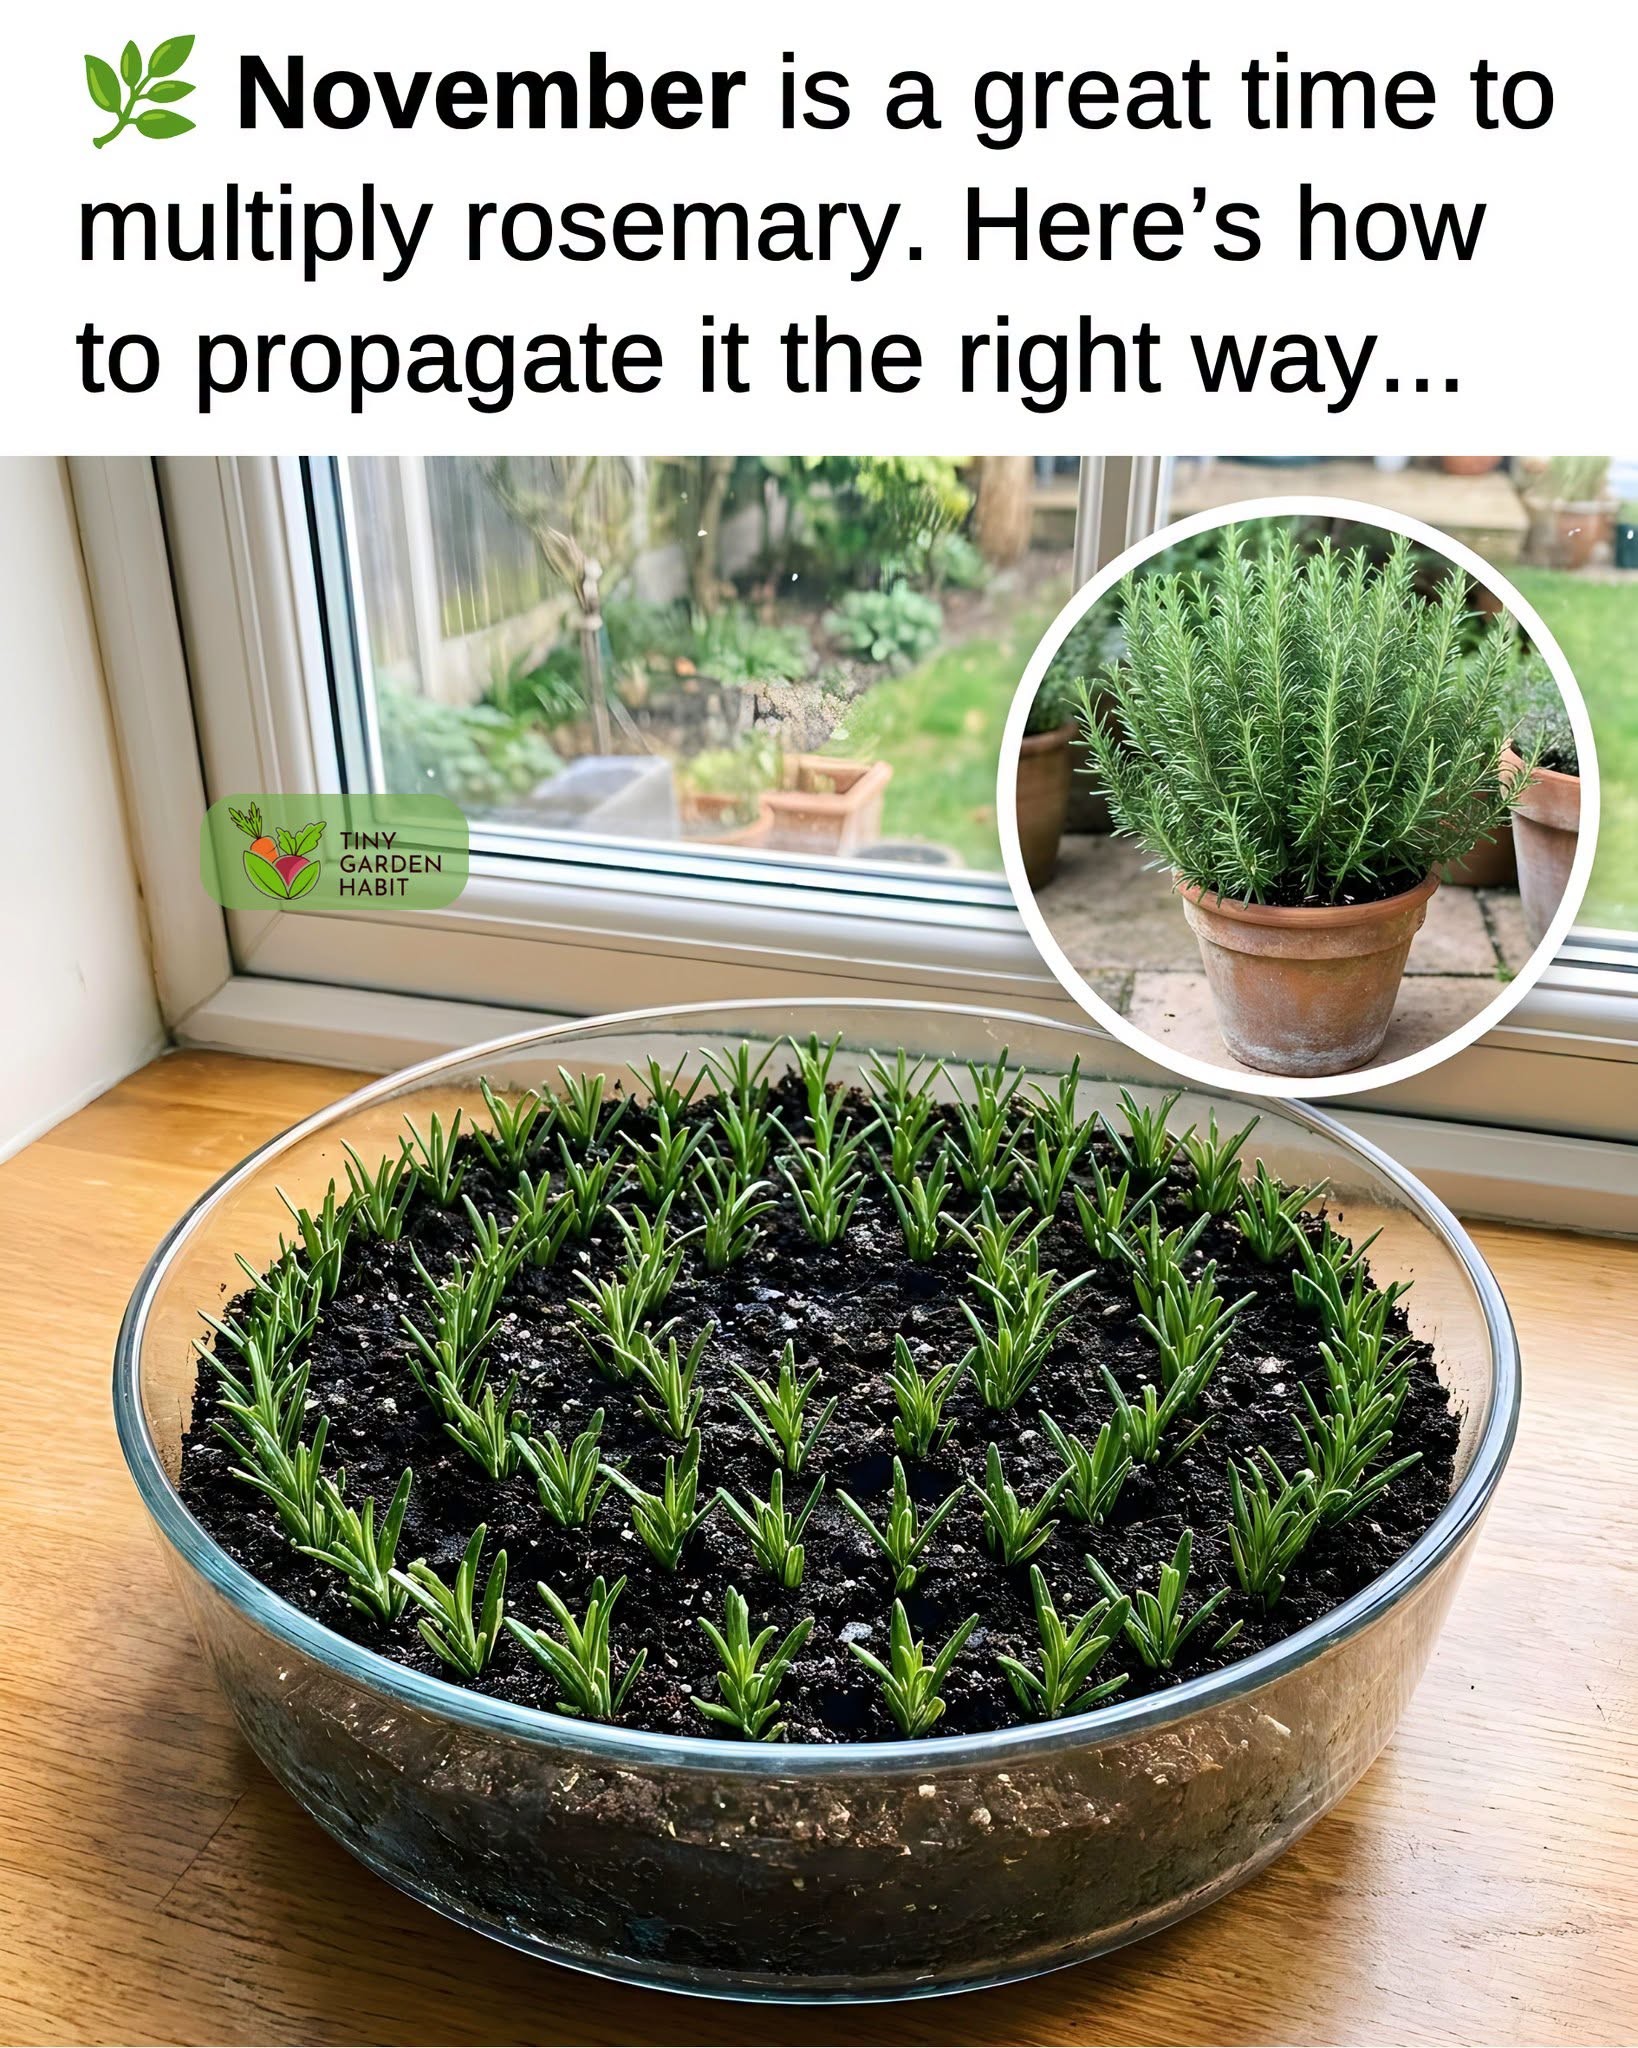
Turn one healthy rosemary plant into several new herbs with straightforward propagation methods using soil or water.
Why propagate rosemary?

Rosemary is a useful evergreen herb for sunny gardens, patios, and kitchen windows. Its fragrant leaves add flavor to meals, and a healthy shrub can provide harvests for years. If you already have a thriving plant, propagation lets you make more without buying new seedlings. The simplest reliable home technique is to root short stem cuttings. Each cutting can develop roots and become an independent plant that resembles the parent.
Rosemary can be grown from seed, but germination is often slow and uneven. Cuttings are usually a more predictable way to multiply a favorite plant, replace an old shrub, fill containers, or share plants with friends. You do not need specialist equipment: clean snips, a small pot, a light rooting mix, and a little patience are enough.
When is the best time to take cuttings?

Late spring and early summer are usually ideal because rosemary is producing fresh, flexible growth. In mild climates, early autumn may also work if the cuttings have enough warm weather to root before cold conditions arrive. Take cuttings in the morning when stems are well hydrated, and prepare them soon after cutting so they do not dry out.
Choose healthy, non-flowering shoots that are green and flexible but not extremely soft. Very tender tips can wilt quickly, while thick, old woody branches are often slower to root. Avoid stems with pests, spots, or signs of stress. The plant’s condition and local weather matter more than a particular date on the calendar.
Prepare your tools and rooting mix

Gather sharp pruning snips or scissors, a clean pot with drainage holes, and a free-draining rooting medium. A simple mix combines seed-starting compost with perlite or coarse horticultural sand. The goal is a medium that holds a little moisture while allowing air to reach the developing roots. Dense garden soil can stay wet for too long and is best avoided.
A clear plastic bag or propagator lid can help maintain humidity while the cutting has no roots. Keep the cover from touching the leaves and make it easy to lift for daily ventilation. Rooting hormone is optional; many rosemary cuttings root without it. Clean tools and a suitable medium are more important than buying extra products.
Step 1: Select and cut healthy stems

Choose several healthy shoots from a vigorous parent plant. Cut pieces about 3 to 5 inches (8 to 13 cm) long, using clean, sharp snips. Make the lower cut just beneath a leaf joint, known as a node. Nodes are natural points from which roots may develop. Take more cuttings than the number of plants you ultimately want, because not every cutting will succeed.
Place the stems in a clean bag or shaded container while you prepare them. Do not leave them in direct sun or allow them to wilt. Take only a modest amount of growth from the parent shrub so it remains balanced and healthy.
Step 2: Remove the lower leaves

Gently strip the leaves from the lower 1 to 2 inches (2.5 to 5 cm) of each stem. Leave a small tuft of foliage at the top so the cutting can continue to photosynthesize. No leaves should be buried in the rooting medium, where they may decay. Handle the stems carefully to avoid bruising or peeling the bark.
If you choose to use rooting hormone, follow the label directions and put a small amount in a separate dish. Dip only the base of the cutting and tap away excess powder. Never return a used cutting to the original container, as this can contaminate the product. Hormone is optional, not a requirement for success.
Step 3: Plant into moist, airy medium

Moisten the rooting mix before filling the pot. It should feel evenly damp, not muddy or dripping. Make a hole with a pencil or dibber so the stem is not scraped as you insert it. Place the bare lower section into the mix, then gently firm the medium around the stem to hold it upright without compacting it.
Several cuttings can share a wider pot if they have room and their leaves are not crowded. Individual small pots make later transplanting easier. Water gently to settle the mix, then allow all excess water to drain away. Never leave the container standing in a saucer full of water.
Step 4: Provide humidity and gentle light
A cutting without roots loses moisture through its leaves but cannot replace that water efficiently. Covering the pot loosely with a clear bag or propagator lid slows moisture loss and creates a humid environment. Keep the cover from resting on the foliage. Open it every day to exchange air and reduce excessive condensation.
Set the pot in a warm place with bright, indirect light. Avoid hot direct afternoon sun, which can overheat the covered container and scorch tender growth. Check the mix every few days and water lightly only when its surface begins to dry. Aim for lightly moist medium, never waterlogged compost.
Step 5: Wait for roots to develop

Rosemary cuttings often need several weeks to root. Four to six weeks is a reasonable expectation in favorable conditions, but timing varies with the season, stem maturity, and temperature. Do not tug repeatedly on the stems to test them; delicate new roots can be damaged before they become established.
Fresh growth can be encouraging, but it does not always prove that a strong root system has formed. Give the cutting time. Remove any stem that becomes black, mushy, or foul-smelling at the base, as this may indicate rot. Check that the pot drains freely and that the rooting mix is not staying saturated.
Step 6: Pot up rooted cuttings

When a cutting has developed a healthy root network, move it into its own small pot filled with free-draining potting mix. Lift it carefully, supporting the root ball rather than pulling on the stem. Water gently and keep the young plant in a bright, sheltered spot while it adjusts. If you used a humidity cover, remove it gradually over several days rather than exposing the plant to dry air all at once.
Once the cutting is growing steadily, introduce it to stronger light a little at a time. Established rosemary enjoys plenty of sun, but a newly rooted plant needs time to adapt. Increase outdoor exposure over about a week, especially if it has been growing indoors. Avoid placing a tiny cutting immediately in a hot, windy position.
Can you root rosemary cuttings in water?
Yes. Water propagation is a convenient alternative because you can see when roots begin to form. Prepare the stem in the same way, removing leaves from the lower portion, then stand the bare stem ends in a clean glass of water. Keep all foliage above the waterline and place the glass in bright, indirect light. Change the water every few days, or sooner if it becomes cloudy, and rinse the glass when needed.
When a useful cluster of roots has developed, transfer the cutting carefully into a small pot of moist, free-draining mix. Water-grown roots can be delicate, so avoid leaving them in water until they become very long and tangled. Keep the newly potted plant lightly moist while it adjusts, then gradually move toward the drier conditions preferred by established rosemary. Direct rooting in a pot avoids this water-to-soil transition, so choose the method that suits your routine.
Common mistakes to avoid
The biggest mistake is keeping the rooting mix too wet. Rosemary prefers excellent drainage, and a soggy pot can cause the stem base to rot before roots form. Use a pot with drainage holes, a loose medium, and modest watering. Another common problem is placing covered cuttings in strong sun. Temperatures beneath plastic can climb quickly even when the surrounding air feels comfortable.
Cuttings may also fail when taken from flowering, diseased, stressed, or very woody stems. Select healthy fresh growth and use clean tools. Do not feed unrooted cuttings with fertilizer; they cannot use it effectively, and excess nutrients may harm tender tissue. Finally, do not discard a firm green cutting just because it has not rooted after two weeks. Some simply need more time.
Caring for young rosemary plants
After the cuttings are established, care for them like young rosemary plants. Provide plenty of sunlight and a potting mix that drains freely. Water thoroughly, then allow the upper layer of mix to dry before watering again. Rosemary tolerates short periods of dryness better than constantly wet roots. Empty saucers after watering, and make sure outdoor containers do not sit in rain-filled trays.
Rosemary rarely needs heavy feeding. If a container-grown plant looks pale or weak despite suitable light and watering, a modest amount of balanced fertilizer during active growth may help. Once the plant is strong, lightly trim the growing tips to encourage branching. Avoid cutting deeply into old bare wood, because rosemary may not reliably produce new shoots from it.
Frequently asked questions

Can I use a supermarket rosemary sprig? It may work if the sprig is fresh, firm, and untreated, but a cutting taken from a healthy garden plant is usually a more dependable choice.
Do I need rooting hormone? No. It is optional. Many rosemary cuttings root without it when the stem, medium, and growing conditions are suitable.
How many cuttings should I take? Take several more than the number of plants you want. Propagation is not guaranteed, and a small batch improves your odds.
Can I plant a cutting straight into the garden? It is safer to pot rooted cuttings individually first and let them become sturdy young plants. Harden them off gradually before planting outdoors.
Why are my cuttings wilting? They may be losing moisture faster than they can replace it. Check the humidity cover, keep the mix lightly moist, and move the pot out of hot direct sun. A black, mushy stem base may indicate rot.
Grow more rosemary from one plant
Propagating rosemary is an economical way to turn one healthy shrub into several new plants. Select fresh, non-flowering shoots, prepare them carefully, and root them in a clean, airy medium. You can also try water propagation if you prefer to watch the roots develop. The essentials are good drainage, gentle light, restrained moisture, and patience.
Once the young plants are established, give them the sunny position and free-draining conditions that rosemary enjoys. A few short cuttings can become fragrant plants for containers, borders, gifts, and the kitchen garden. With careful preparation at the start, you can build a steady supply of this useful herb from a plant you already grow.