
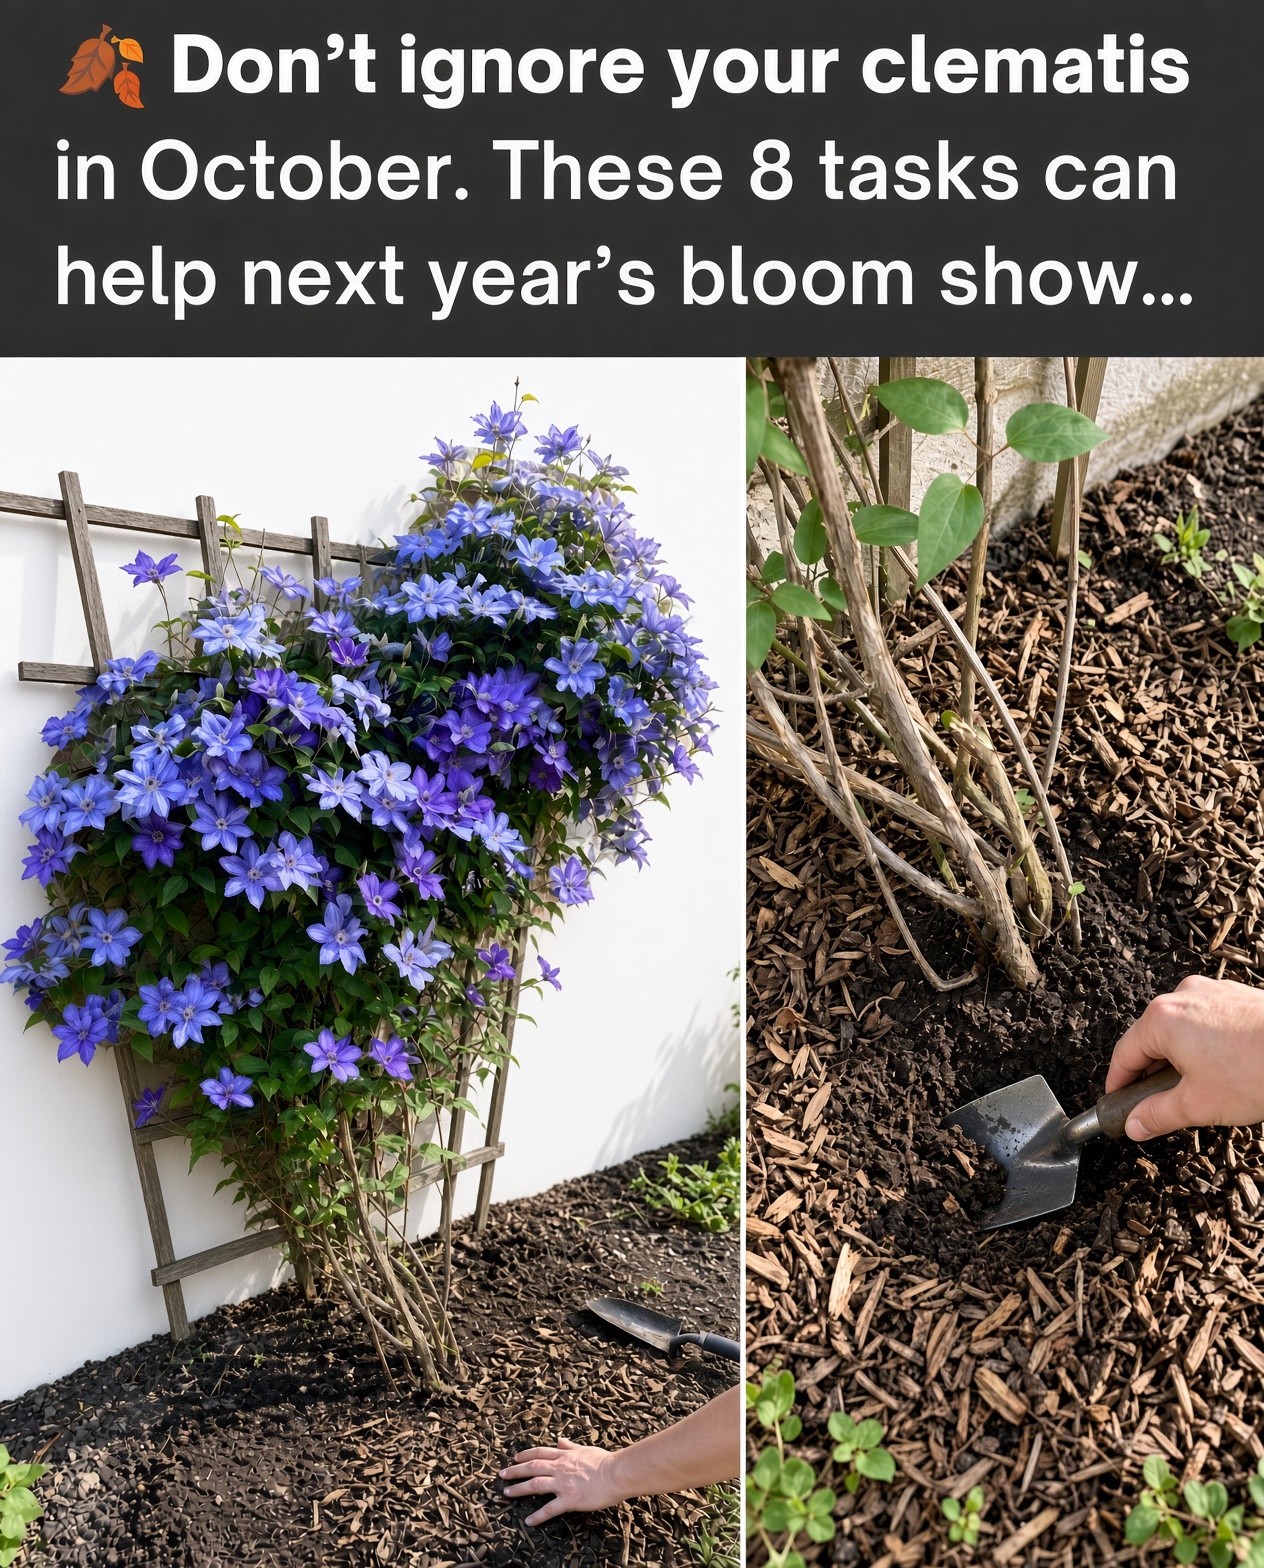
October is not the month to rush into a major clematis haircut. The smartest jobs are mostly about protecting the plant, preserving the right flowering wood, keeping the root zone healthy, and dealing with genuine problems before winter.

1. Identify Your Clematis Pruning Group Before You Cut
Clematis pruning becomes much easier once you stop treating every vine the same. The RHS divides clematis into three pruning groups according to when they flower and whether their flowers develop on old or new growth. That distinction matters because an October cut can remove stems that a spring-flowering clematis needs for next season’s display.
Group 1 contains early-flowering clematis that bloom on shoots made the previous season. Examples include Clematis alpina, C. macropetala, and C. montana. These are normally pruned after flowering in spring rather than routinely in autumn.
Group 2 includes many large-flowered hybrids. They flower on older wood in early summer and may produce a later flush on new growth. Their main pruning window is late winter or early spring, with a lighter trim after the first flush when appropriate.
Group 3 includes many late-summer flowering clematis that bloom on current-season growth. These can be cut back much harder in late winter or early spring, usually to a low framework of healthy buds.
2. Skip the Big Autumn Haircut
The source article’s most useful message is also the easiest one to overlook: October care is often about restraint. Established clematis generally do not need a hard autumn prune. For many plants, the better approach is to wait until the appropriate late-winter or post-flowering pruning window.
You can still remove obviously dead, broken, or diseased material. If a stem has been damaged by wind or has clearly died back, trace it downward until you reach healthy tissue or a strong pair of buds, then make a clean cut. Avoid turning routine autumn cleanup into a full renovation.
This is especially important for Group 1 and Group 2 clematis, where older stems can carry flowers. Group 3 plants are more forgiving, but their main hard pruning is still normally timed for late winter or early spring rather than October.

Gently tying vulnerable stems keeps the vine organized without forcing an early pruning session.
3. Water the Root Zone During Prolonged Dry Weather
Clematis like moisture around their roots, but that does not mean keeping the soil permanently saturated. Established plants usually need little routine irrigation once their roots are developed, yet prolonged dry periods can still cause stress. Newly planted clematis and container-grown plants deserve particular attention.
In October, check the soil before watering. If the root zone is genuinely dry, water slowly and deeply so moisture reaches well below the surface. A thorough soak is more useful than a quick sprinkle that wets only the top layer.
At the same time, avoid creating a permanently soggy bed. Poor drainage can damage roots and crowns, while waterlogged soil deprives roots of oxygen. The goal is consistent moisture with good drainage, not a constantly wet planting hole.
4. Refresh the Mulch Around the Roots
A fresh layer of organic mulch is one of the simplest October jobs for an established clematis. The RHS recommends annual mulching because it can help retain moisture, suppress weeds, and improve soil organic matter.
Spread a layer of compost, well-rotted manure, leaf mould, or another suitable organic mulch over the root zone. Keep the material slightly away from the main stems instead of piling it tightly against the crown. That small gap improves airflow around the base and reduces the risk of persistent dampness against the stems.
Mulch is also useful because clematis prefer cool, moist conditions around their roots. A protected root zone can buffer the effects of changing autumn weather while reducing moisture loss from exposed soil.

A healthy root zone benefits from moisture-retentive mulch while remaining well drained around the crown.
5. Secure Loose Vines Before Strong Winds Arrive
Autumn winds can turn long clematis stems into a tangle, especially when the vine is growing on an exposed fence, arch, or trellis. Take a few minutes to inspect the support and gently guide loose stems back into place.
Use soft ties and avoid cinching them tightly. Clematis stems can be surprisingly fragile, and a tie that cuts into a stem can cause damage as the plant moves. A loose figure-eight tie is a practical option because it gives the stem some room while keeping it close to its support.
Concentrate on protecting valuable older stems on Group 1 and Group 2 plants. These may carry next year’s flowers, so preventing accidental breakage can be more important than making the plant look perfectly tidy.
6. Remove Diseased Growth Promptly
Clematis wilt can cause a dramatic collapse of foliage and stems, particularly on susceptible large-flowered hybrids. A wilted top does not automatically mean the whole plant is dead, so do not immediately dig up the crown.
Instead, remove affected stems back into healthy tissue and clear badly affected plant debris from around the base. Put diseased material in the appropriate waste stream rather than adding suspicious material to a home compost pile. Clean your pruning tools after cutting infected tissue, especially before using them on another clematis.
The important distinction is between a damaged top and a dead root system. Clematis can sometimes regenerate from the crown after losing above-ground growth. Give an established plant time before deciding it has failed.
7. Hold Back Routine Fertilizer
Fertilizing in October is not automatically beneficial. Clematis grown in fertile garden soil generally do not need routine feeding, and the RHS places the main emphasis on spring mulching for established plants.
Rather than encouraging a late flush of soft growth, focus on soil health and moisture management. A good mulch layer provides organic matter without forcing you to push the plant into unnecessary growth as colder weather approaches.
Container-grown clematis are different because their restricted root space can require more regular feeding during active growth. Even then, follow the fertilizer label and seasonal recommendations for the specific plant rather than applying extra feed simply because autumn has arrived.
8. Leave Some Natural Structure for Winter
There is no need to make every clematis look perfectly bare before winter. Depending on the variety, dried flowerheads and stems can add structure and visual interest while also providing habitat and food for garden wildlife.
That does not mean leaving everything untouched. Remove material that is diseased, badly damaged, or likely to create a safety problem. But healthy stems can often stay in place until their proper pruning season arrives.
For many gardeners, this is the biggest October clematis lesson: tidy selectively, not aggressively. The goal is to protect the plant without sacrificing the flowering wood it will need later.
- Identify the clematis pruning group before making major cuts.
- Avoid routine hard pruning in October.
- Water deeply during prolonged dry weather, but keep the soil well drained.
- Refresh mulch around the root zone without piling it against the crown.
- Secure loose stems with soft ties before windy weather.
- Remove diseased material and clean pruning tools afterward.
- Skip routine fertilizer for established clematis in fertile ground.
- Leave healthy stems and useful winter structure until the correct pruning window.
Final Thoughts
October clematis care is less about doing as much as possible and more about doing the right things at the right time. Protect the roots, keep moisture consistent during dry spells, secure vulnerable vines, remove genuine disease or damage, and most importantly, identify the pruning group before reaching for your shears.
If you are unsure what type of clematis you have, the safest temporary strategy is to preserve healthy growth and investigate the cultivar before making a major cut. Once you know whether the plant flowers on old wood or new growth, pruning becomes far less intimidating—and your spring and summer display is much easier to protect.