
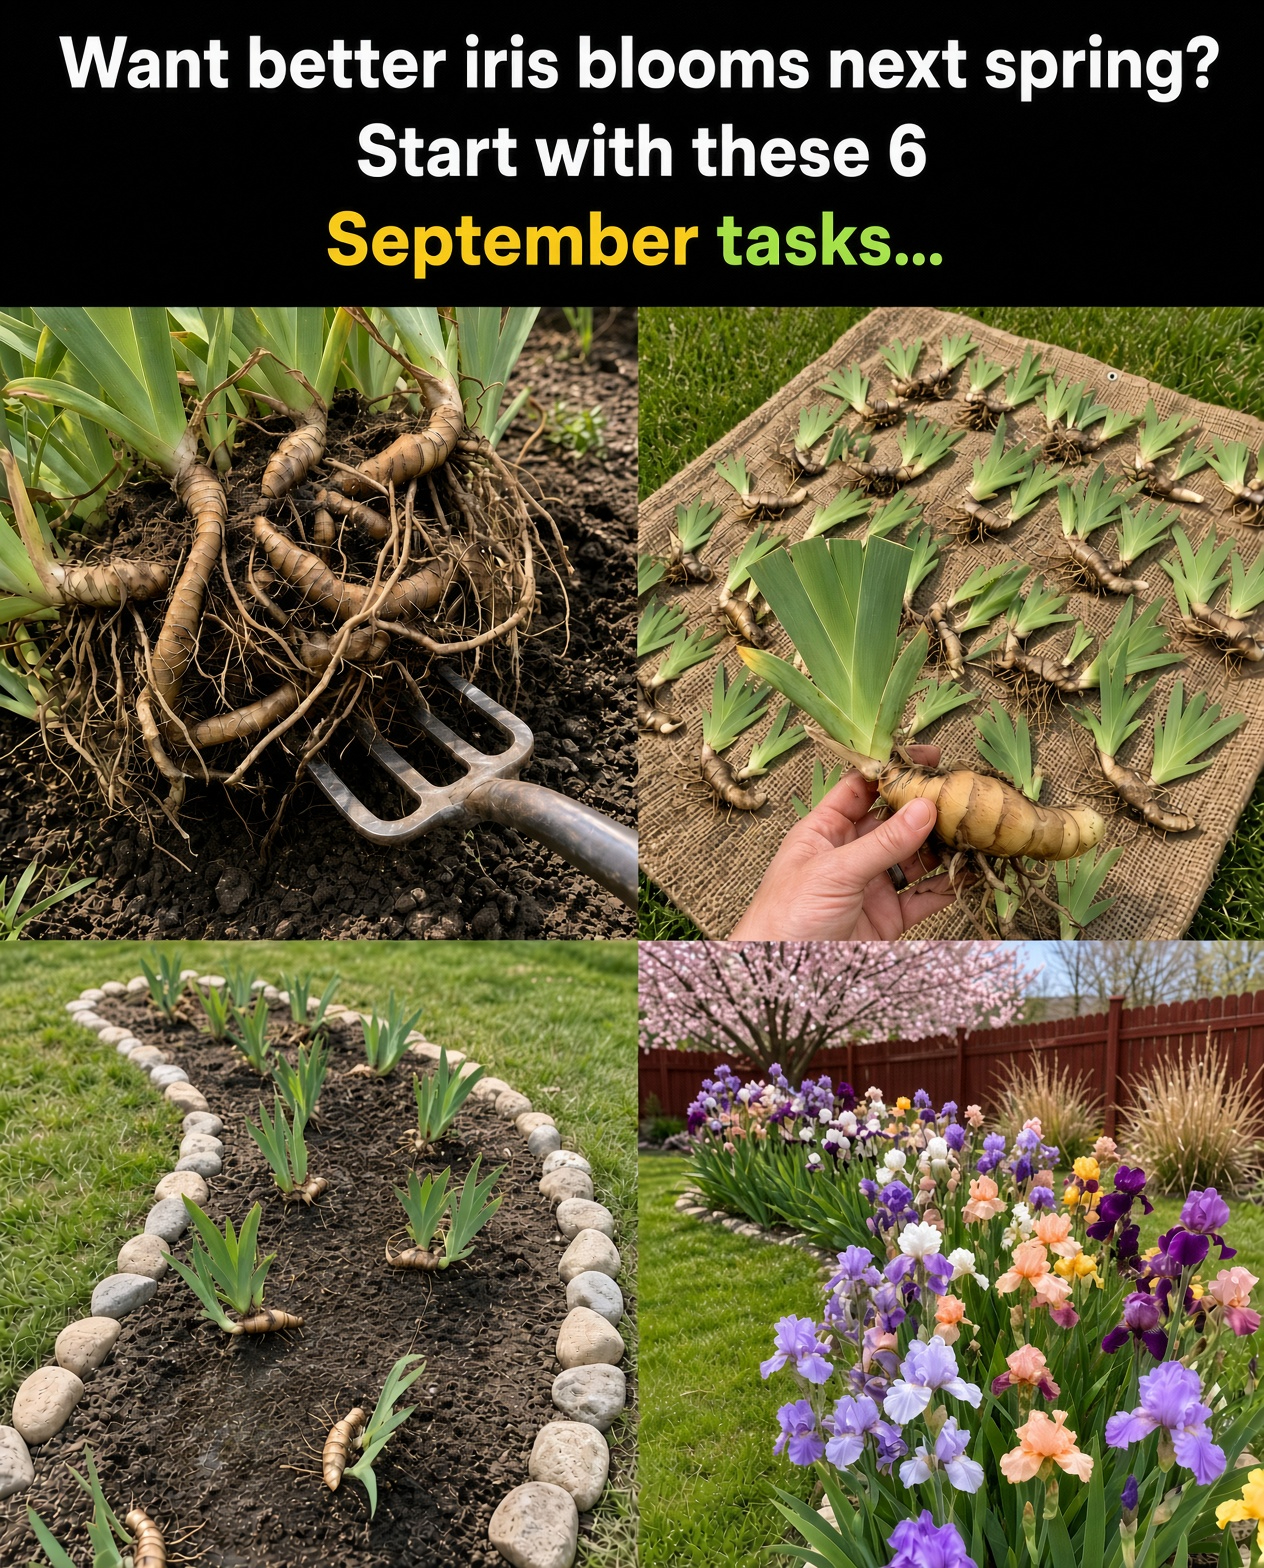

September is an excellent time to give bearded irises some attention, especially when established clumps have become crowded or the foliage is beginning to look tired. A little work now can help newly divided rhizomes establish roots before winter and leave the plants in better condition for the next growing season.
The most important thing is not to treat every iris bed exactly the same. Healthy green foliage is still useful, while damaged, diseased, or overcrowded growth deserves attention. If your iris clumps have been growing in the same spot for several years, September can be the perfect opportunity to divide and reset them.
1. Divide Crowded Iris Rhizomes and Trim the Fans

Bearded irises can eventually form dense clumps of interconnected rhizomes. When several years have passed without division, the center of the plant may become overcrowded and flowering can become less impressive.
Carefully lift the clump with a garden fork and loosen the soil around the rhizomes. Separate the pieces by hand where possible, or use a clean, sharp knife when the rhizomes are tightly connected.
Choose firm, healthy sections with good roots and at least one strong leaf fan. Old, exhausted sections from the center of the clump are less useful than vigorous outer pieces.
Once the divisions are separated, shorten the leaves to roughly 6 inches. Cutting the fans back reduces moisture loss while the newly divided plants concentrate on establishing roots.
- Keep firm, healthy rhizomes.
- Remove obviously rotten or diseased sections.
- Trim long foliage after dividing.
- Discard heavily damaged material rather than spreading it around the garden.
2. Inspect Every Rhizome for Rot and Pest Damage

Dividing an iris clump gives you a chance to inspect the rhizomes properly. Once the soil has been brushed or rinsed away, problems that were hidden underground become much easier to spot.
A healthy rhizome should feel firm rather than soft or waterlogged. Soft tissue, unpleasant odors, discoloration, or obvious decay are warning signs that the section should not be replanted.
Also look closely for small holes or sawdust-like material that can indicate iris borer activity. Damaged tissue should be removed with a clean, sharp blade until only firm tissue remains.
If a rhizome is extensively damaged or rotten, it is safer to discard the entire piece. Diseased material should not be added to your compost pile.
Whenever you cut into diseased tissue, clean the blade before moving on to another plant. This simple precaution helps prevent you from transferring problems between rhizomes.
3. Prepare the Soil Without Overfeeding

Newly divided irises do not need a heavy dose of fertilizer. In fact, pushing excessive leafy growth when the plant should be establishing itself can create unnecessary problems.
If your soil needs nutrients, use a balanced approach based on the condition of the soil rather than automatically adding large amounts of fertilizer. A soil test can tell you whether nutrients are actually lacking.
When fertilizer is appropriate, avoid placing concentrated fertilizer directly against the rhizome. Mix any recommended amendment lightly into the surrounding soil so that developing roots can access the nutrients gradually.
It is also worth remembering that adding more phosphorus does not automatically guarantee more flowers. Good drainage, sunlight, correct planting depth, healthy rhizomes, and appropriate nutrition all work together.
4. Plant the Rhizome Shallowly

One of the easiest mistakes to make when replanting bearded iris is burying the rhizome too deeply. Unlike many plants whose crowns belong beneath the soil, bearded iris rhizomes prefer a shallow position.
Spread the roots downward and outward into the prepared soil. Then backfill around the roots while leaving the upper surface of the rhizome at or very close to the soil line.
The top of the rhizome should remain visible in most situations. This allows it to receive warmth and sunlight and helps prevent the consistently damp conditions that encourage rot.
In extremely hot climates or very light, sandy soil, gardeners may use a very thin covering to protect the rhizome from excessive heat. The key is still to avoid deep planting.
After positioning the plant, firm the surrounding soil gently so the division stays securely in place.
5. Water Thoroughly, Then Avoid Soggy Soil

Give freshly planted iris divisions a thorough watering immediately after planting. This settles the soil around the roots and removes large air pockets.
After that first deep watering, pay attention to the soil rather than following a rigid schedule. Newly divided plants need enough moisture to establish roots, but constantly wet conditions around the rhizome can encourage rot.
Water deeply when the soil begins to dry, allowing excess water to drain away. If regular autumn rainfall is keeping the soil adequately moist, there may be little reason to add more water.
The goal is simple: moist roots with good drainage, not a permanently saturated planting bed.
6. Remove Dying Foliage and Keep the Bed Clean

After dividing and planting, resist the temptation to remove every leaf simply because autumn has arrived. Green foliage is still contributing energy to the plant and its rhizome.
Instead, watch the leaves as the season progresses. When individual outer leaves turn yellow, brown, or soft, remove them at the base. If a leaf does not pull away easily, trim it cleanly rather than tugging aggressively.
Dead and diseased foliage should be cleared from around the rhizomes rather than left in a thick layer. Old plant debris can provide shelter for pests and can allow fungal problems to remain in the garden from one season to the next.
If leaf spot has been a recurring issue, remove badly affected leaves and dispose of them rather than placing them in the compost. Keeping the foliage as dry and well-ventilated as practical can also help reduce fungal pressure.
Watch for These September Iris Problems

Yellowing outer leaves
A few yellowing outer leaves do not necessarily mean the plant needs more water. Newly divided irises can naturally lose some older foliage while they adjust to their new conditions. Check the soil before reaching for the hose.
Remove yellow or damaged outer leaves while leaving healthy green central growth intact.
Brown leaf spots
Brown or dark spots appearing across the foliage can be associated with fungal leaf diseases. Remove badly affected leaves and keep fallen infected material out of the planting area.
Soft rhizomes
A soft or foul-smelling rhizome is much more concerning than ordinary seasonal yellowing. Inspect it closely and remove rotten tissue rather than planting a questionable division back into the bed.
How to Keep September Iris Care Simple
You do not need to constantly fuss over bearded irises during September. The most useful work is targeted: divide overcrowded clumps, select healthy rhizomes, clean away damaged tissue, prepare the soil, plant shallowly, water correctly, and keep the bed free of diseased debris.
Once those jobs are finished, let the plants settle. Avoid excessive watering and unnecessary fertilizer, and allow healthy green foliage to continue doing its job until it naturally begins to decline.
September Bearded Iris Checklist
| Task | What to Do | What to Avoid |
|---|---|---|
| Divide | Separate crowded clumps and keep vigorous rhizomes. | Replant rotten or badly damaged pieces. |
| Inspect | Look for rot, holes, pests, and damaged tissue. | Ignore suspicious soft areas. |
| Fertilize | Base feeding on soil needs. | Overfeed newly divided plants. |
| Plant | Spread roots outward and keep the rhizome shallow. | Bury the rhizome deeply. |
| Water | Water thoroughly after planting and maintain light moisture. | Keep the soil constantly soggy. |
| Clean up | Remove dead and diseased leaves as they decline. | Leave infected debris around the rhizomes. |
Final Thoughts
September is less about forcing bearded irises to grow and more about setting them up for the months ahead. A crowded clump can be divided, damaged rhizomes can be removed, and healthy divisions can be replanted at the correct shallow depth.
From there, the best approach is fairly simple: provide reasonable moisture, keep the rhizomes well drained, remove diseased debris, and let healthy foliage remain until it naturally fades.
With a little careful September maintenance, your iris bed can enter autumn clean and well established, giving those rhizomes a much better foundation for next spring’s growth and flowers.
:::