
Horticulture & Gardening Guide • Step-by-Step Tutorial
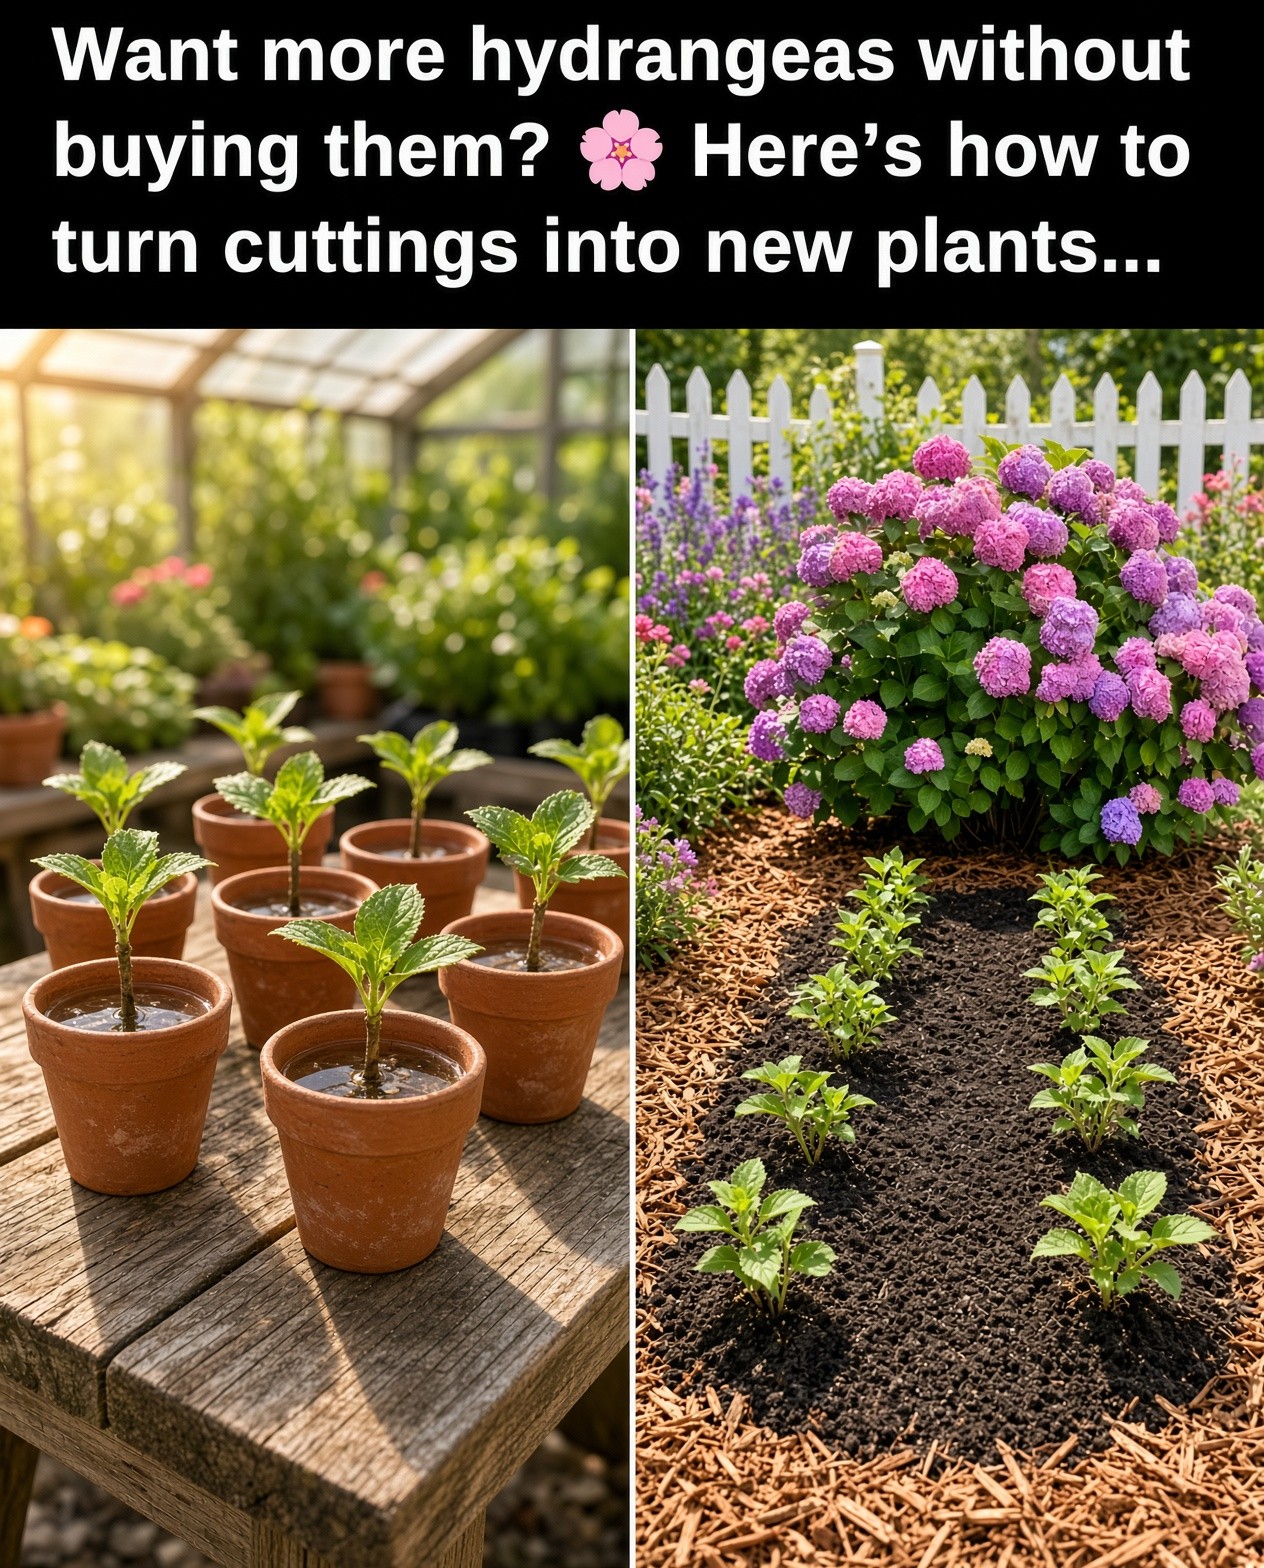
Hydrangeas are universally adored for their massive, breathtaking globe and panicle blooms that effortlessly transform any ordinary backyard into a lush, vibrant paradise. However, buying established hydrangea shrubs from commercial garden centers can become remarkably expensive very quickly. Fortunately, master gardeners know a wonderful secret: hydrangeas are among the easiest woody shrubs to propagate at home. With just a few healthy stem cuttings, clean shears, and a little patience, you can multiply your favorite garden shrubs for free.

Whether you want to frame a backyard pathway, gift gorgeous flowering shrubs to neighbors, or fill out empty landscape borders without spending a single dollar, learning how to propagate hydrangeas is an immensely rewarding horticultural skill. This comprehensive beginner’s masterclass walks you through the entire process from selecting the right branch to successfully transplanting your newly rooted cuttings into the garden.

Understanding Hydrangea Propagation Basics
Before making your first cut, it helps to understand how hydrangea propagation works. The most reliable and popular method for home gardeners is taking softwood stem cuttings during late spring or early summer, when new season growth is flexible yet sturdy enough to hold moisture. Each cutting transforms into an exact genetic clone of your parent plant, ensuring you get the exact flower color, petal shape, and growth habit you fell in love with.
Step-by-Step Guide to Propagating Hydrangeas
Step 1: Select a Healthy Parent Branch
Selection
Walk up to your healthy, established hydrangea bush and inspect the branches. Look for sturdy, green stems that have not yet produced flowers, known as non-flowering shoots. Stems carrying heavy flower heads expend all their energy on blooming rather than growing roots, making them poor candidates for successful propagation. Choose a straight, healthy stem measuring roughly 4 to 6 inches in length.

Step 2: Make the Clean Cut
Tool Preparation
Using a sharp pair of pruning shears or a clean razor blade disinfected with rubbing alcohol, make a clean cut directly below a leaf node (the specific point where leaves attach to the stem). Roots form most rapidly and abundantly right at these node sites due to a high concentration of plant growth hormones. Your cut stem should measure about 5 to 6 inches long.
Step 3: Strip Lower Leaves
Foliage Prep
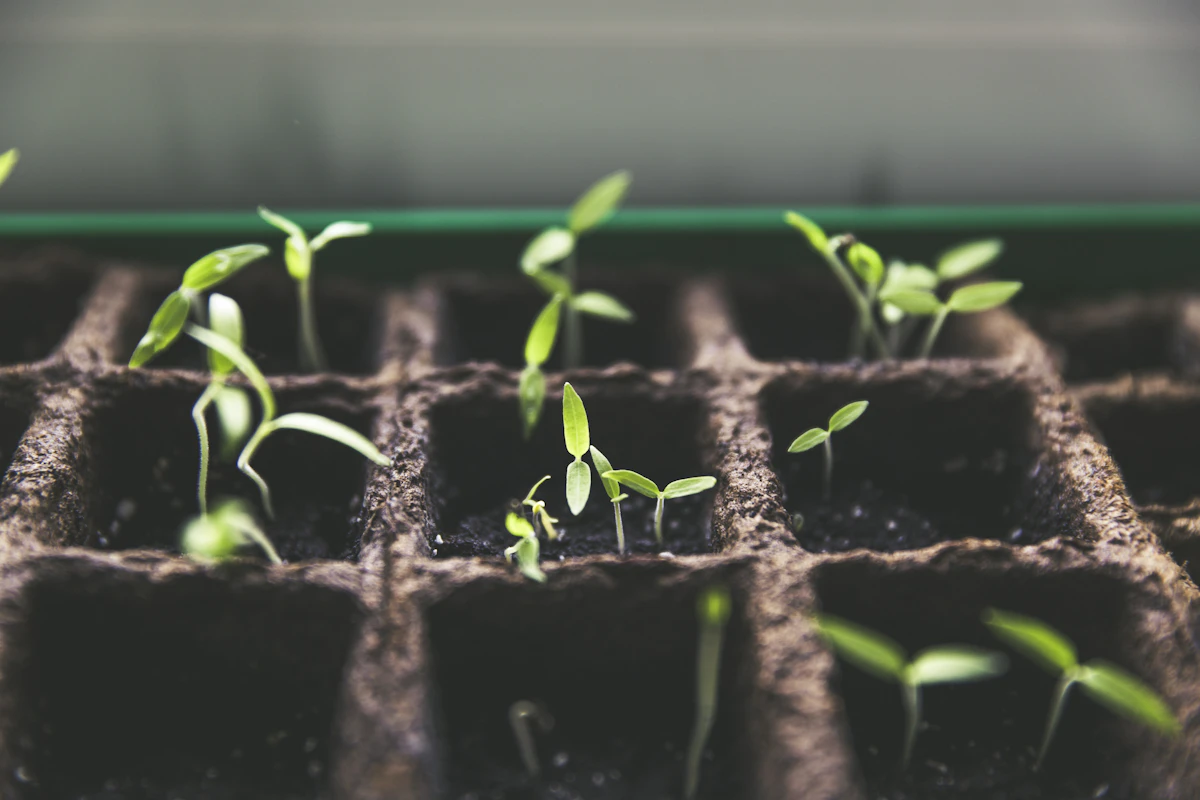
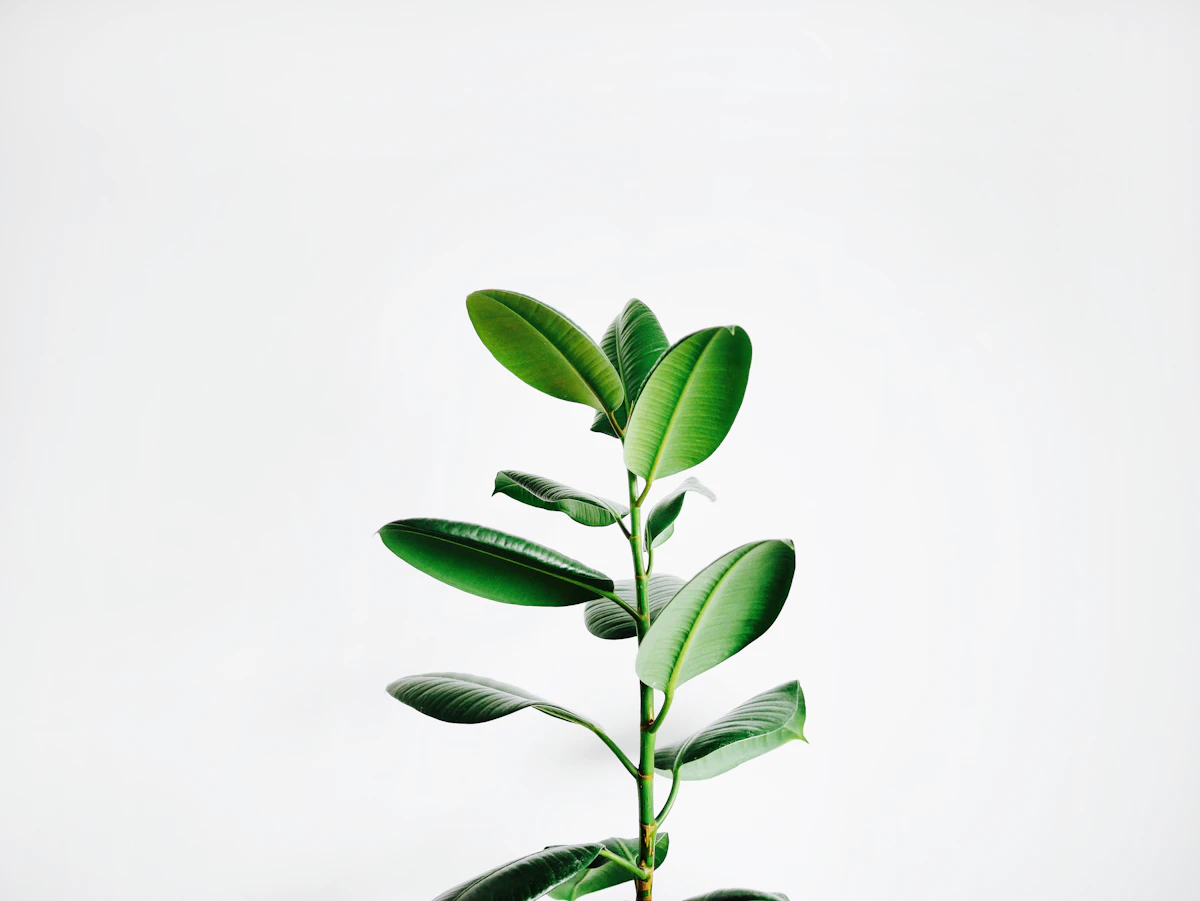
Carefully snip away all the lower leaves along the bottom half to two-thirds of your stem, leaving only one or two sets of leaves at the very top. This crucial step accomplishes two vital goals: it minimizes moisture loss through transpiration while preventing buried foliage from rotting inside your rooting medium. If the remaining top leaves are exceptionally large, cut them in half horizontally to further reduce water stress.
Step 4: Apply Rooting Hormone (Optional)
Growth Boost
While hydrangeas can root successfully in plain water or soil without additives, dipping the freshly cut lower end of your stem into rooting hormone powder or gel significantly accelerates the process. Gently tap the stem to shake off any excess powder, ensuring a thin, even coat covers the bottom leaf nodes where root cells will soon emerge.

Step 5: Plant in a Well-Draining Medium
Potting
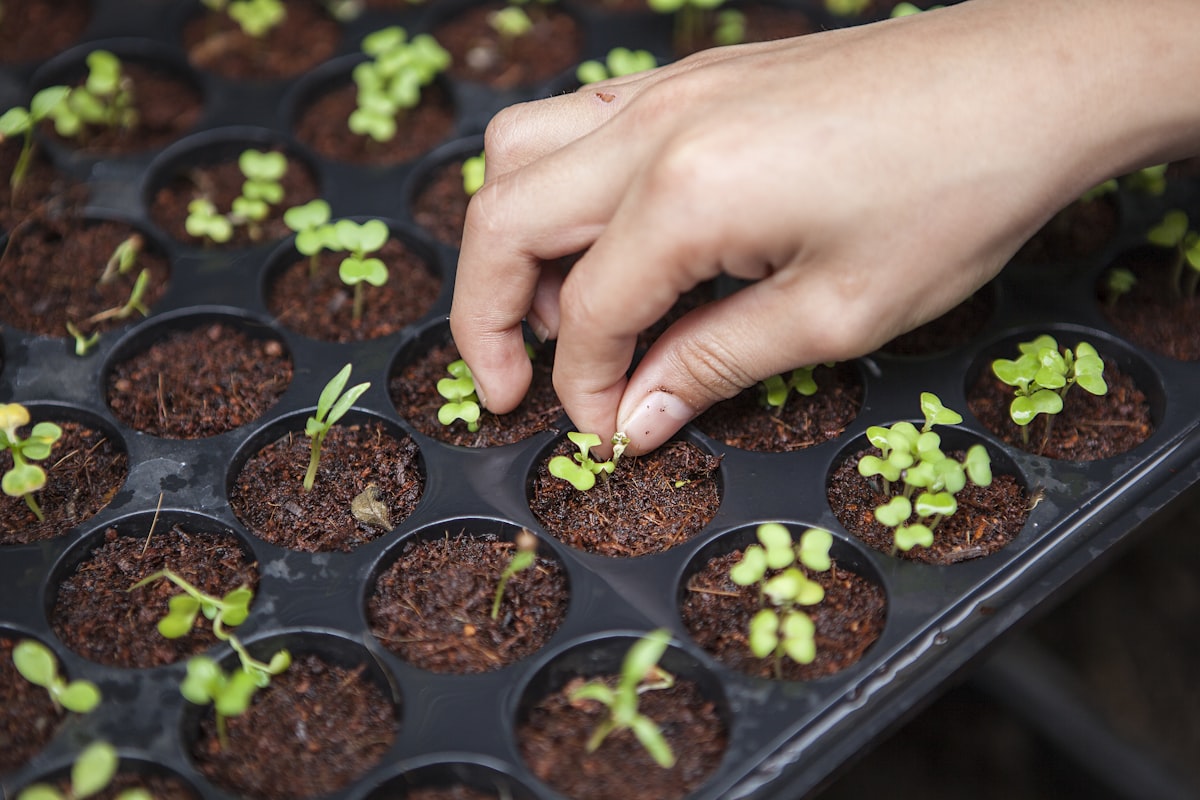
Fill a small nursery pot or seedling tray with a light, sterile propagation mix composed of equal parts perlite and peat moss, or coarse horticultural sand. Avoid heavy garden soil, which retains too much moisture and invites fungal stem rot. Poke a small pilot hole with a pencil, insert your prepared cutting down to the first remaining set of leaves, and firm the surrounding medium gently to hold it upright.

Step 6: Create a Mini Greenhouse Environment
Humidity Control
Because cuttings lack established roots to absorb water from soil, they rely heavily on high ambient humidity to stay hydrated. Water the potting medium thoroughly once, then slide a clear plastic bag or dome over the entire pot, securing it loosely with a rubber band. Place the setup in a bright location out of direct, scorching sunlight, which could easily overheat and scorch your enclosed cutting.

Step 7: Monitor, Water, and Test for Roots
Aftercare
Check your cuttings every few days, misting the soil if the surface feels dry to the touch. Remove the plastic dome for an hour every few days to circulate fresh air and prevent mold growth. Within 3 to 4 weeks, gently tug on the base of the stem; if you feel gentle resistance, congratulations—healthy roots have successfully formed underground!

Step 8: Transplanting to Your Garden
Final Planting
Once your rooted cuttings have developed a strong, vigorous root system and fresh top growth appears, transplant them into larger individual pots with standard potting soil to let them mature further over the summer. By autumn or the following spring, your robust young hydrangea plants will be fully prepared to move into their permanent outdoor garden locations.
