
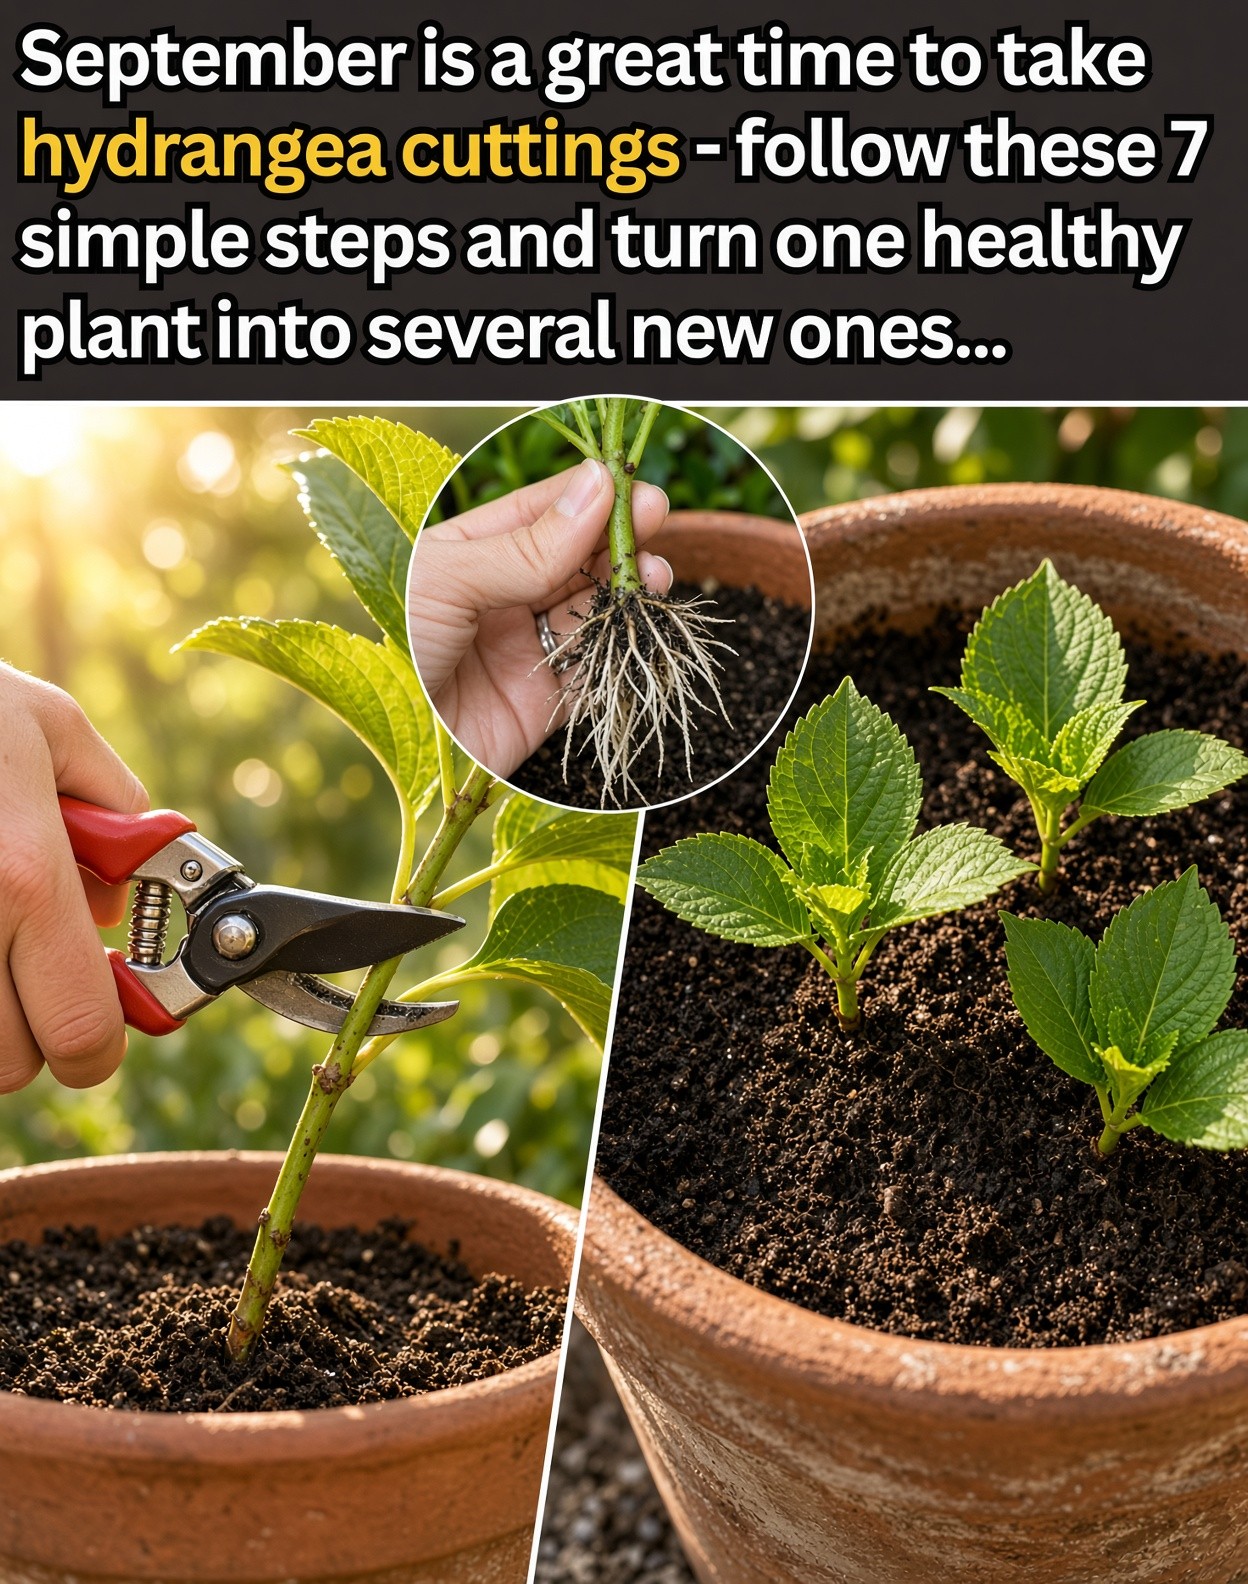
September can be an excellent moment to try making new hydrangea plants from healthy stems. If you have a mature shrub with foliage and growth you love, a few carefully prepared cuttings can give you young plants to nurture through the colder months and into spring.
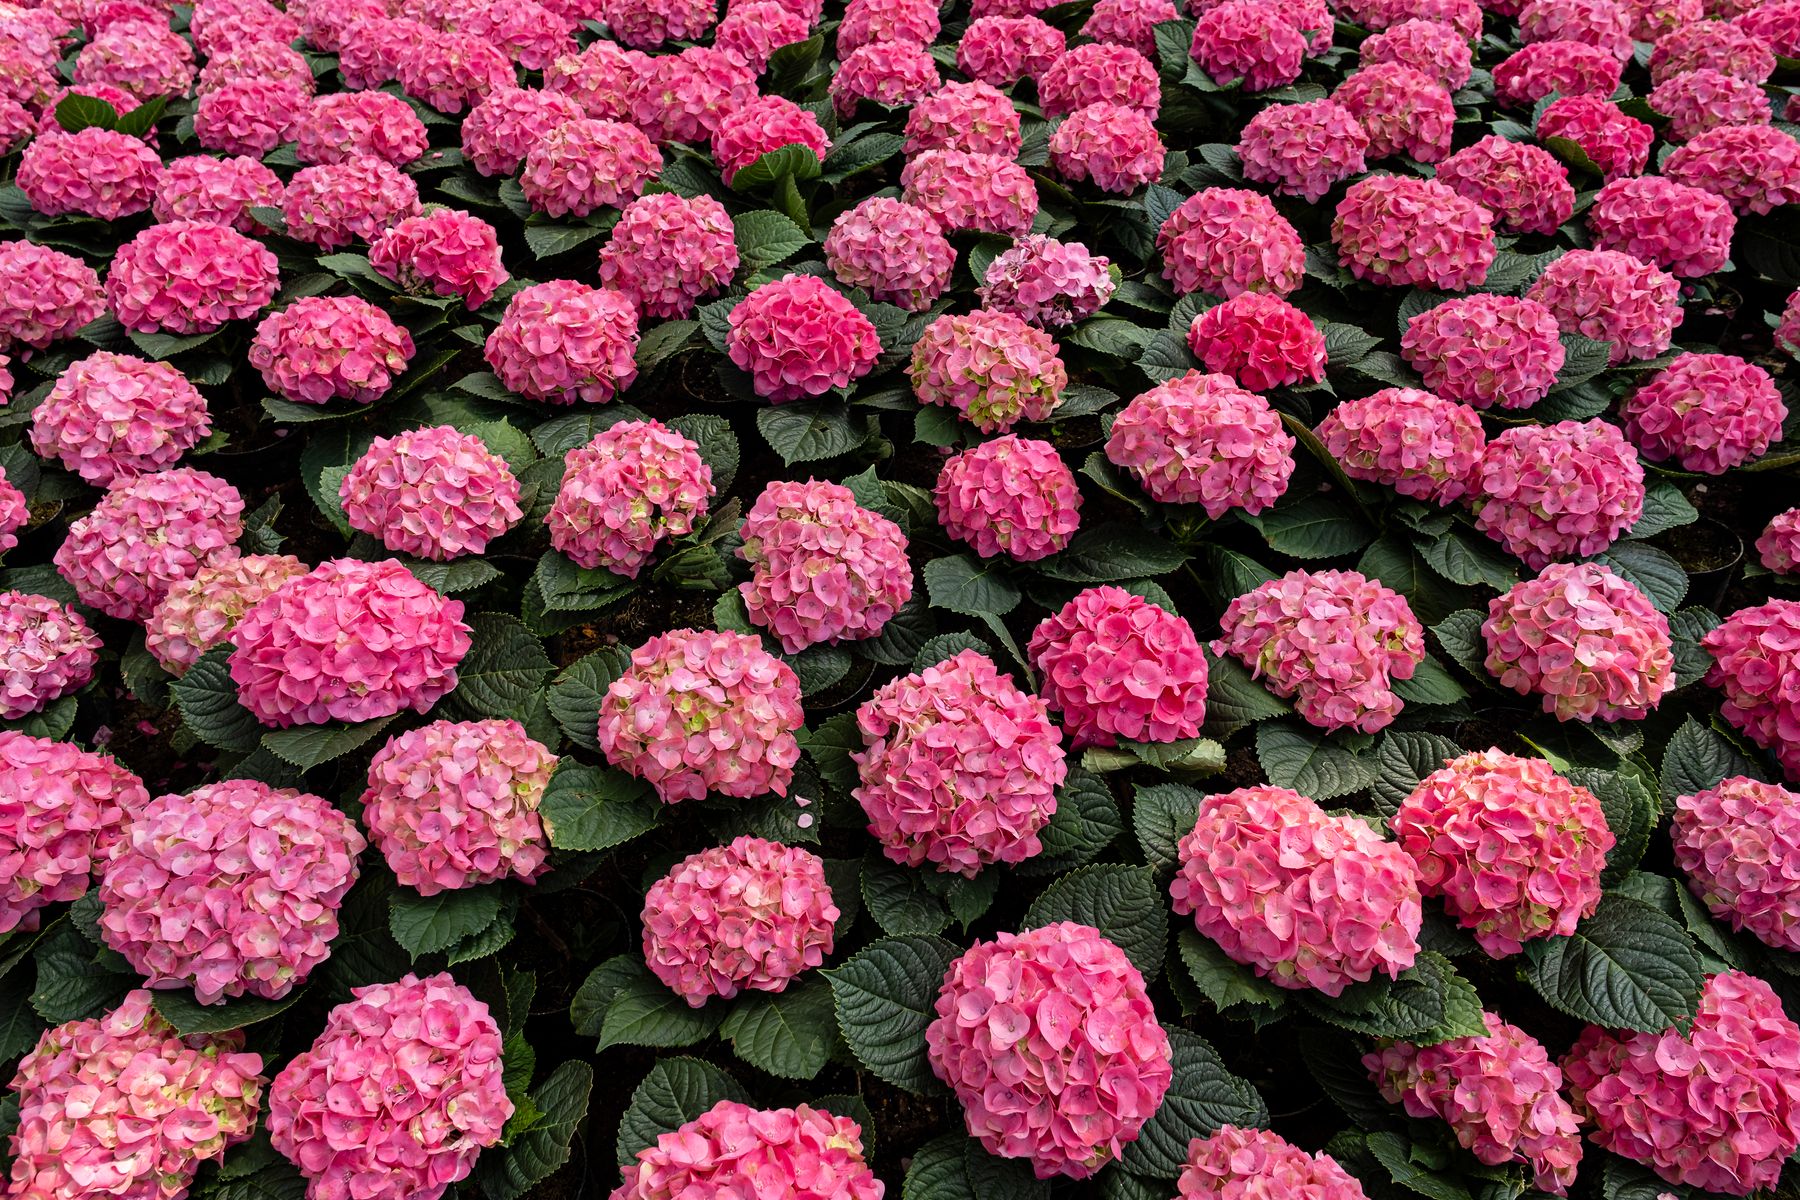
1. Choose a Healthy, Non-Flowering Stem
Start with a vigorous stem that looks fresh and flexible rather than old, hard, or heavily woody. The ideal cutting should be free from obvious disease or serious insect damage and should have several sets of leaves. A non-flowering shoot is preferred because the cutting can concentrate on establishing roots instead of maintaining a flower.
A piece around 4 to 6 inches long is a practical size for home propagation. If possible, take the cutting in the morning, when the plant is well hydrated. Avoid collecting stems during the hottest part of the afternoon. When the shrub has been growing in very dry soil, watering it the previous day can help the stems remain turgid.
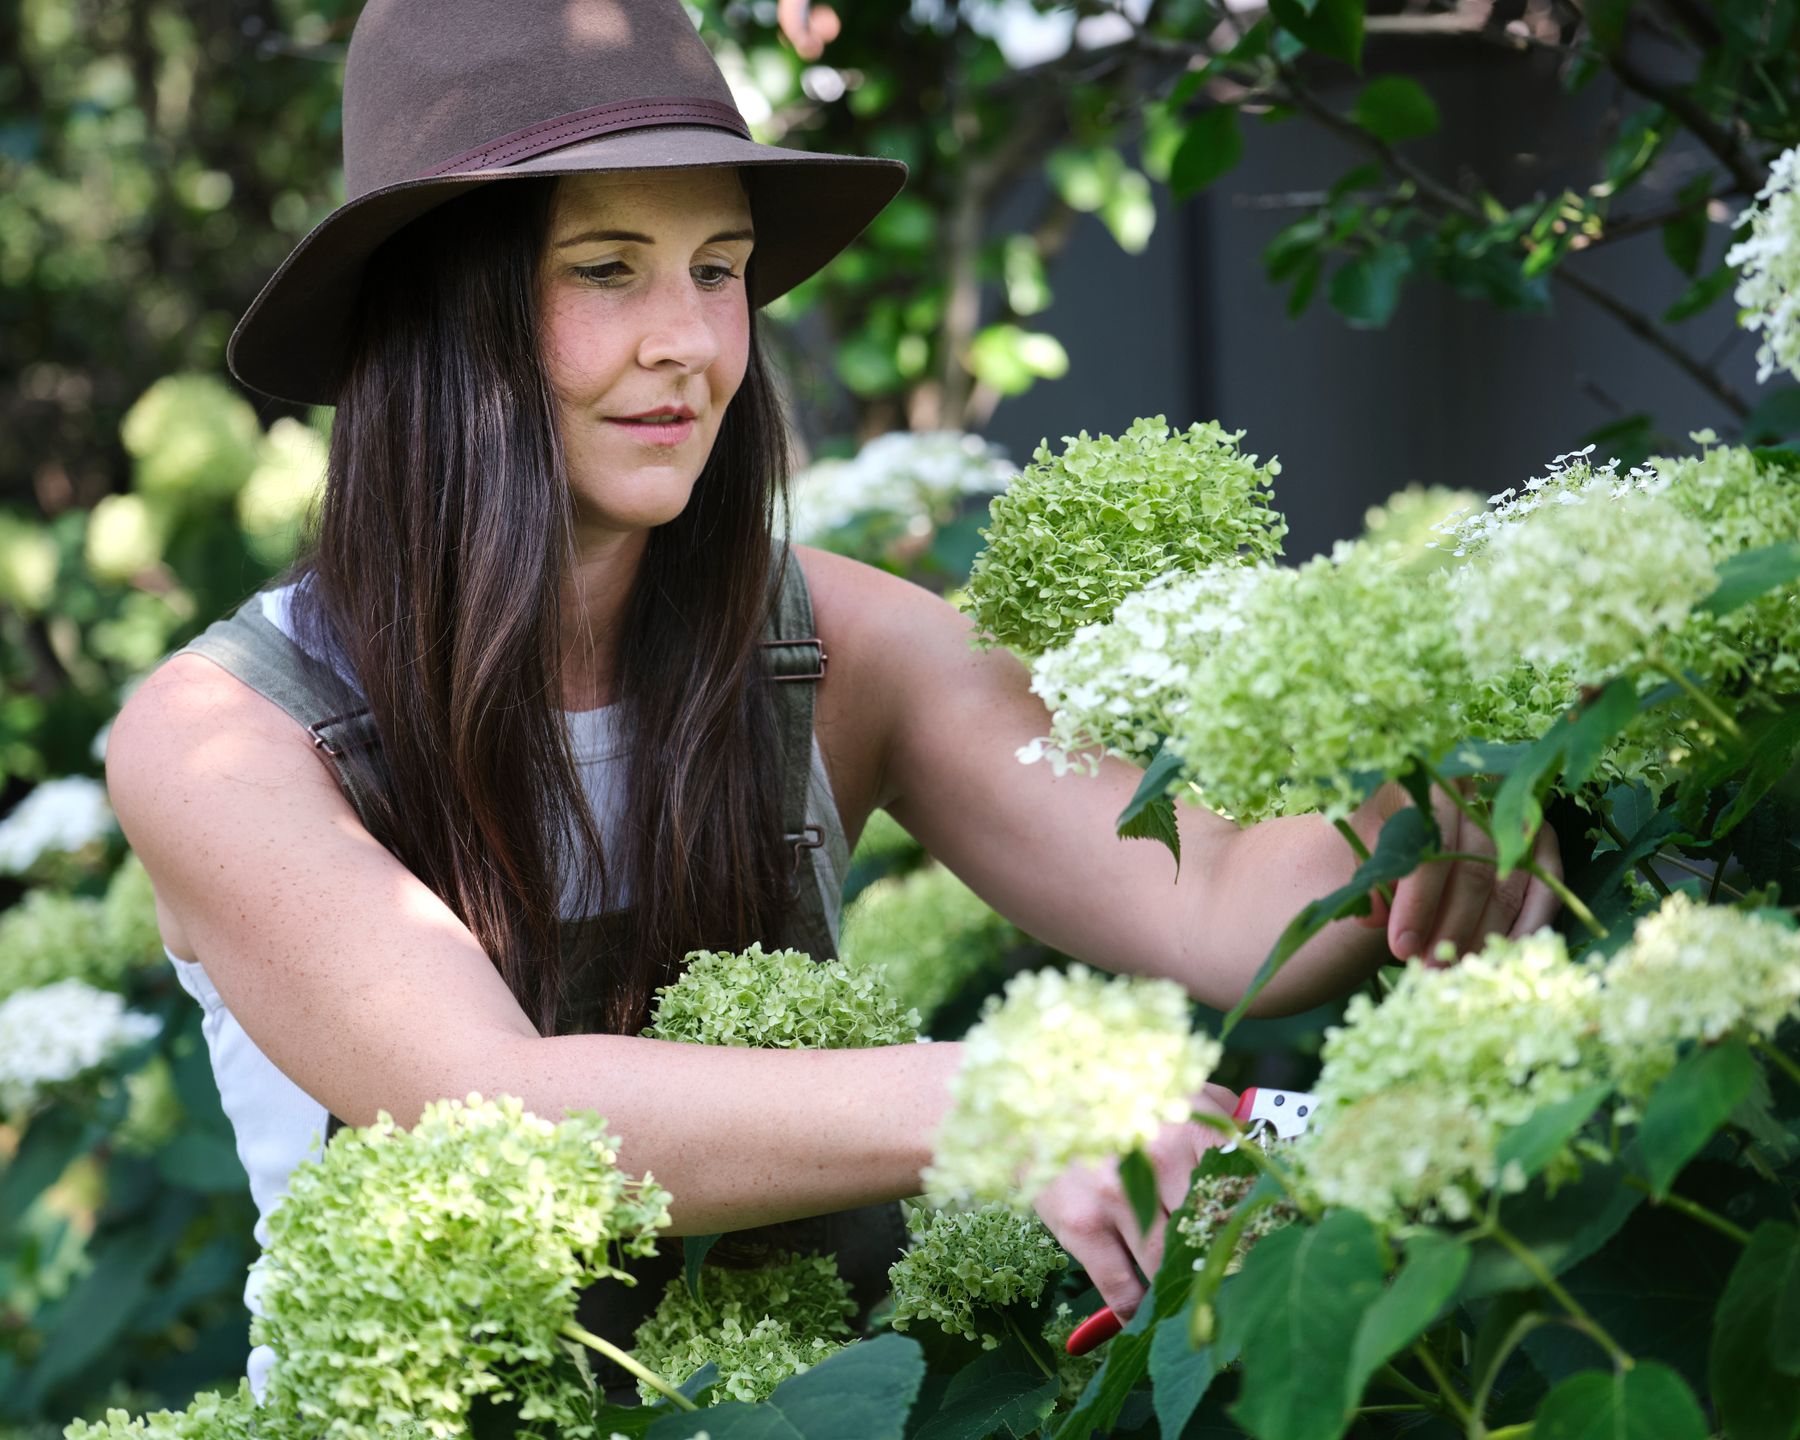
2. Make the Cut Just Below a Leaf Node
Use clean, sharp pruners or scissors and make the lower cut immediately beneath a leaf node. A node is the point where a leaf joins the stem, and it is an important area for new growth and root development. Aim for a cutting containing at least two or three nodes.
Clean tools matter because they reduce the chance of transferring plant diseases. Make a smooth cut rather than crushing or tearing the stem. It is also smart to prepare several cuttings at once. Some may fail to root, so taking extras improves your odds of producing strong young plants.
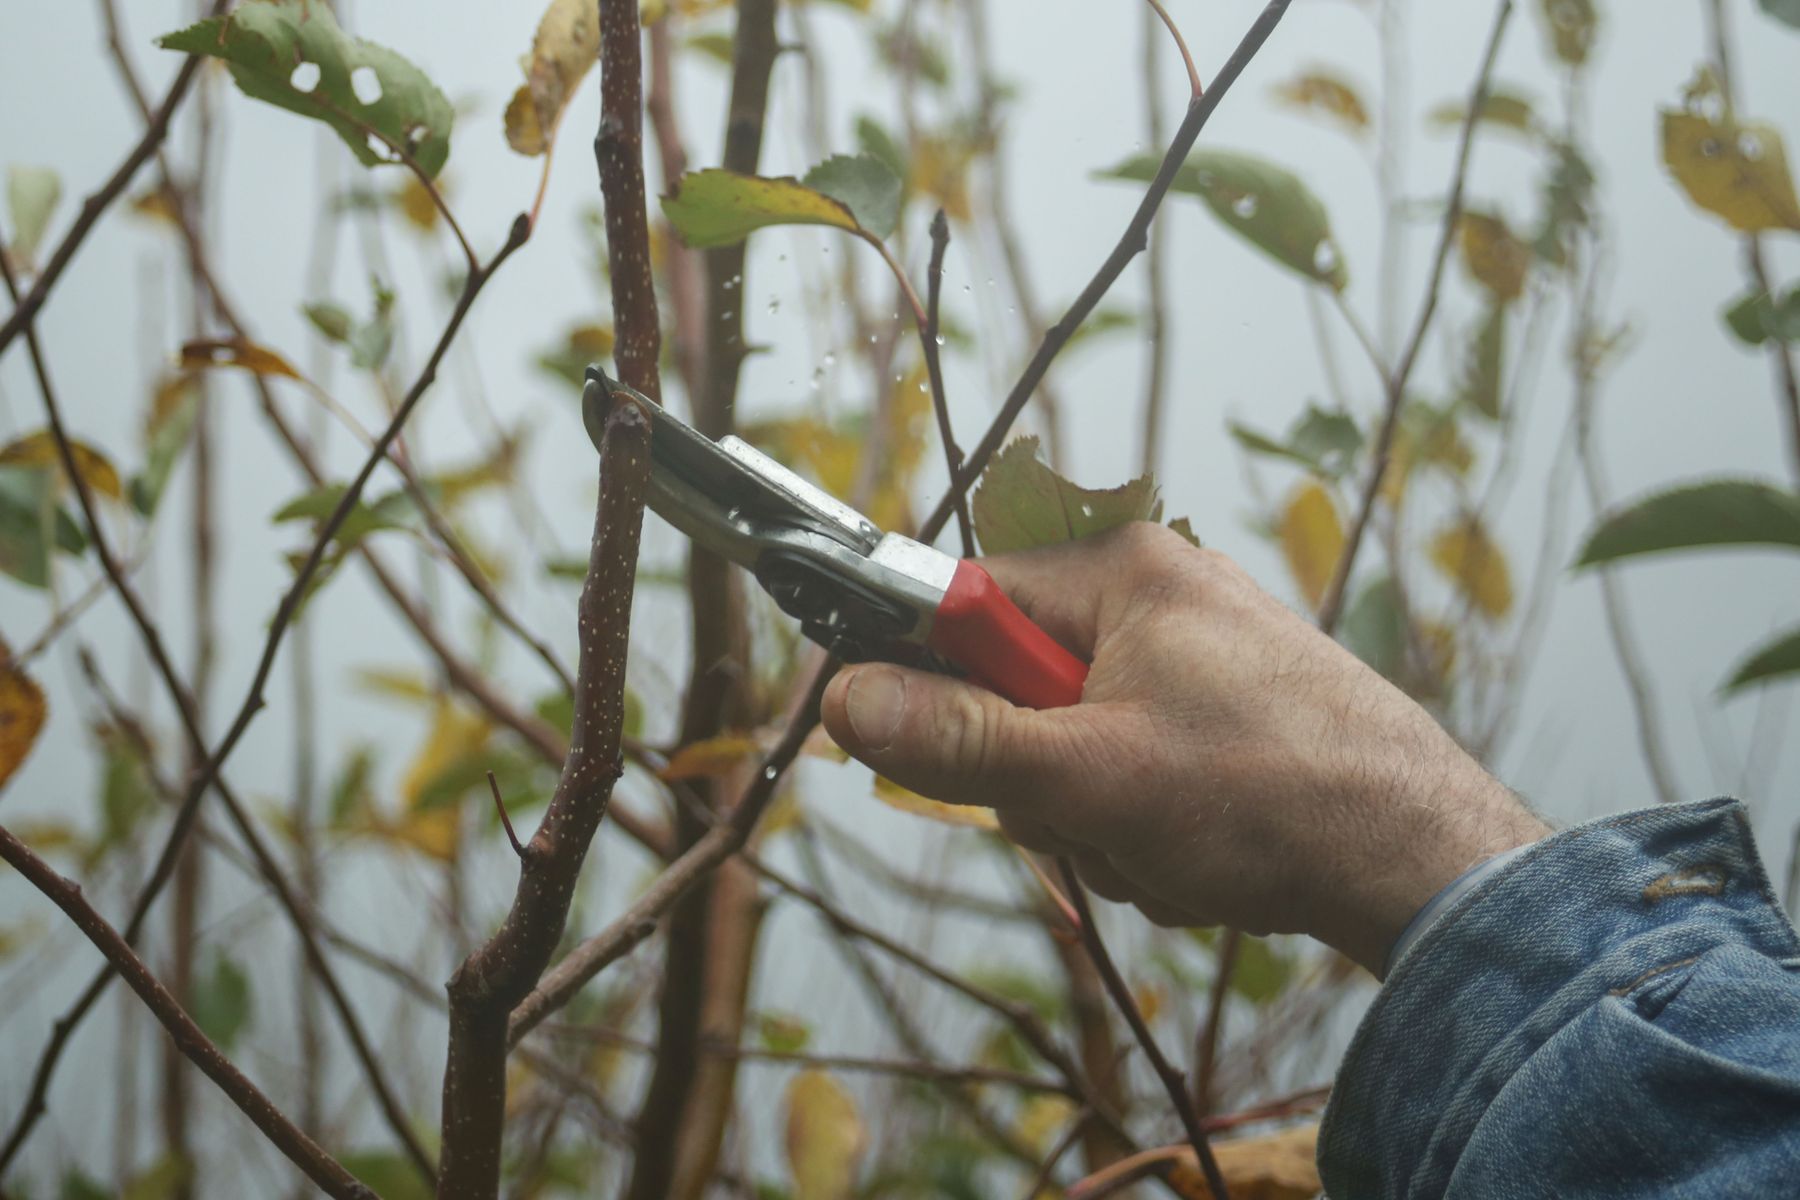
3. Remove the Lower Leaves
Prepare the stem by removing the leaves from its lower half. Leave one or two healthy leaves toward the top, while exposing the nodes that will sit below the growing medium. Any leaves buried in moist mix can decay, and excess foliage creates additional water loss before the cutting has a functioning root system.
Do not strip the entire stem bare. The remaining leaves still contribute to photosynthesis and help the cutting continue functioning while roots form. The goal is a small amount of useful foliage above the mix and clean stem below it.
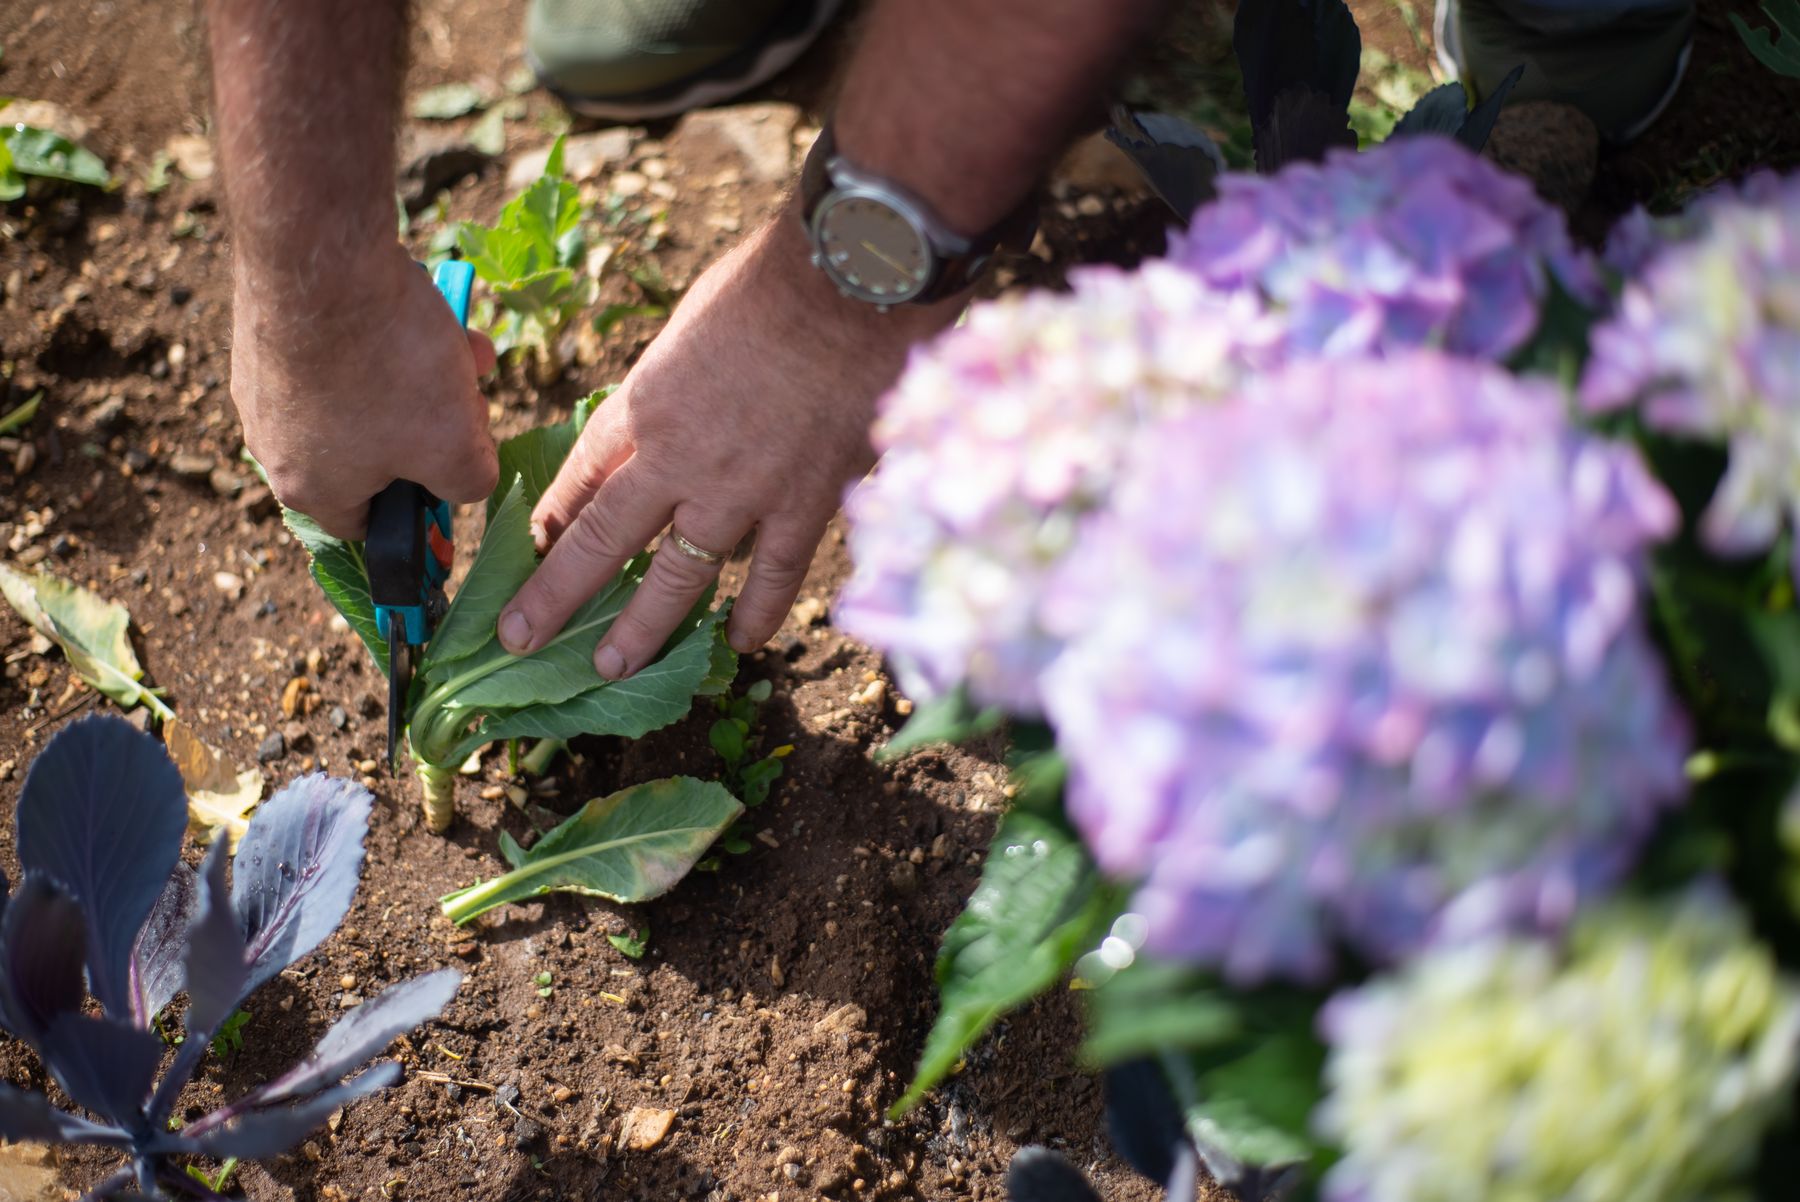
4. Reduce Large Leaves
Hydrangea leaves can be quite large, which makes moisture management harder for an unrooted cutting. Leaves continually lose water through transpiration, but a fresh cutting has little ability to replace that moisture. For large leaves, carefully cutting each remaining leaf roughly in half can reduce the exposed surface.
This step is optional when the foliage is naturally small. Use clean scissors and avoid injuring the growing tip at the top of the stem. You are trying to reduce water loss while leaving enough healthy green tissue for photosynthesis.
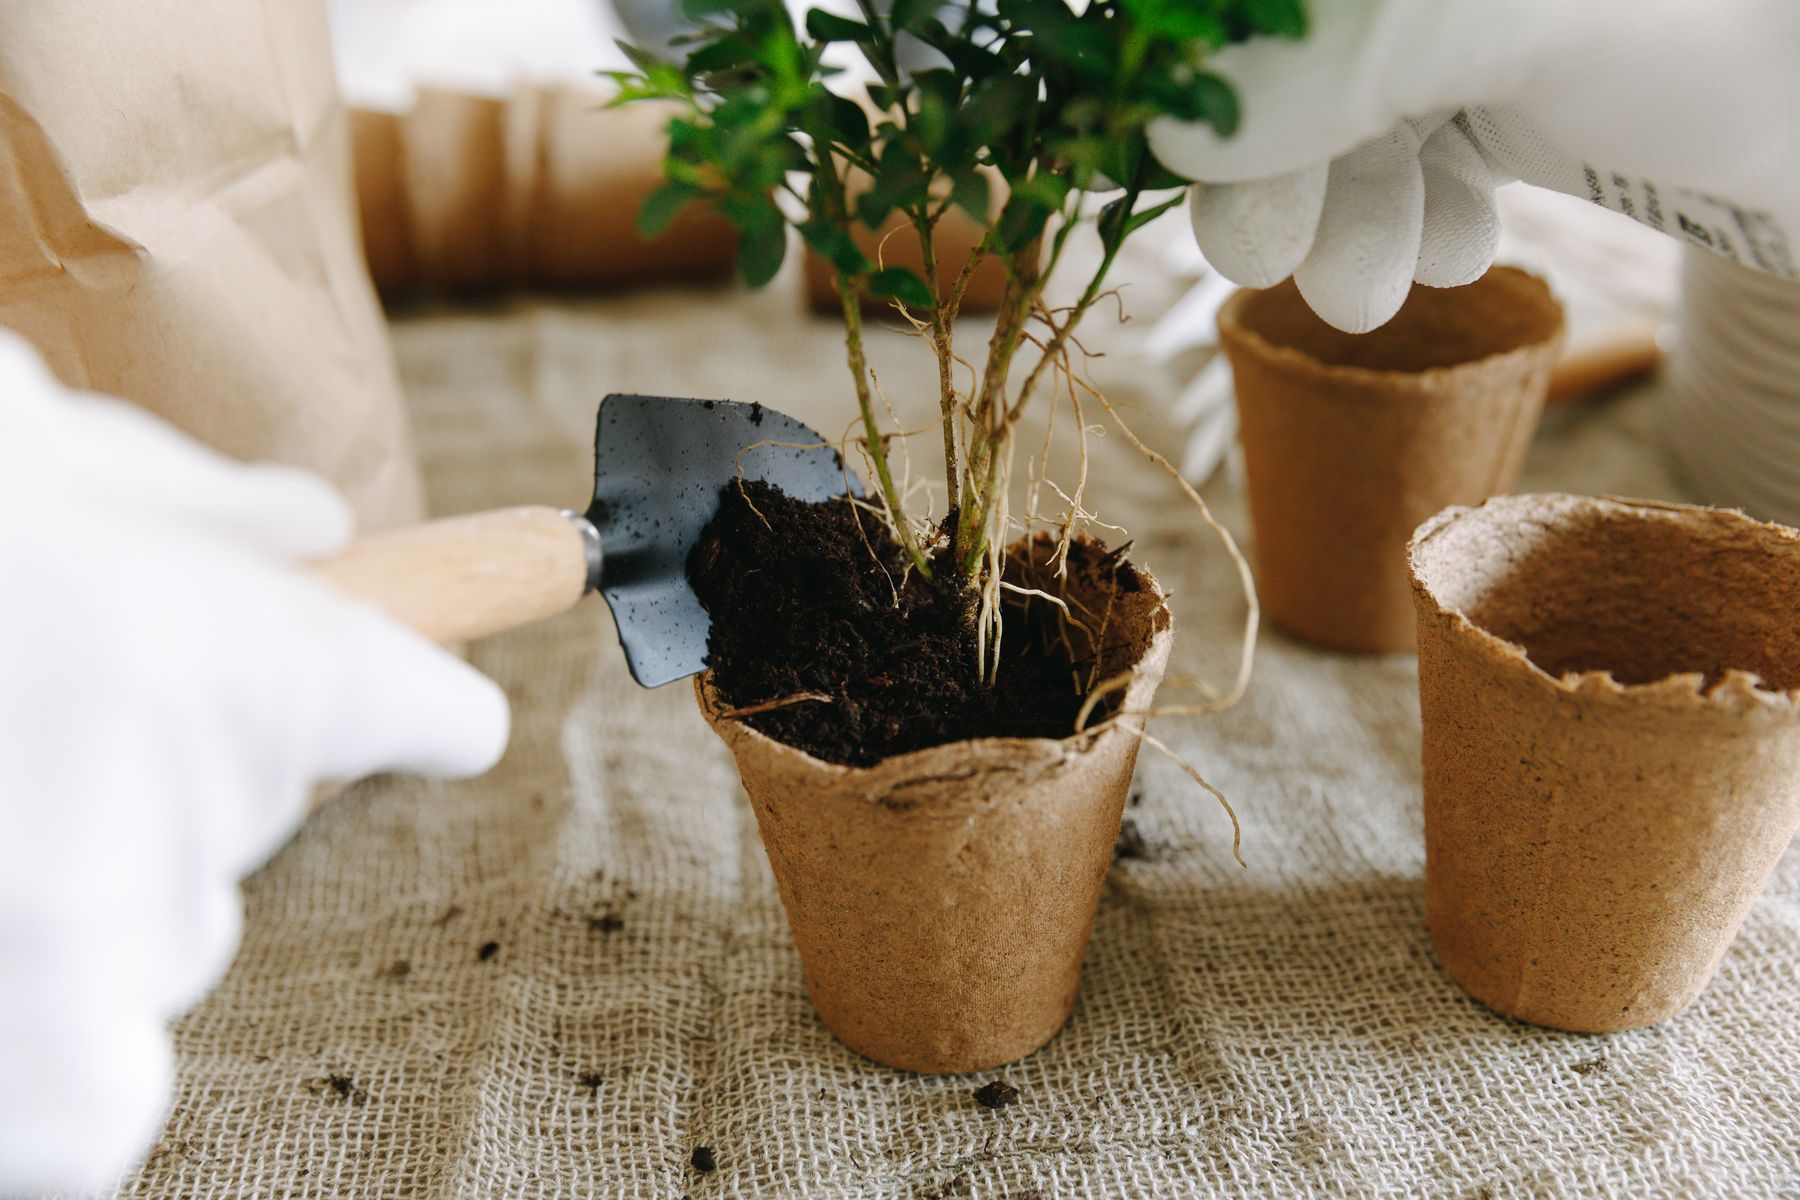
5. Plant the Cutting in a Light, Moist Growing Mix
Choose a small container with drainage holes and fill it with a light propagation medium that holds moisture without staying saturated. A seed-starting mix, fine potting mix, perlite, vermiculite, or a suitable combination can be used. Moisten the medium before planting so it is evenly damp rather than dripping wet.
Make a narrow planting hole with a finger, pencil, or dibber. Insert the lower part of the cutting so that at least one exposed node is below the surface, then gently firm the mix around the stem. Rooting hormone is optional; hydrangeas can root without it, although a suitable rooting product may improve consistency for some growers. If using one, follow its label directions carefully.
6. Create a Humid Environment
Humidity is especially important during the first stage because the cutting has leaves but almost no roots. A simple method is to place a clear plastic bag loosely over the container, supported by sticks so the plastic does not rest on the foliage. A propagation dome or another transparent cover can also work.
Do not turn the container into a completely sealed, stagnant environment. Check it regularly and open the cover when condensation becomes excessive. Good airflow helps limit the conditions that encourage rot and fungal problems. Keep the growing medium moist, but never permanently waterlogged.
7. Give Bright Indirect Light and Be Patient
Place the cutting where it receives bright, indirect light. Avoid strong afternoon sun, especially when a plastic cover is being used, because heat can build rapidly inside the covered container. A bright location protected from harsh sunlight or a sheltered outdoor position with filtered light is generally more suitable.
Rooting time varies with temperature, hydrangea variety, stem maturity, humidity, light, and the growing medium. Instead of repeatedly pulling the cutting out, wait several weeks and then gently test for resistance. New growth can also be an encouraging sign that the plant is establishing itself.

What to Do After the Cutting Roots
Once a healthy root system has formed, gradually reduce the humidity cover. Open the bag or dome for longer periods each day rather than removing it abruptly. If the young plant stays firm and healthy, the cover can eventually be removed completely.
After rooting, move the cutting into a slightly larger container if necessary and use a suitable potting mix. Water it thoroughly after repotting, then continue allowing the young hydrangea to develop before exposing it to tougher outdoor conditions.
Should September Cuttings Go Outside Immediately?
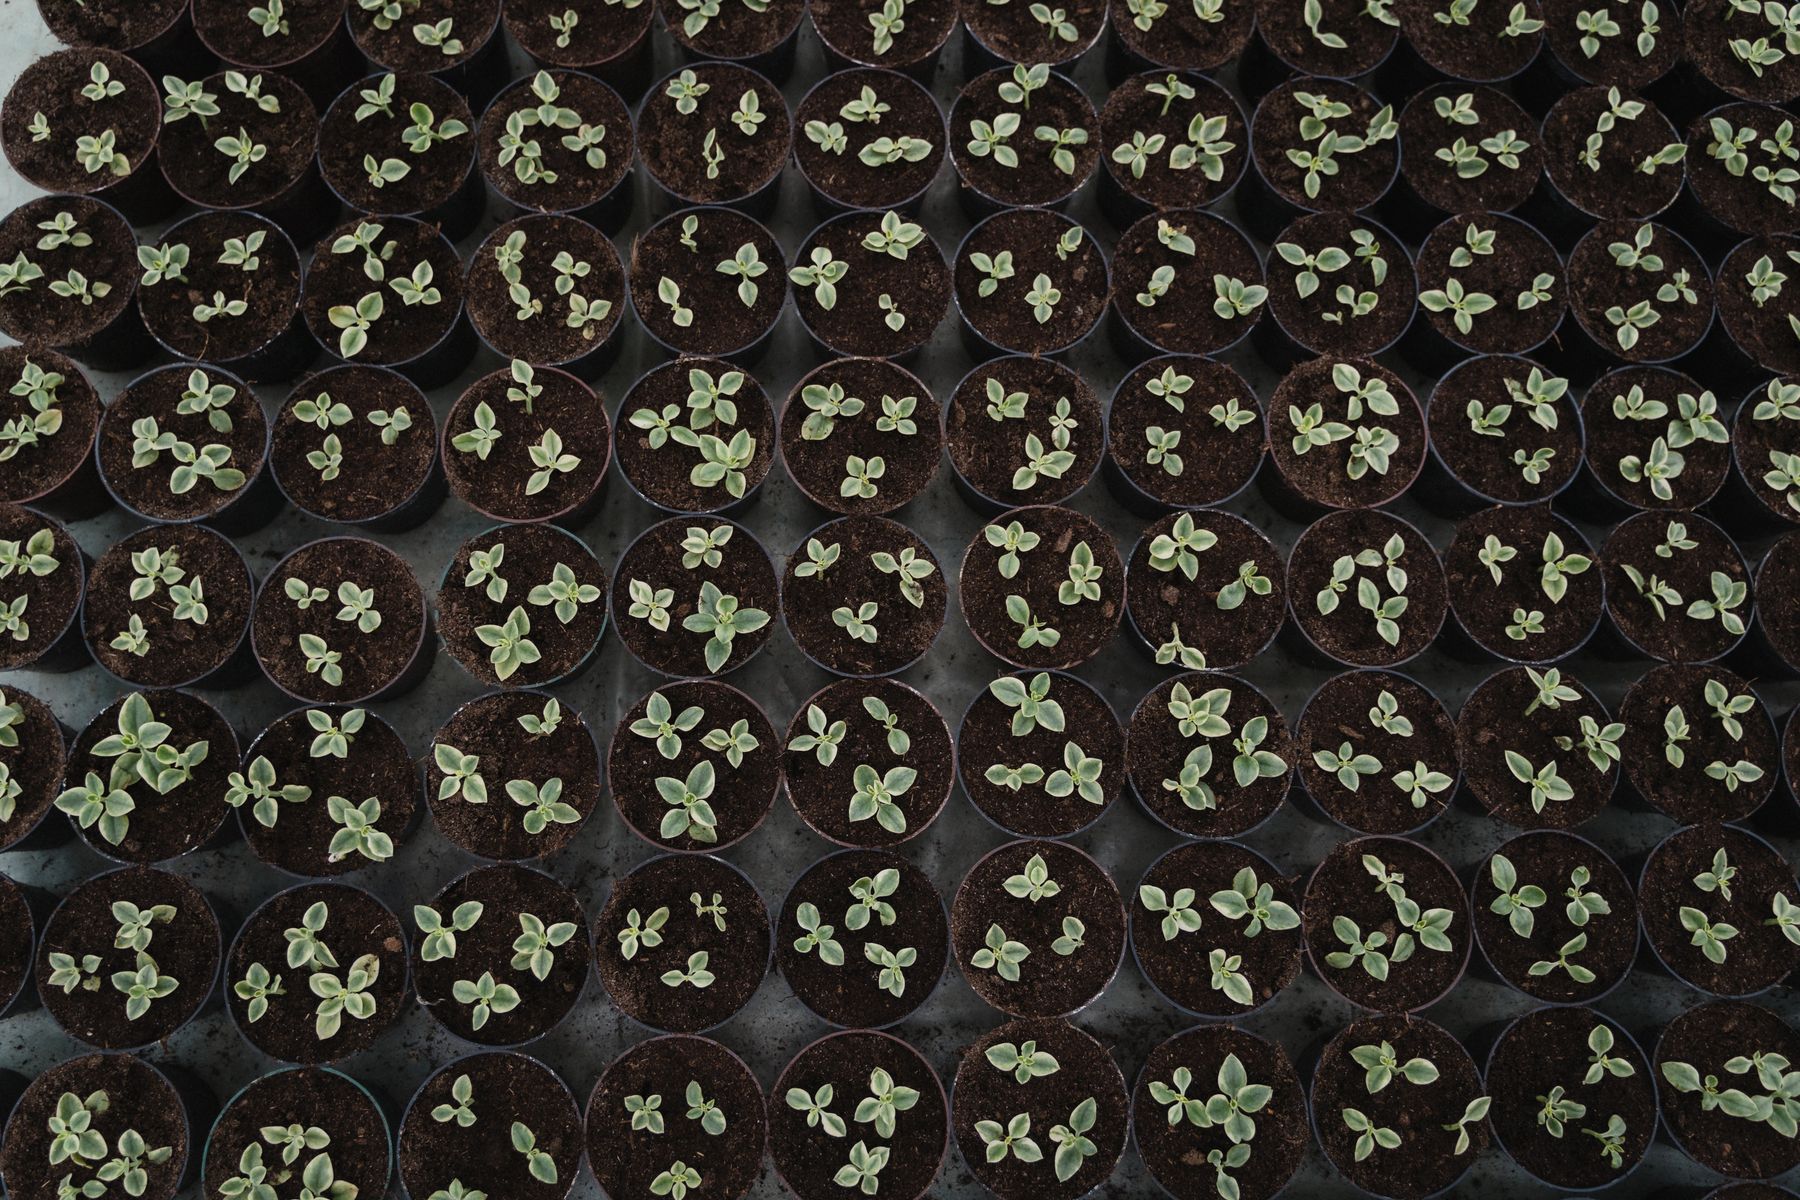
That depends on your climate and how quickly the cutting establishes roots. In a warm region with a long autumn, a rooted cutting may have time to settle outdoors. Where freezing weather arrives soon after September, a tiny new root system may be better protected through its first winter.
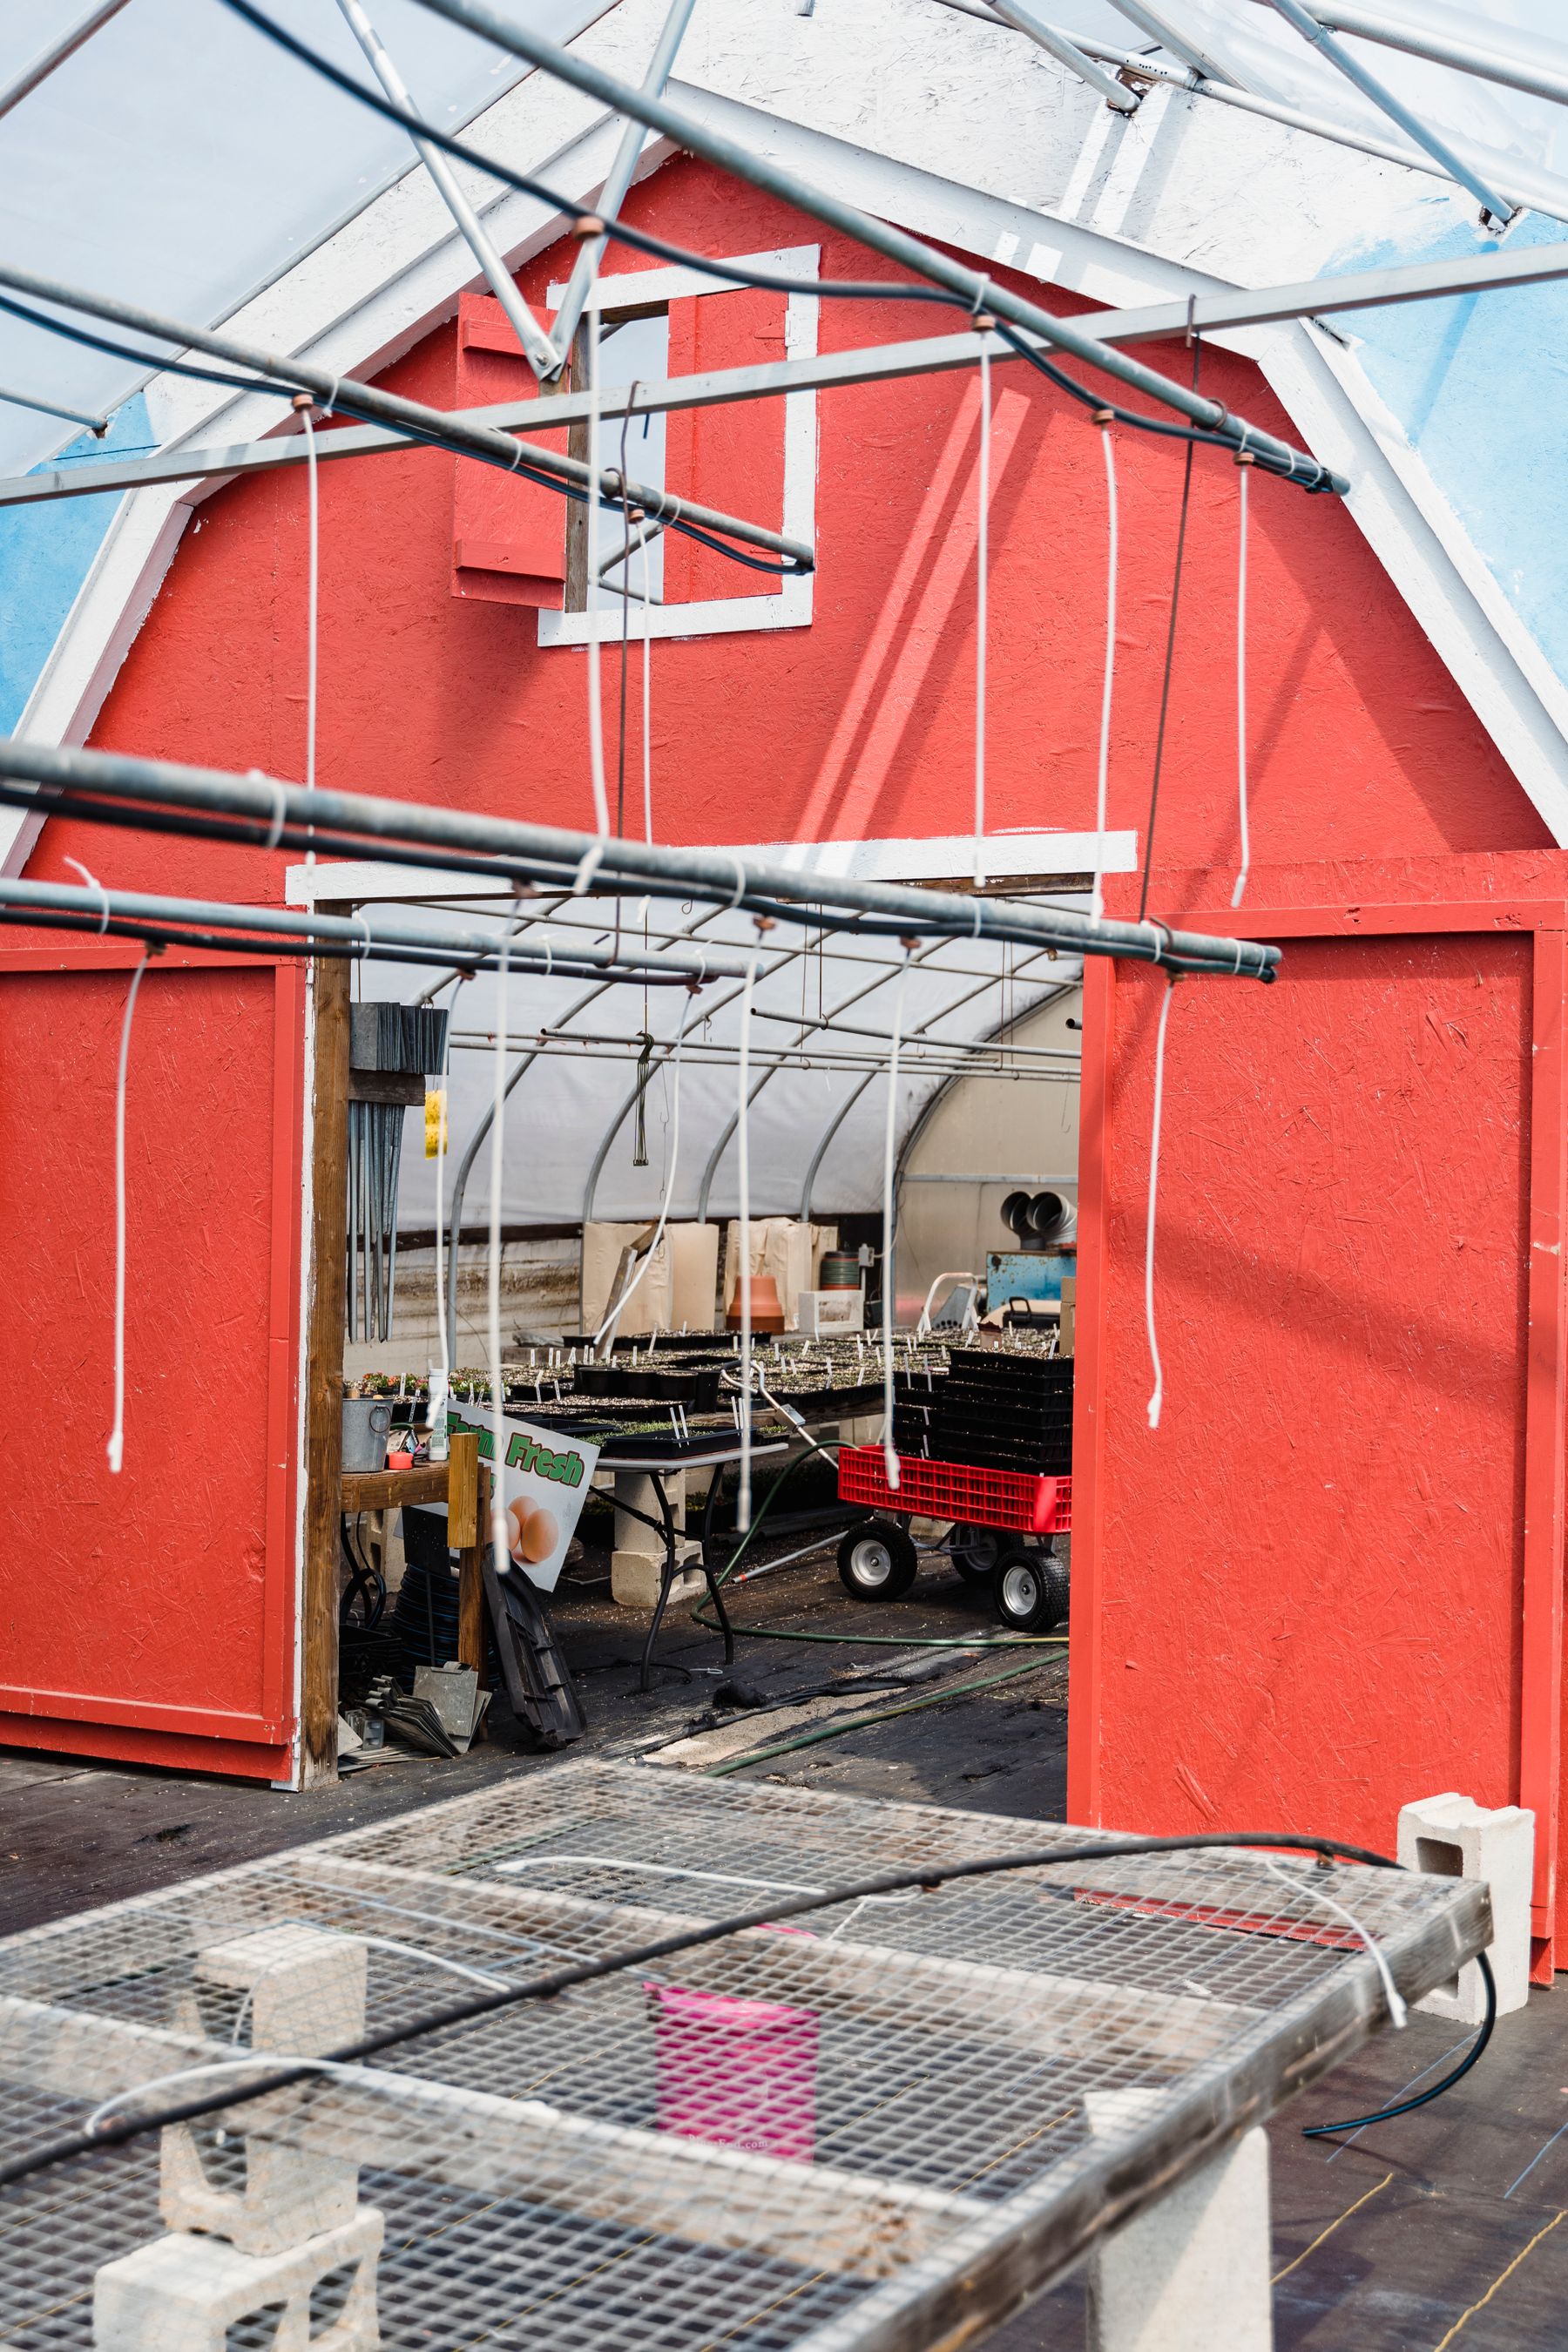
A sheltered greenhouse, cold frame, or protected frost-free location can provide a safer transition in colder climates. The exact choice depends on local conditions. Avoid treating a dormant outdoor hydrangea like a houseplant by placing it in a hot, dark room for the entire winter.
Which Hydrangeas Can Be Propagated This Way?
Stem cuttings can be used with many commonly grown hydrangeas, including bigleaf, panicle, smooth, and oakleaf types. Rooting speed and success can vary among cultivars, but the basic preparation remains similar: choose healthy growth, keep suitable nodes below the medium, reduce unnecessary foliage, and maintain balanced moisture.
One major benefit of cuttings is that they produce a clone of the parent plant. If your existing hydrangea has a flower color, growth habit, or other characteristic you particularly like, a successful cutting preserves those traits more predictably than growing from seed.
Should the Cutting Have a Flower?
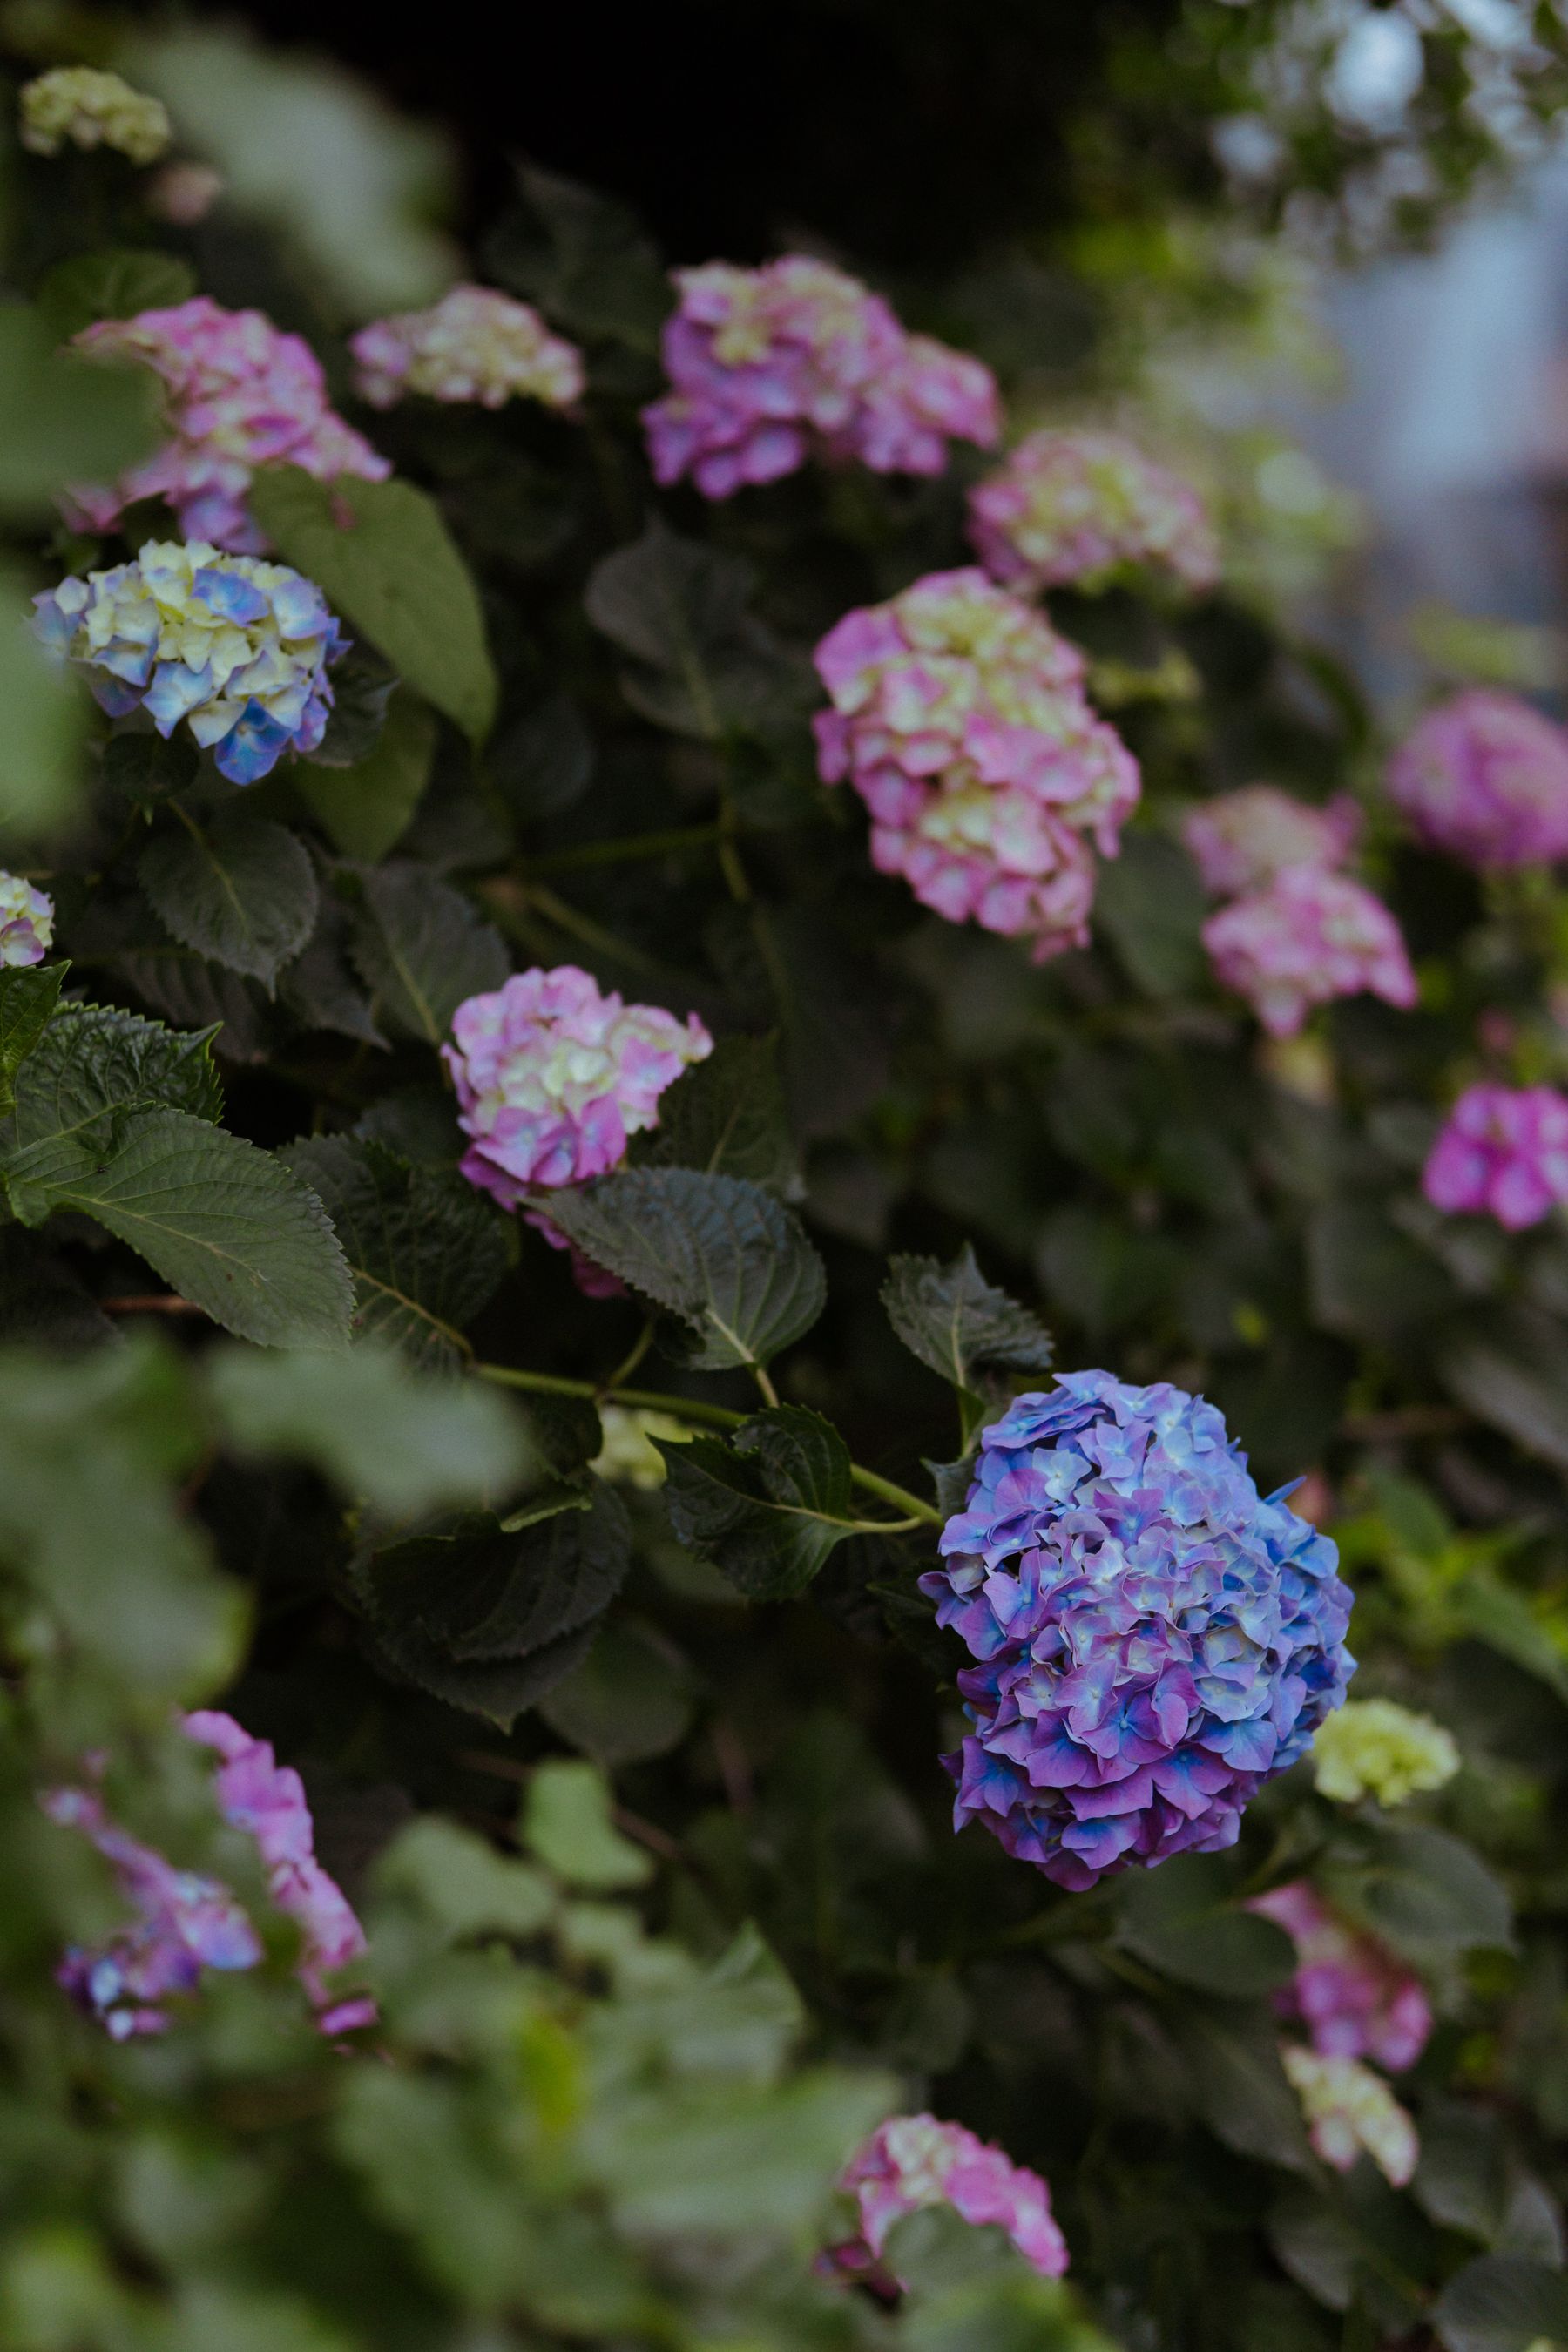
It is generally preferable to start with a non-flowering shoot. A flowering stem is spending resources maintaining its bloom, while your propagation project needs the cutting to survive and produce roots. If the only suitable stem has a flower head, removing that flower before preparing the cutting can redirect the plant’s limited resources toward establishment.
Why the Node Matters
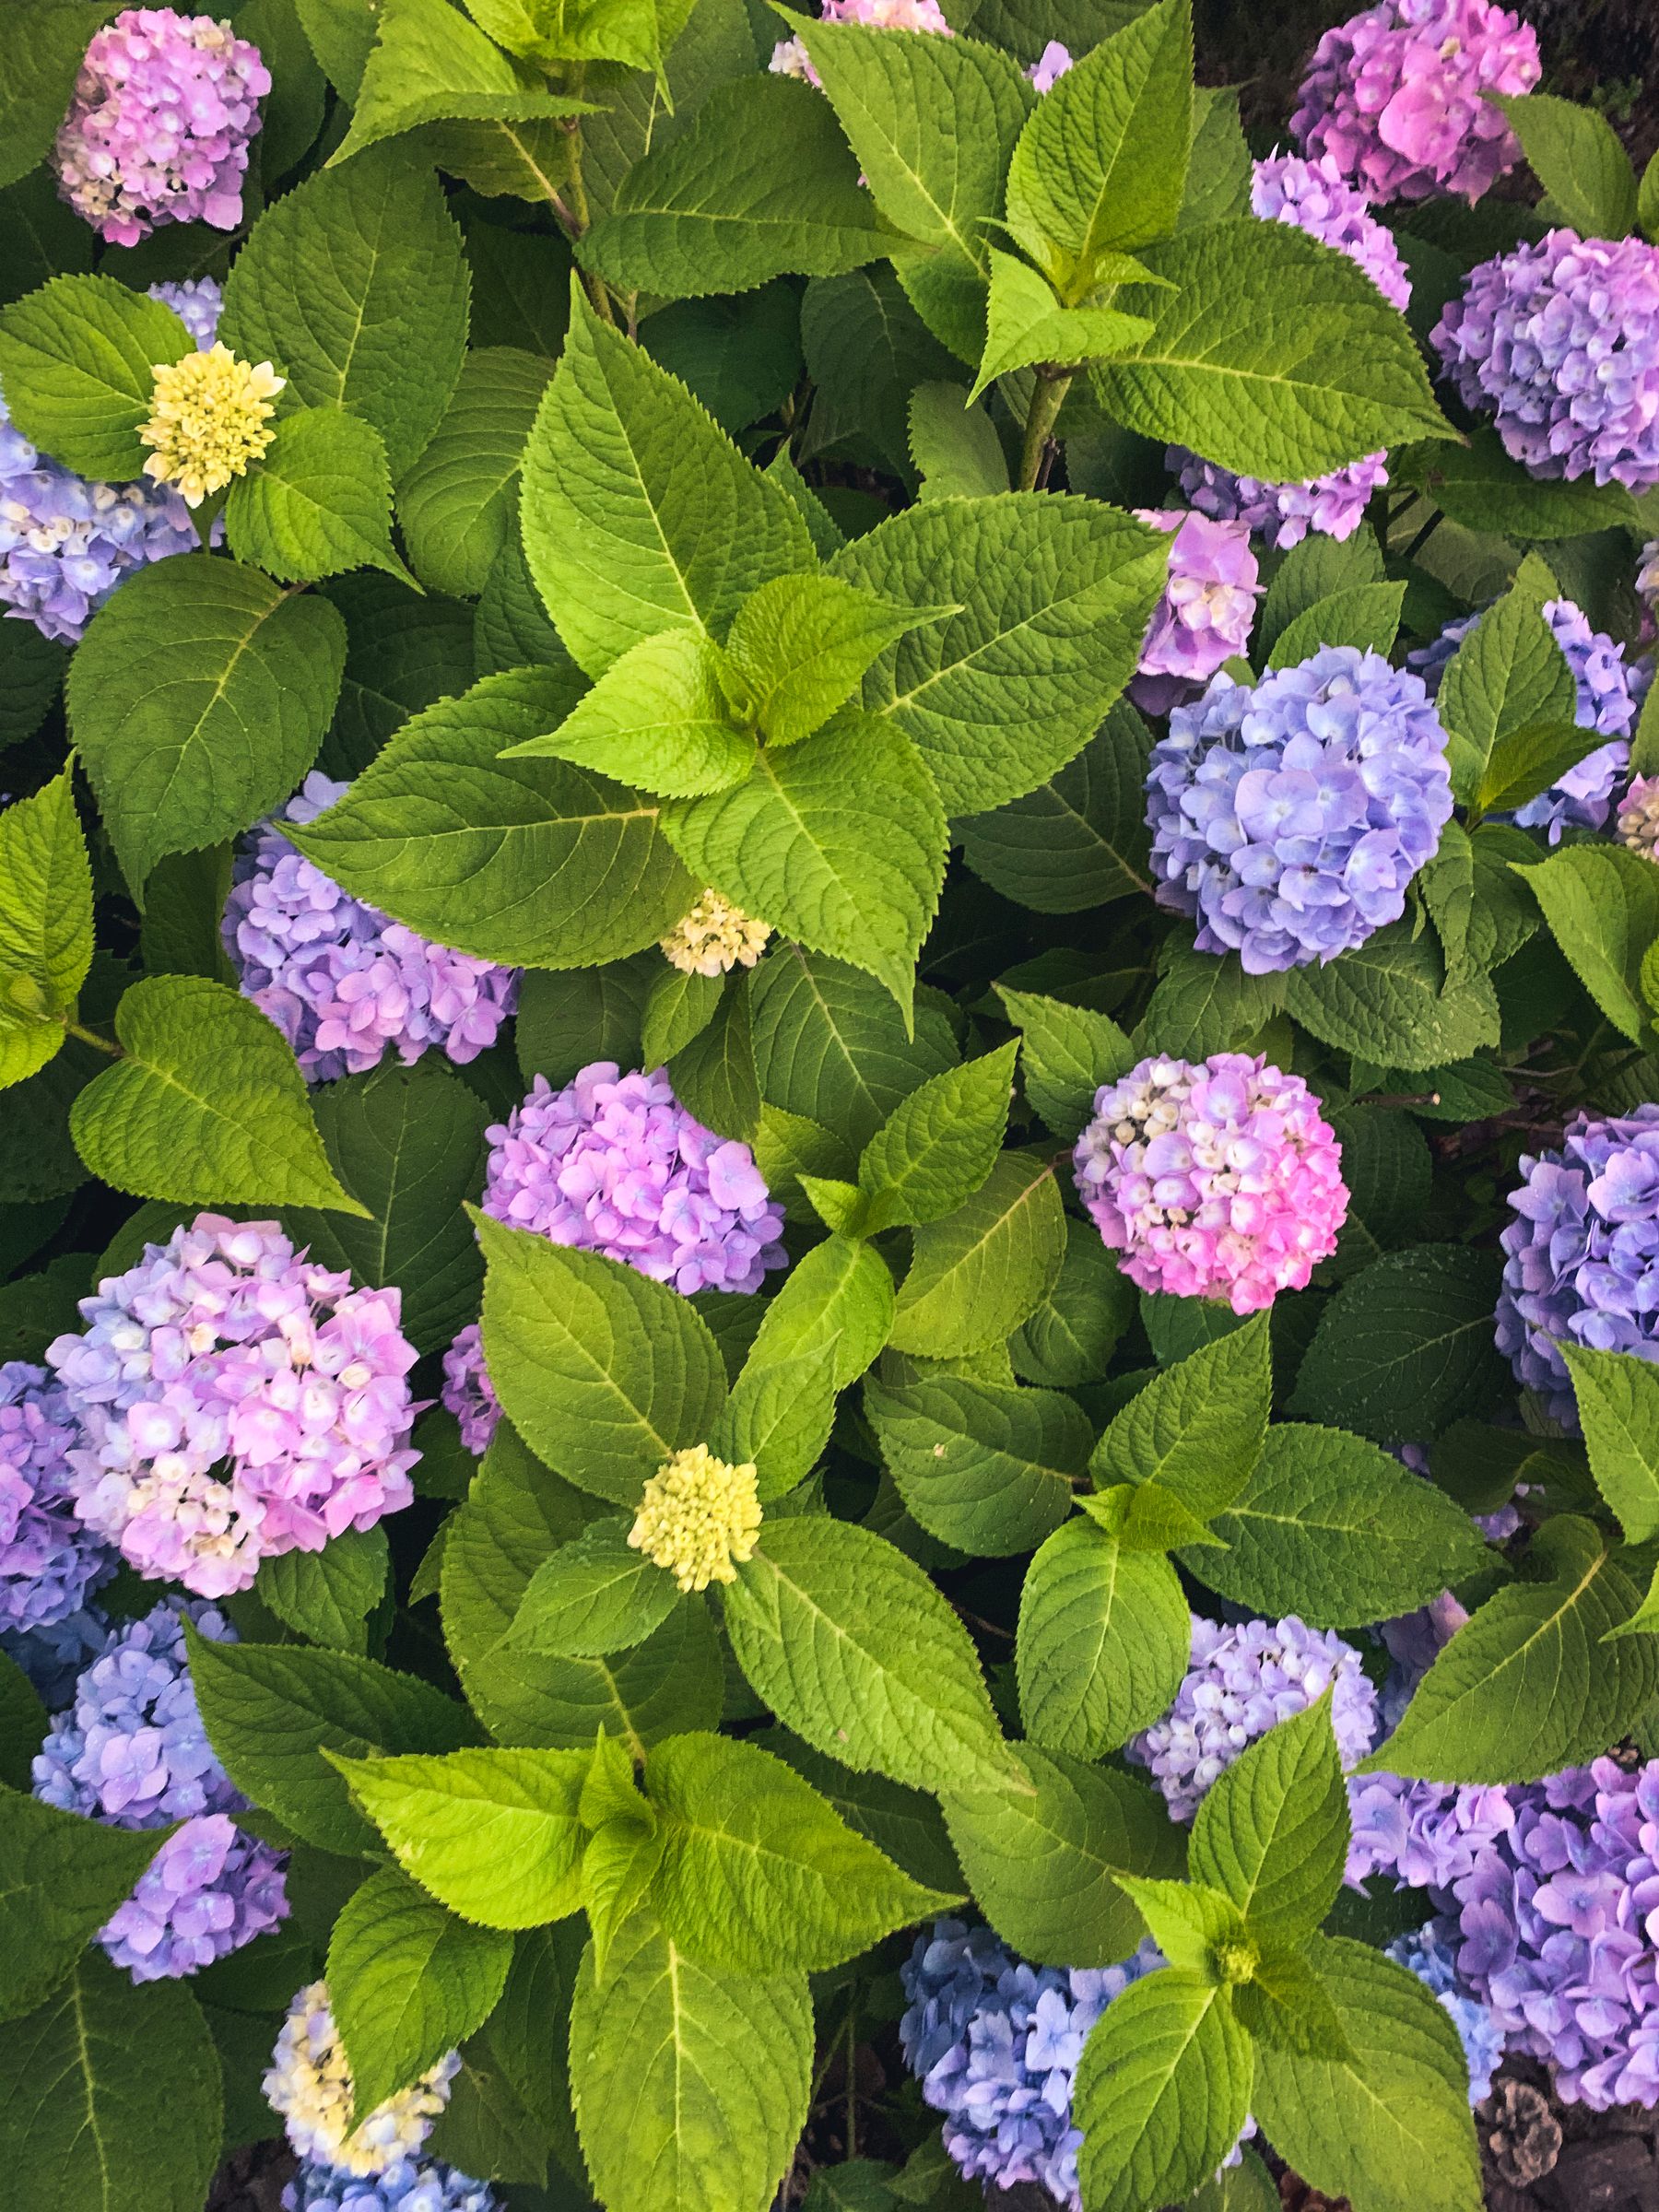
If there is one detail worth remembering, it is the location of the nodes. These are the joints where leaves emerge from the stem. When preparing a cutting, aim to place at least one healthy node below the growing medium while keeping the remaining foliage above it. Avoid burying leaves because they can decay in continuously damp conditions.
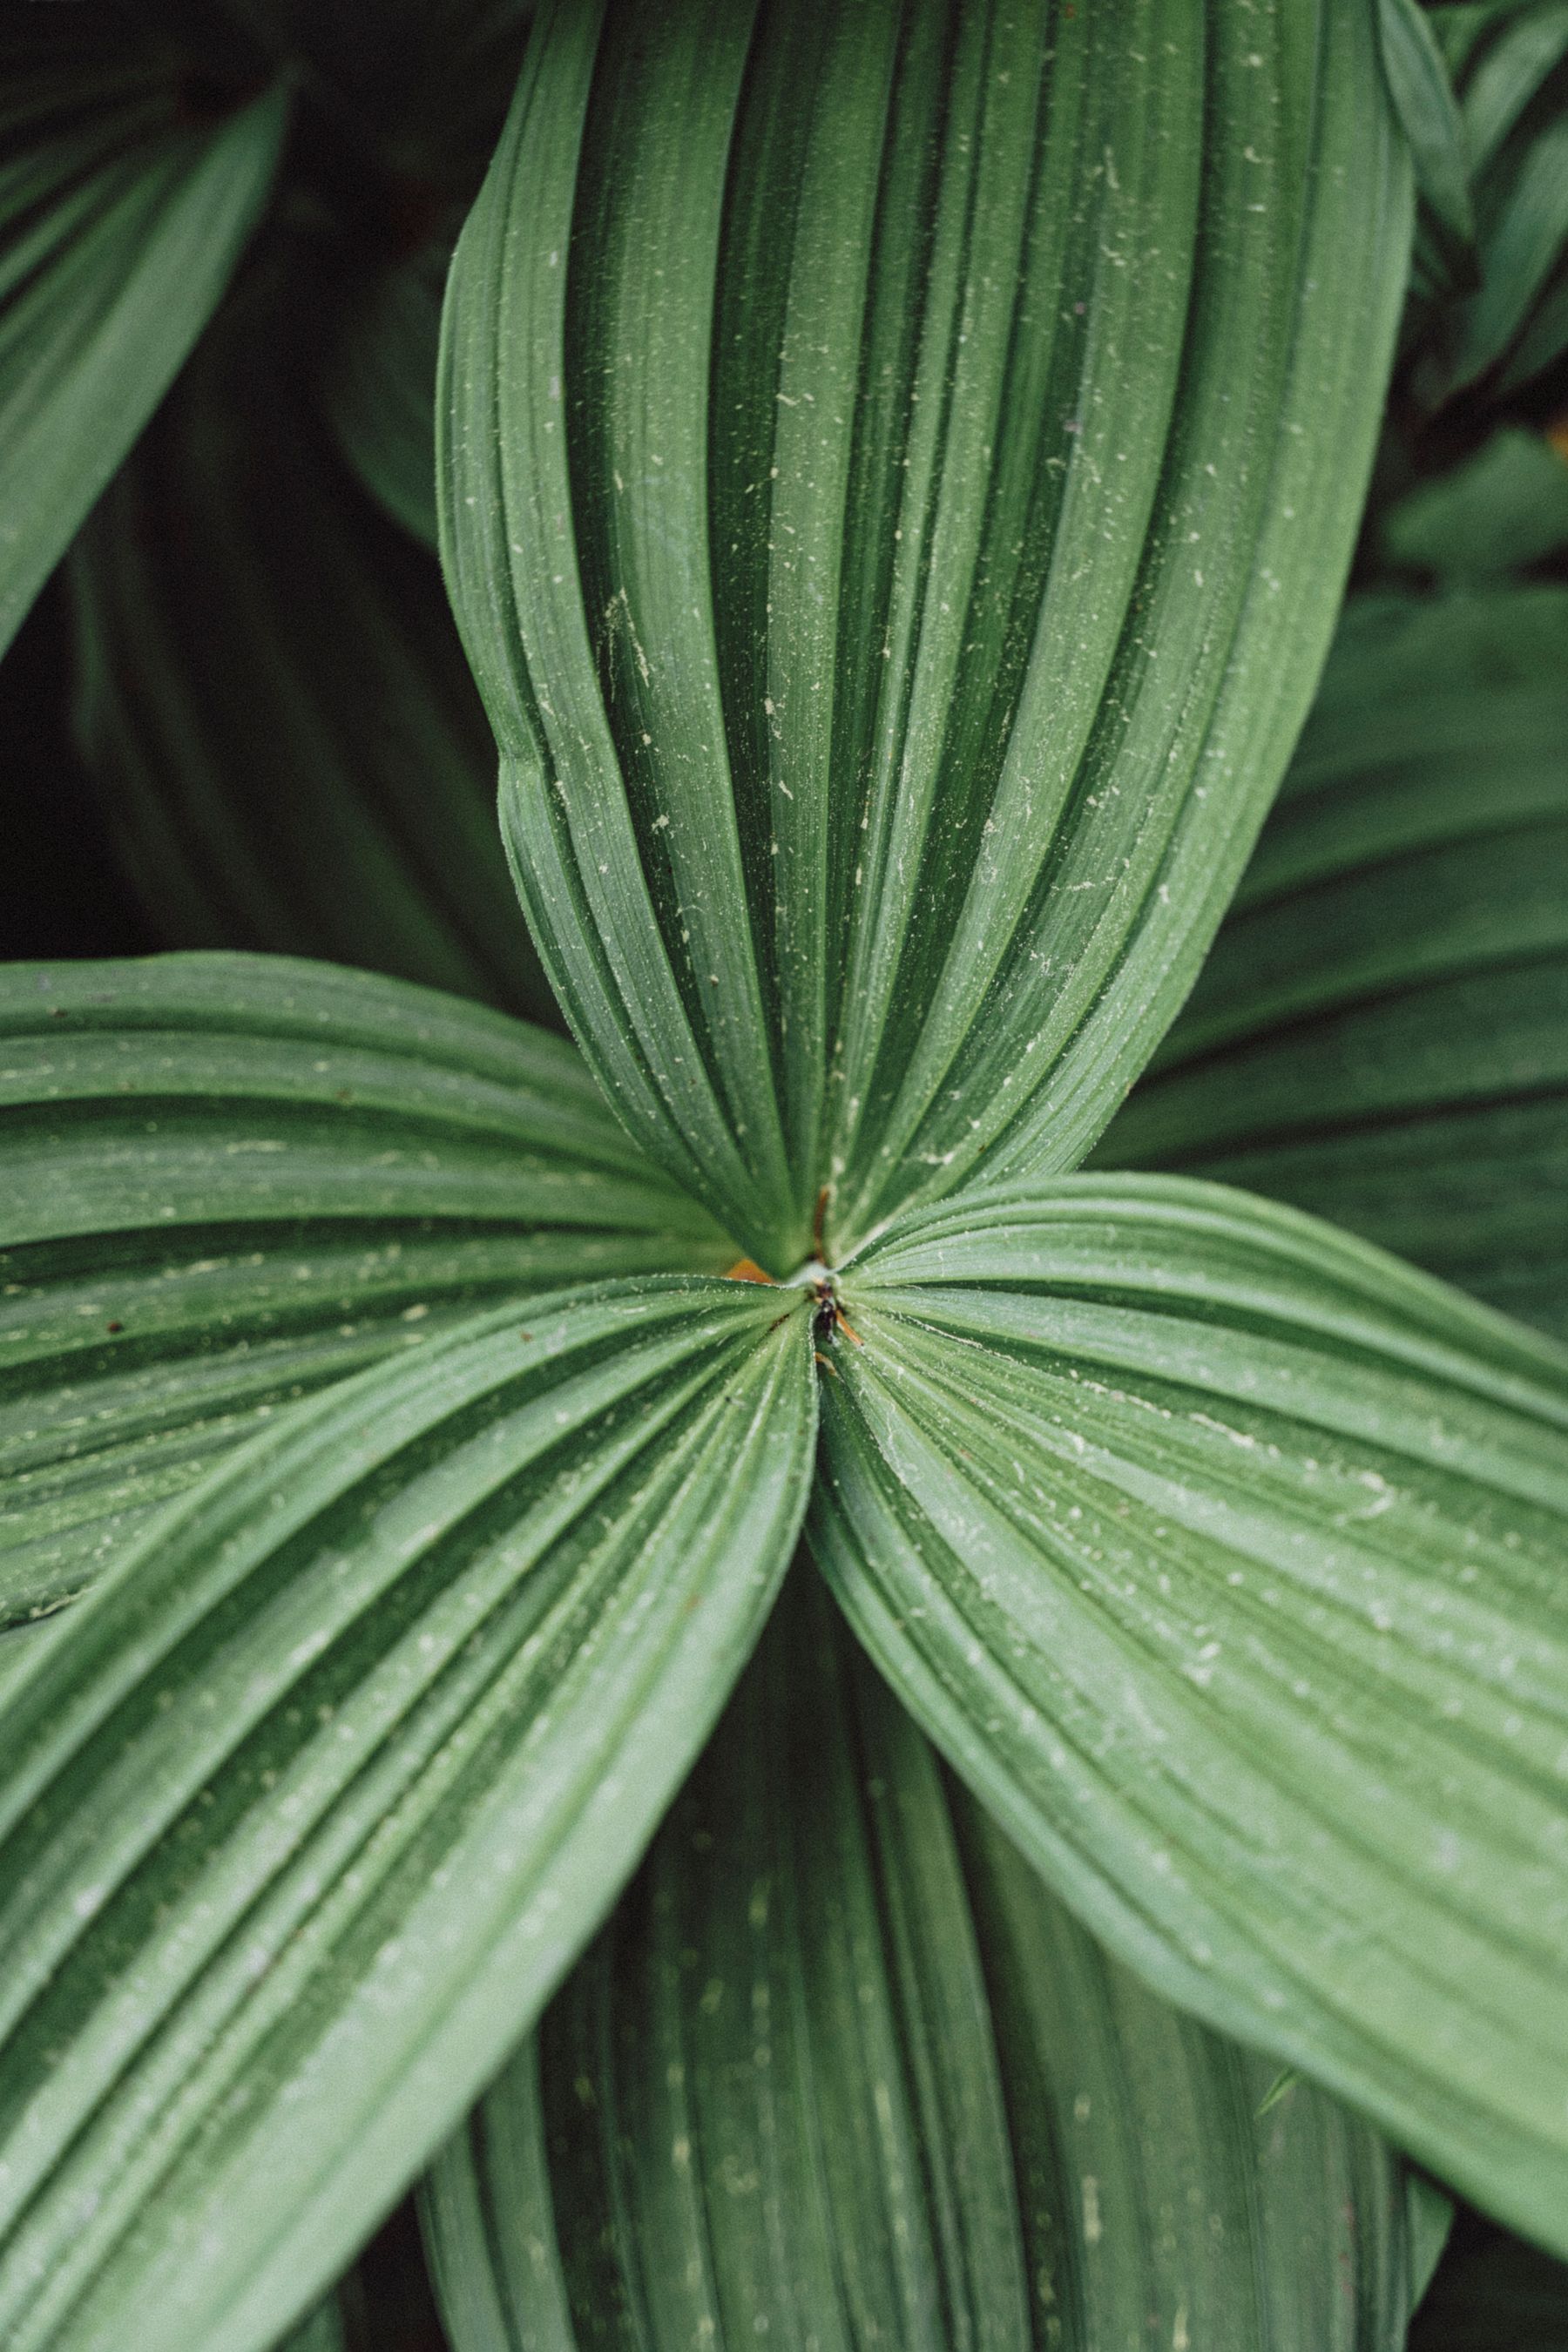
Watering Is the Balancing Act
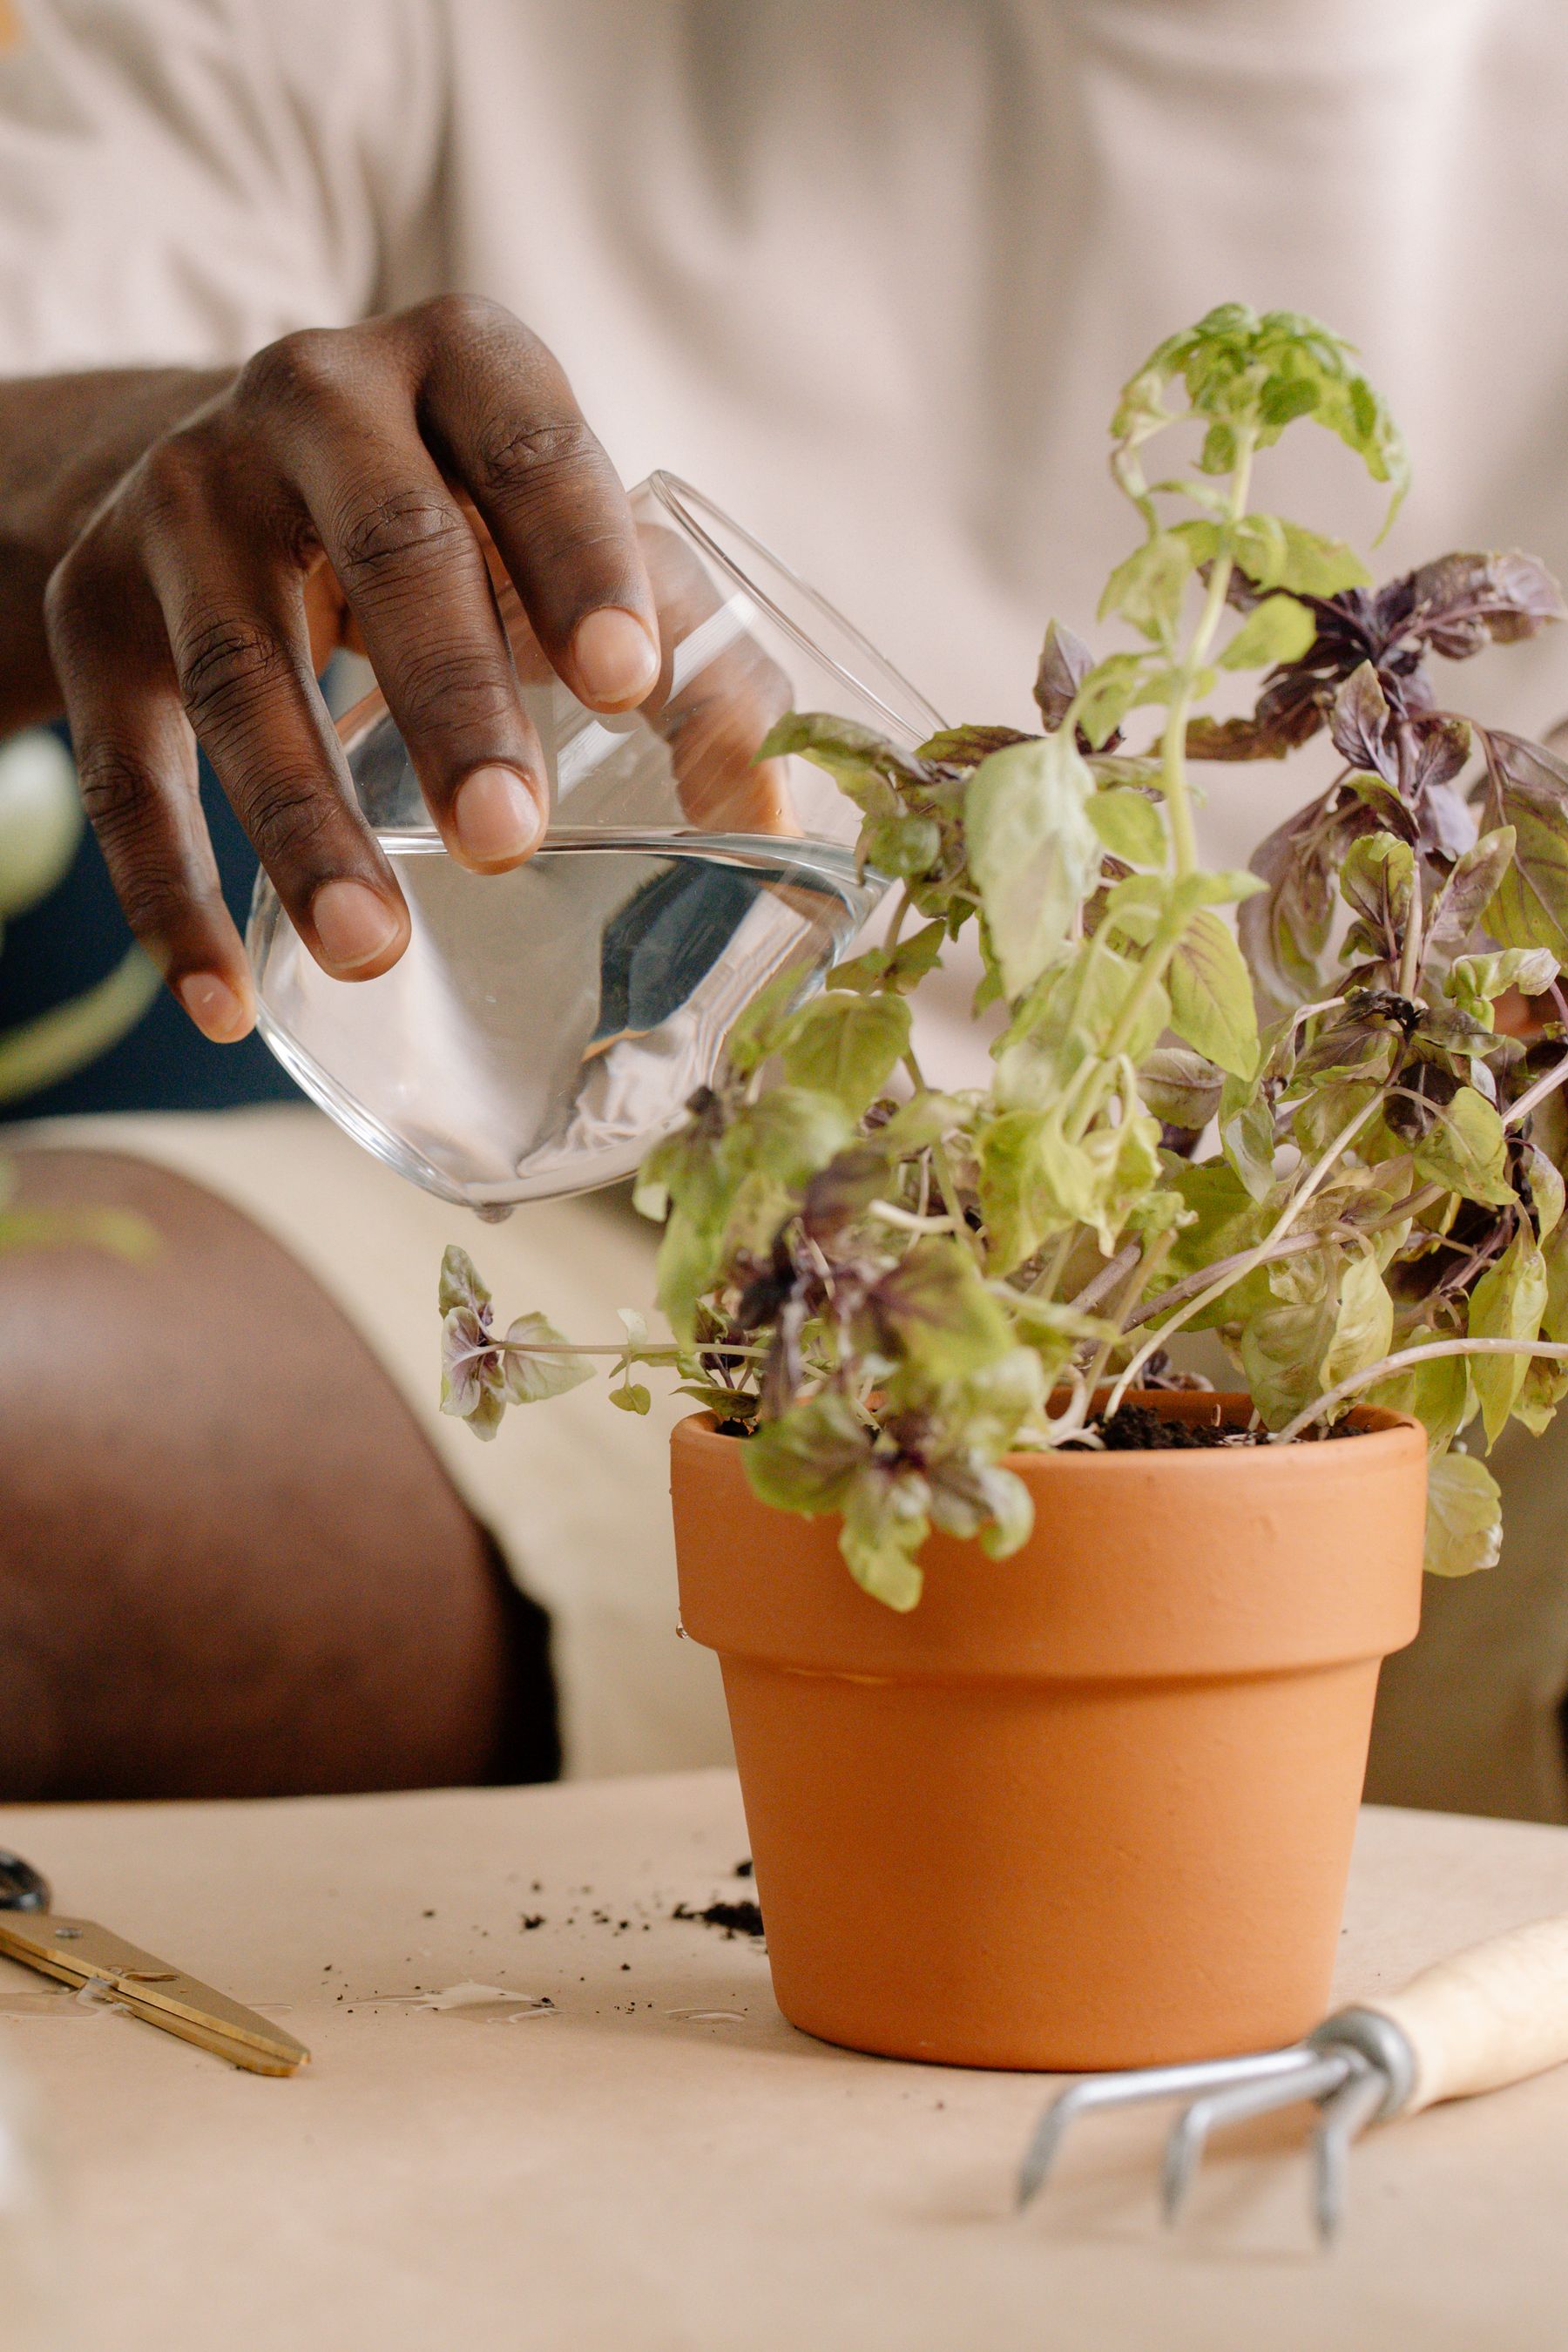
Moisture is one of the easiest parts of propagation to get wrong. If the medium becomes too dry, the cutting can wilt before roots form. If it remains saturated, the stem can rot. Aim for a medium that stays evenly damp while still containing enough air for developing roots.
Check the surface with a finger before adding water. If it still feels moist, leave it alone. If it is beginning to dry, add a modest amount of water. Do not leave the container sitting permanently in a saucer of water.
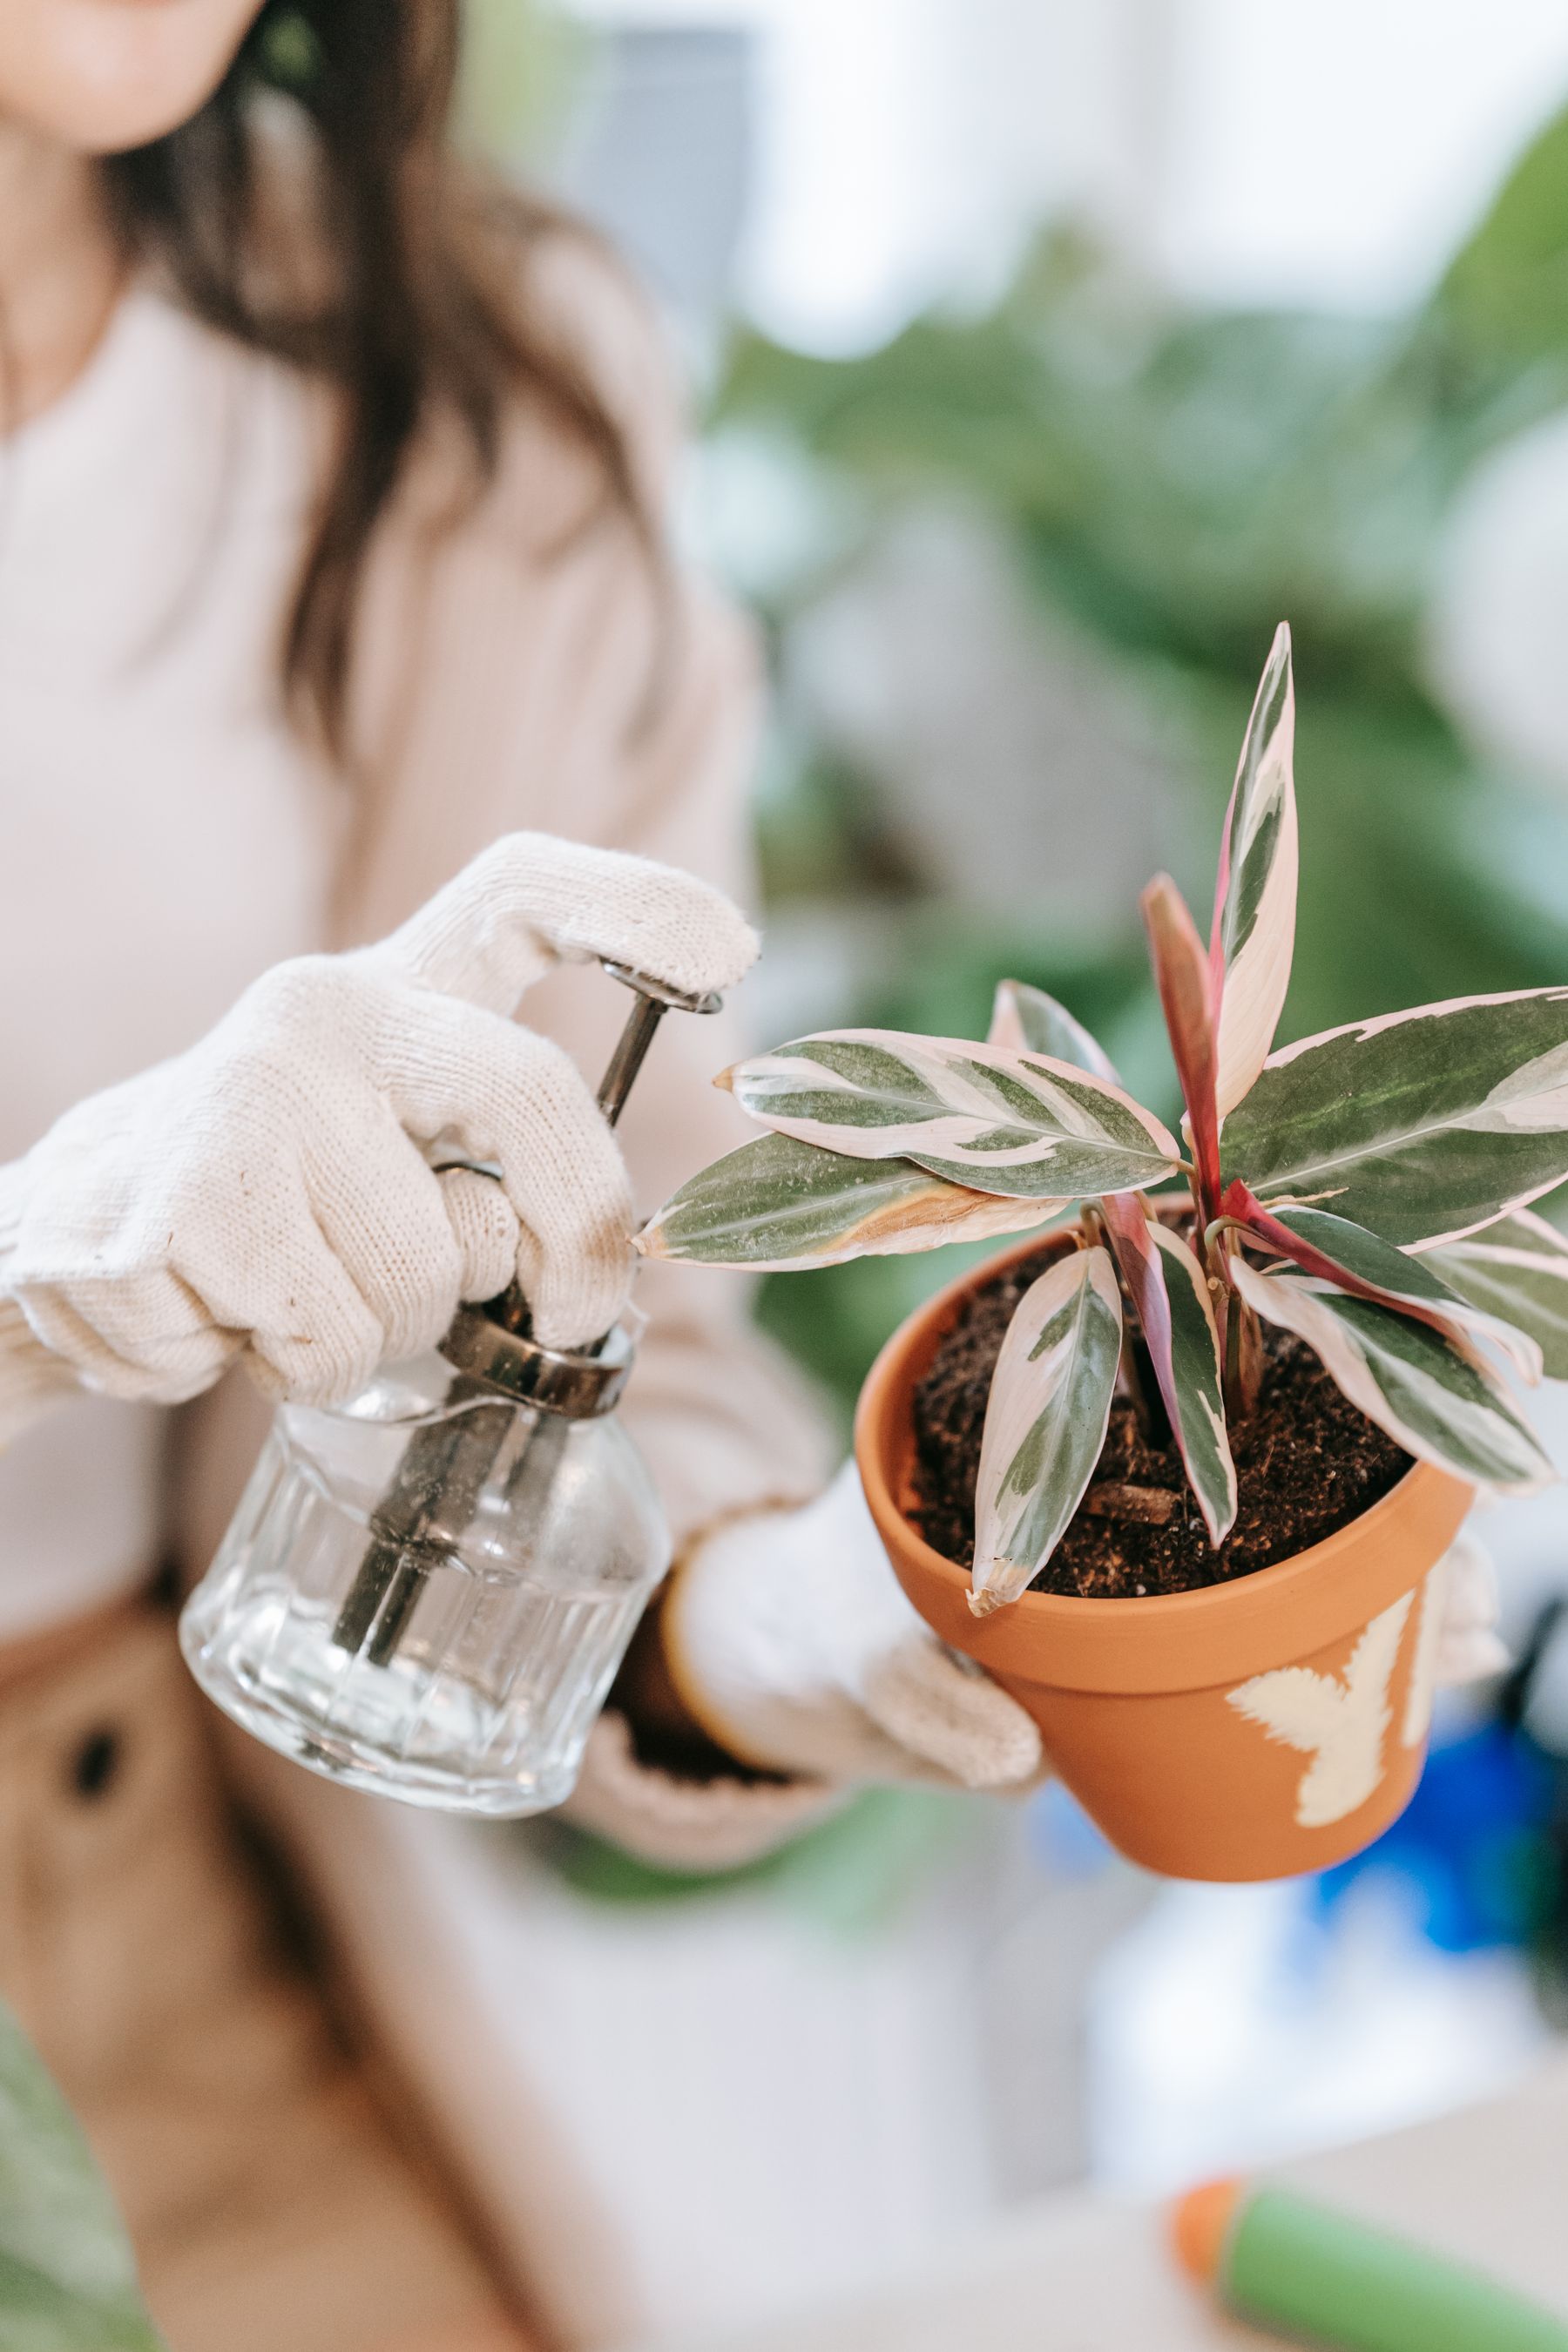
Can Hydrangeas Be Rooted in Water?
Hydrangea stems can sometimes form roots in water, which makes the technique attractive because the developing roots are visible. However, water-grown roots develop under different conditions from roots produced in a propagation mix, and moving a water-rooted cutting into potting medium can cause stress.
For a young plant intended for the garden, rooting directly in a light propagation medium is a straightforward approach. If you enjoy experimenting, you can compare a water cutting with one planted directly in mix and observe how each develops.
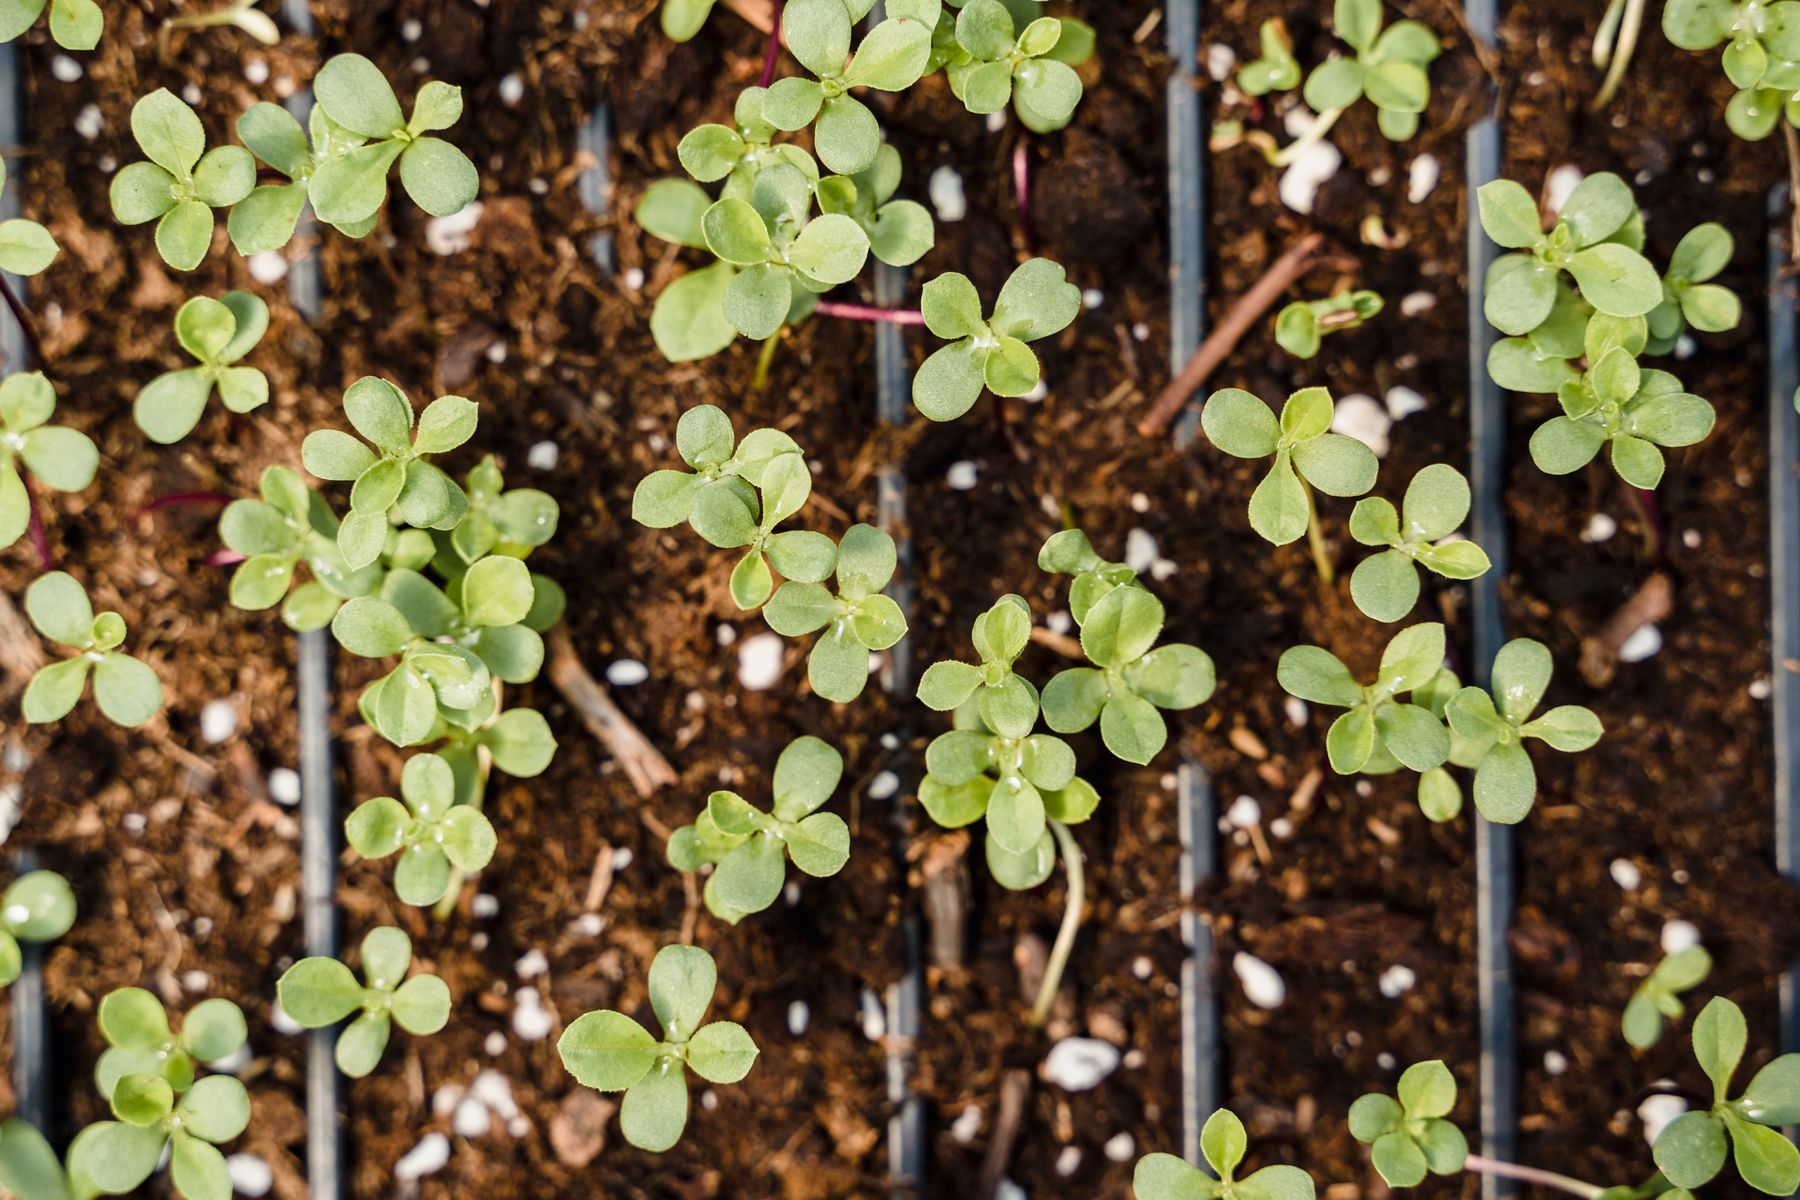
What Happens Next Spring?
If your September cutting roots and survives the winter, spring is when the progress becomes much easier to see. As temperatures rise, buds can begin producing new growth. Keep the young plant in its container until its root system is strong enough for planting.
Before moving it permanently outdoors, gradually acclimate it to brighter light, wind, and changing temperatures. This hardening-off period reduces the shock of the move. Once established, give the new hydrangea a location suited to its particular type and climate, with enough room to reach its mature size.
Final Thoughts
September does not have to be the end of the propagation season. If your hydrangea still has healthy, flexible shoots, taking several cuttings now can be a simple way to create new plants from a shrub you already enjoy. The process is less about complicated equipment and more about careful preparation, balanced moisture, humidity, and patience.
Article rewritten from the Gardening Soul source for original presentation. Photographs are external Pexels image URLs and are credited to their source pages under each image.