
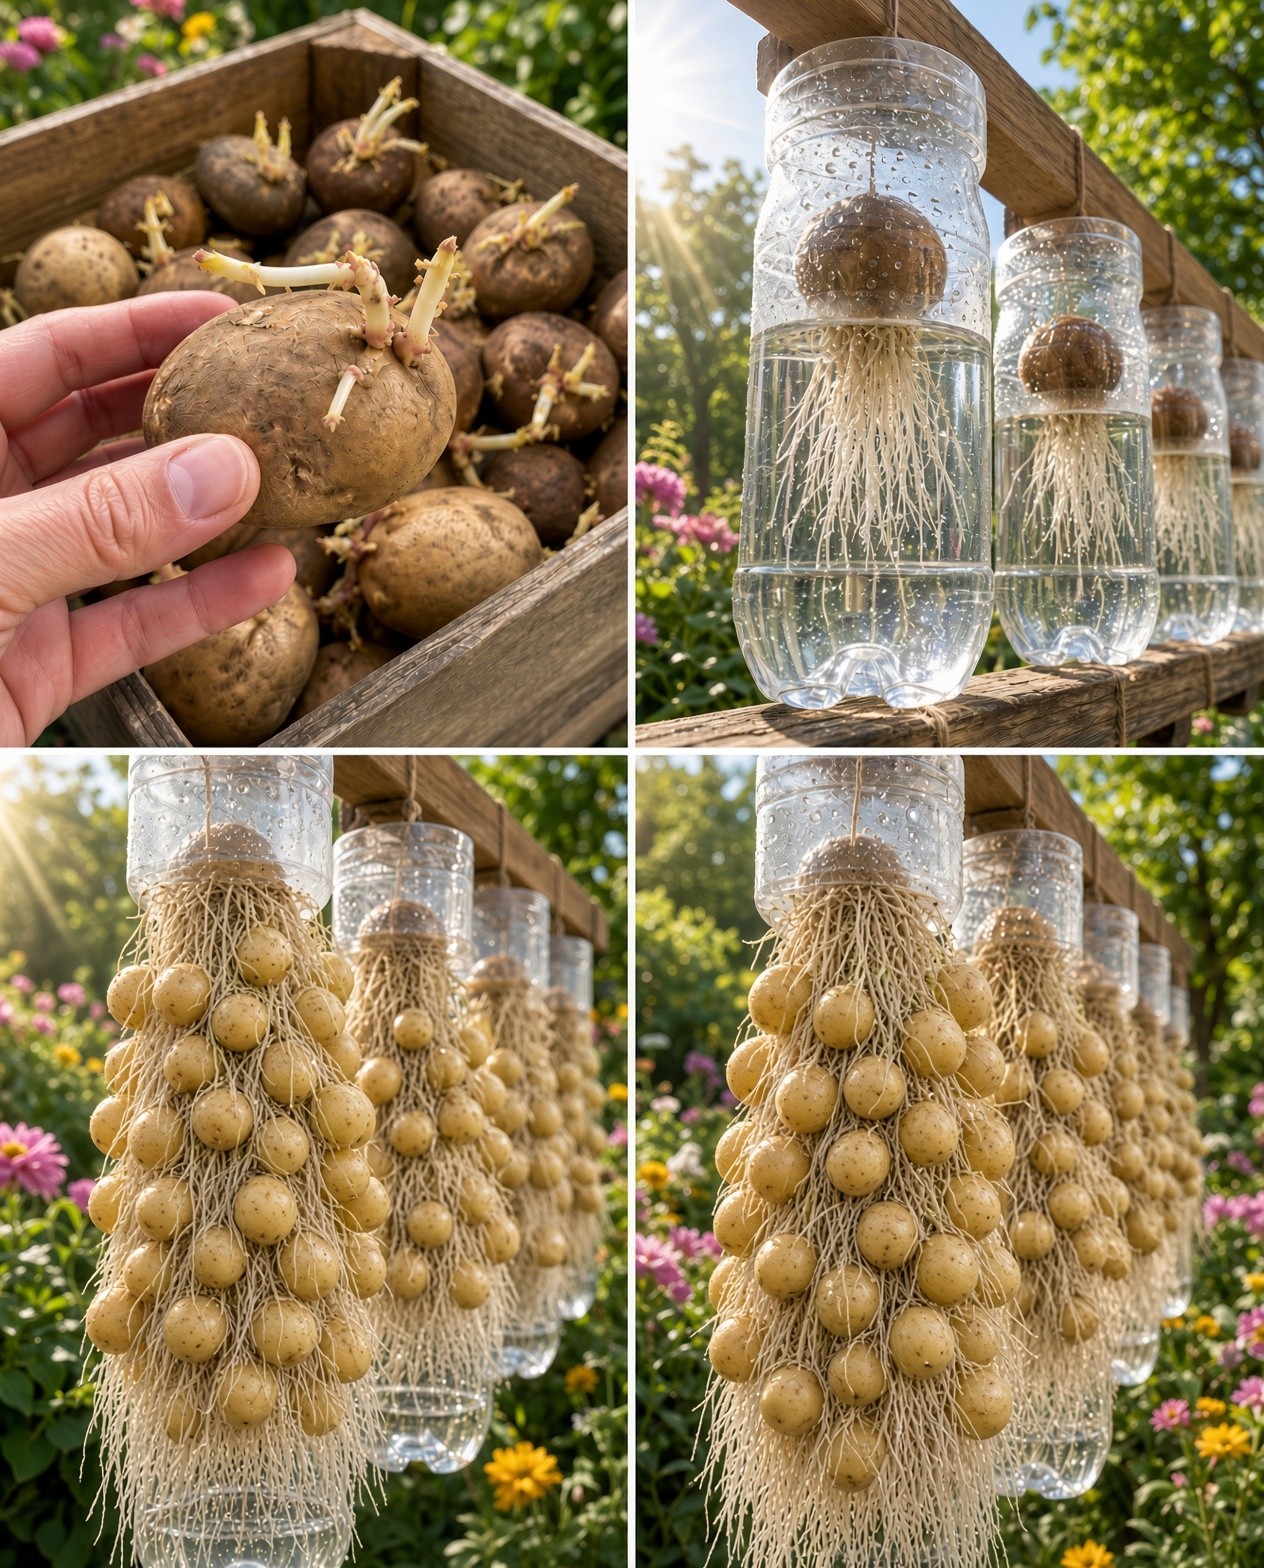
Imagine harvesting potatoes from a clean, enclosed growing chamber instead of digging through a garden bed. Aeroponics makes this possible by suspending roots in air and delivering water and nutrients as a fine mist. It is powerful technology—but it works best when you understand its demands.

The result can be efficient use of space, good root oxygenation, and easy inspection of developing tubers. However, aeroponics is not simply a bucket with a spray nozzle: roots can dry quickly if misting fails, and temperature, sanitation, and nutrient balance matter. These seven secrets explain the essentials before you build or buy a system.
How does growing potatoes without soil work?
Potato plants form tubers on underground stems called stolons. In an aeroponic unit, the upper plant is supported through holes in a lid or panel, while roots and stolons grow inside a shaded enclosure. Nozzles apply a fine spray of water containing dissolved plant nutrients. The tubers develop in the humid, dark root chamber rather than in soil.
Commercial and research systems often use aeroponics to multiply minitubers—small, disease-managed seed potatoes used to start future crops. A home system can be a learning project, but it needs reliable equipment and careful monitoring. It does not guarantee a large harvest, and yields vary with cultivar, planting material, light, temperature, and management.
The 7 secrets to successful aeroponic potato cultivation
Start with healthy, suitable planting material
Choose certified seed potatoes or reputable disease-free starter plants suited to your region. Avoid supermarket potatoes when possible: they may be treated to inhibit sprouting and can carry pathogens. In professional aeroponics, plants may be raised from clean microplants or minitubers and acclimated before transfer. For a small trial, use a known potato cultivar and record its name, planting date, and growth.
Do not put a large, unprepared tuber into a system designed for tiny tissue-culture plants. Match the plant holder and chamber to the size and root structure of your starting material.

Build a clean, lightproof root chamber
Roots and developing tubers need humidity and airflow, but tubers should be protected from light. Use an opaque, washable chamber with a lid that supports stems securely and prevents light leaks. Keep the foliage above the lid where it can receive light, while the root zone remains shaded. Design the chamber so you can inspect roots and clean it without dismantling the entire unit.
Use food-safe, corrosion-resistant materials where practical. Avoid materials that shed particles or react with nutrient solution, and make sure the structure can support wet plants without tipping.

Make mist delivery reliable—not merely powerful
The pump, filter, tubing, nozzles, and timer are the heart of the system. Aim for even coverage of the root zone rather than one wet spot and several dry areas. Nozzles can clog, so include filtration and inspect spray patterns regularly. Misting intervals must be adjusted to the nozzle output, chamber size, root mass, humidity, and temperature; there is no single schedule that suits every system.
Because exposed roots can dry rapidly, test the timer and pump before adding plants. Consider a backup pump or alarm if a crop would be costly to lose. Never assume the system is running just because the timer display is on.

Balance nutrients and check pH and concentration
Water alone cannot support a potato crop. Use a complete, water-soluble nutrient formulation intended for soilless production, supplying nitrogen, phosphorus, potassium, calcium, magnesium, sulfur, and trace elements. Follow the product’s instructions and adjust for plant stage rather than guessing by eye. Excess fertilizer can damage roots just as deficiency can slow growth.
Monitor pH and electrical conductivity (EC) with suitable meters, calibrating them as recommended. Record readings and changes to the reservoir. The ideal range depends on the nutrient formula, water quality, cultivar, and growth stage, so use a validated crop-specific recipe rather than copying an arbitrary online number. Replace or refresh solution when its balance or cleanliness can no longer be maintained.

Control heat, humidity, and light
Potatoes need adequate light for a strong canopy, but excessive heat can interfere with tuber development and stress the roots. Place the foliage under suitable natural light or horticultural grow lights, and keep the root chamber away from direct sun. Measure temperatures at plant level and near the roots; a greenhouse can heat up quickly even when the air outside feels comfortable.
Keep humidity high enough to limit rapid root drying while maintaining airflow around leaves to reduce disease risk. If the room is hot, improve ventilation or cooling rather than simply increasing misting indefinitely. Follow crop-specific guidance for temperature and light, because cultivar and growth stage influence performance.

Keep the system clean and inspect it often
Soilless does not mean risk-free. Waterborne pathogens can spread through a shared reservoir, and blocked nozzles can create dry pockets. Clean and sanitize the chamber, reservoir, tools, and reusable components between crops using a product appropriate for the materials and following its label. Never mix cleaning chemicals, and rinse equipment as directed before replanting.
Check roots for browning, sliminess, unusual odor, or wilting; check foliage for pests, yellowing, and weak growth. Remove dead plant material promptly. If one plant appears diseased, isolate it where possible and avoid moving contaminated solution or tools to healthy plants.
Track tuber development and harvest thoughtfully
Not every cultivar forms tubers at the same pace. Research trials report differences among varieties and planting materials, so keep notes rather than relying on a fixed calendar. Once tubers begin developing, inspect them at regular intervals without exposing them to strong light for long periods. In seed-potato production, small tubers may be harvested in stages; for a home crop, you may prefer to let more tubers size up before harvesting.
Use clean hands or gloves and handle tubers gently to avoid bruising. Cure and store harvested potatoes according to the variety and intended use. Never eat green potatoes or parts that have been exposed to light and turned green; discard them, as greening can indicate elevated glycoalkaloids.

A basic aeroponic potato system: what you need
A reliable setup is more important than a complicated one. Before planting, check that each component is sized for your crop and can be cleaned easily.
- Opaque root chamber: supports plants and keeps the root and tuber zone dark.
- Plant holders or collars: secure stems while allowing roots to hang freely.
- Reservoir: stores the nutrient solution and should be lightproof to limit algae.
- Pump, tubing, filter, and mist nozzles: deliver an even spray to all roots.
- Timer and monitoring: control spray cycles and help detect interruptions.
- Measurement tools: pH and EC meters, plus a thermometer for the growing area.
- Clean planting material and nutrients: selected for potato cultivation in a soilless system.
- Run a water-only test and look for leaks.
- Confirm that all root areas receive mist.
- Check that the timer restarts correctly after a power interruption.
- Shade the reservoir and root chamber from light.
- Write down baseline pH, EC, and temperature readings.
Common problems and how to troubleshoot them
Plants wilt even though the reservoir is full
Check whether the pump is running, nozzles are clogged, tubing has disconnected, or the timer is set incorrectly. A full reservoir does not help if mist never reaches the roots. Restore spray delivery promptly and inspect the entire system.
Roots turn brown or smell unpleasant
Possible causes include poor sanitation, warm solution, or damaged roots. Inspect the reservoir and root chamber, remove dead material, and clean affected components as appropriate. Do not add random chemicals to the nutrient tank.
Leaves grow well but few tubers form
Review cultivar suitability, plant age, temperature, light, nutrient balance, and the duration of the crop. Strong foliage alone does not prove that conditions for tuberization are right. Compare your notes with guidance for your specific variety.
Spray nozzles keep clogging
Use appropriate filtration, clean the reservoir, and prepare nutrients fully so they dissolve as directed. Inspect nozzles routinely and avoid combining concentrates in ways that cause precipitation. Follow the nutrient manufacturer’s mixing instructions.
When are aeroponic potatoes ready to harvest?
Harvest timing depends on the cultivar and whether the goal is small seed minitubers or larger potatoes for eating. In controlled seed-production systems, growers may remove selected tubers at intervals while the plant continues producing more. For a home experiment, inspect development and use variety-specific maturity guidance. Do not assume all tubers are ready at the same time.
Keep records of plant health, days from transplanting, tuber size, and total harvest. Those notes will help you improve the next crop far more than changing several settings at once. After harvest, clean and disinfect reusable equipment as directed, then check for worn tubing, seals, and nozzles before storing the system.
Is aeroponic potato growing worth it?
Aeroponics can be valuable where space is limited or where clean seed-potato multiplication is the goal. The exposed root zone makes inspection and staged harvest possible, and the absence of soil can reduce exposure to some soil-borne pests and diseases when the system is properly managed. Yet pumps, timers, nutrient monitoring, sanitation, and backup plans add cost and complexity. A container or raised bed is usually simpler for someone who just wants a small harvest of potatoes.
For gardeners who enjoy experimenting and monitoring plant growth, a small aeroponic unit can be a rewarding project. Start with a manageable number of plants, prioritize reliability, and treat the first cycle as a trial. Successful soilless potato cultivation is less about a secret trick than consistent control of roots, mist, nutrients, temperature, and hygiene.
Frequently asked questions
Can potatoes really grow without soil?
Does aeroponics produce more potatoes than soil?
How often should I mist potato roots?
Can I use ordinary garden fertilizer?
Is aeroponics suitable for beginners?