
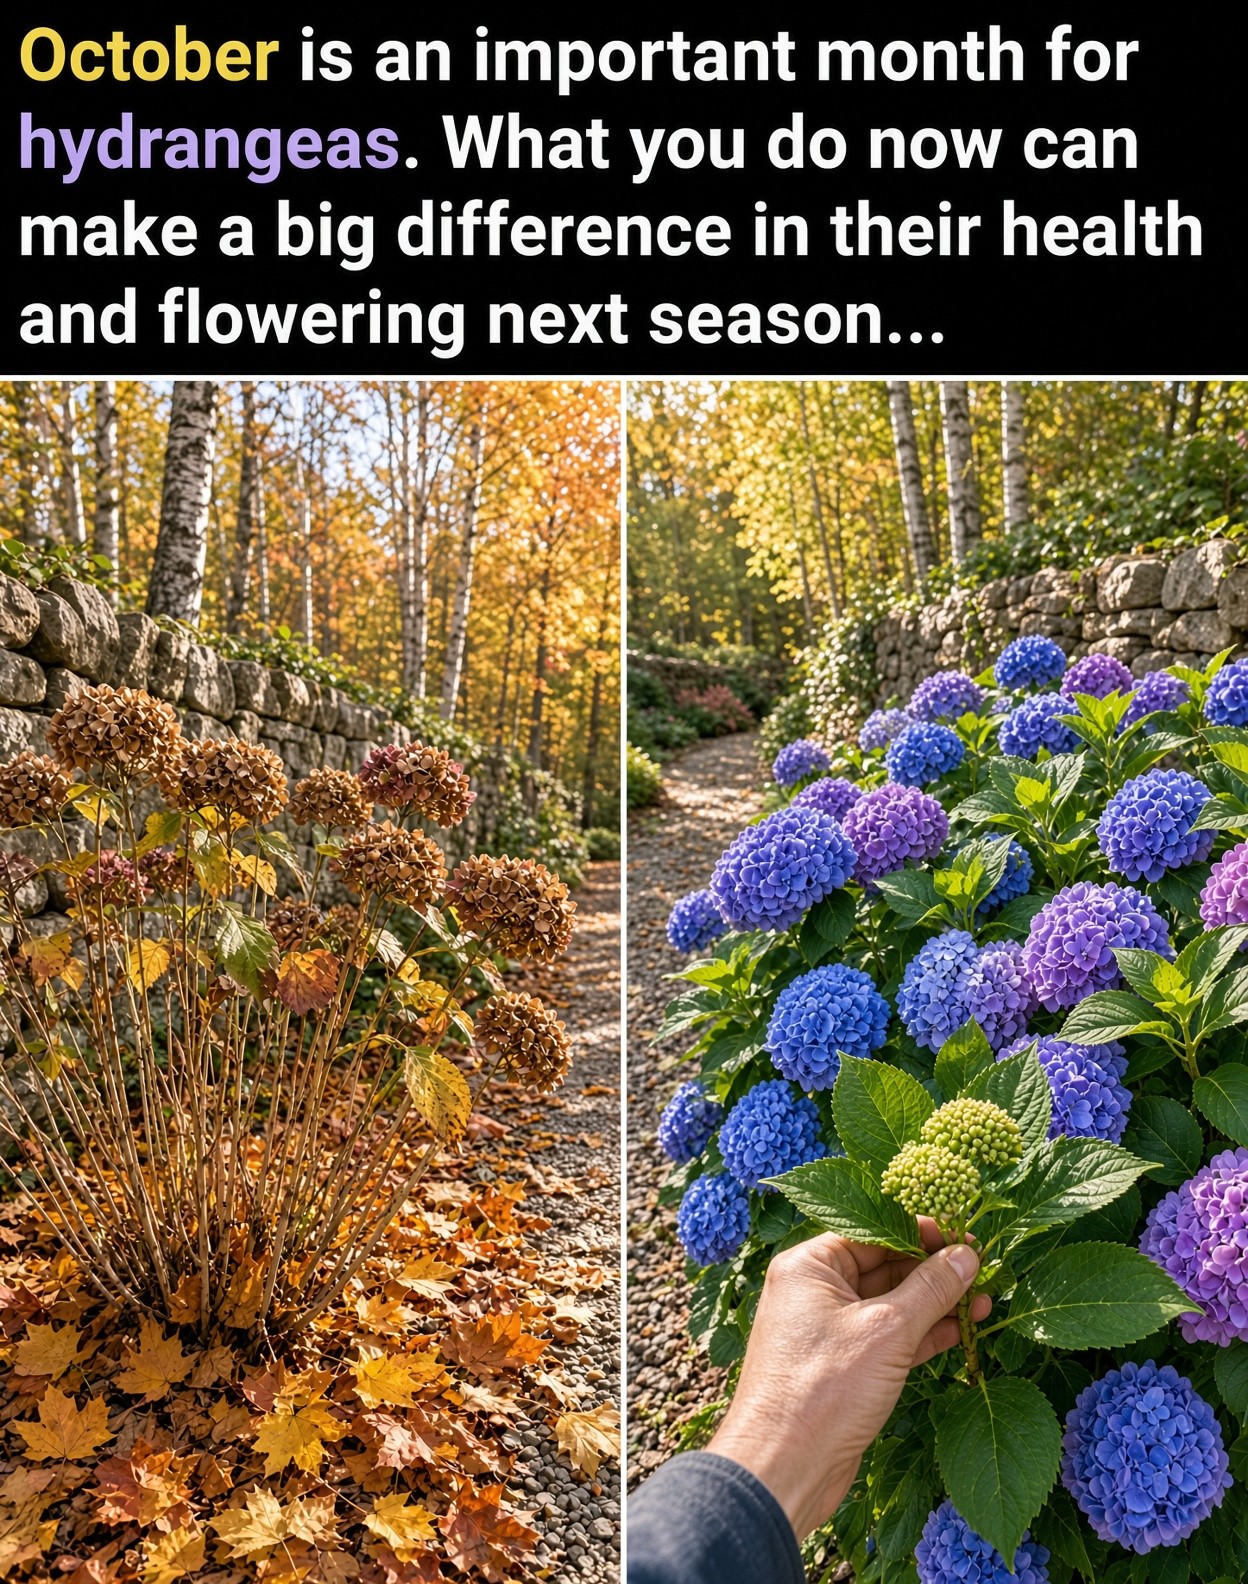
Simple autumn care to protect flower buds, support healthy roots, and help hydrangeas return beautifully next season.
October can make hydrangeas look ready for a drastic haircut: flowers turn papery, leaves fade, and branches begin to look bare. Resist the urge to cut everything back. For many hydrangeas, next year’s flower buds are already developing on existing stems, so a few careful autumn tasks can make a real difference to the display you enjoy next summer. The goal is not to force instant growth. It is to protect buds where they exist, keep roots from drying out, and help the shrub face winter with minimal stress. Hydrangea varieties and climates differ, so use these tips as a practical checklist and adjust them to your plant and local weather.

October Hydrangea Care at a Glance
- Identify the hydrangea before pruning.
- Keep healthy stems and many faded flower heads in place.
- Water during dry spells and mulch the root zone.
- Protect vulnerable buds in cold, exposed gardens.
- Remove diseased material and avoid heavy late-season feeding.
1. Identify Your Hydrangea Before Pruning
This is the most important October task. Bigleaf hydrangeas (Hydrangea macrophylla), mountain hydrangeas (H. serrata), and oakleaf hydrangeas (H. quercifolia) generally bloom on old wood: stems produced during the previous growing season. Their next flower buds may already be present in autumn. A hard fall cut can remove those buds and leave you with a healthy-looking shrub but few flowers next summer. Panicle hydrangeas (H. paniculata) and smooth hydrangeas (H. arborescens) usually bloom on new wood that grows in spring, so they tolerate pruning more readily. Even so, October is not automatically the best time to reshape them; late winter or early spring is often preferable in cold regions. If you do not know your variety, avoid major fall pruning. Remove only clearly dead, broken, or diseased branches until you can identify the plant.
2. Leave Most Faded Flower Heads in Place
Hydrangea blooms often fade to parchment, dusty rose, muted green, and warm brown. These papery flower heads can provide structure through autumn and winter, especially when touched by frost. There is no need to remove every bloom just because summer has ended. Leaving them also reduces the temptation to cut too far down a stem. On old-wood types, next year’s buds may be lower on the existing branch. If you prefer a tidier appearance, snip only the dried flower head and make the cut just above a healthy pair of buds, without shortening the stem unnecessarily. Removing old blooms does not itself guarantee bigger flowers. Bloom size depends on variety, light, moisture, root health, nutrition, and correct pruning.

3. Water Deeply During Dry Autumn Weather
Cool air can make a garden seem moist even when the root zone is dry. Hydrangeas appreciate consistent moisture, and their roots can remain active during mild autumn weather. If October is dry, water slowly at the base so moisture reaches the roots rather than wetting only the soil surface. Check before watering: if the top couple of inches feel dry, give the plant a thorough drink; if the soil is already wet, wait. Avoid frequent shallow sprinkling, which encourages roots to remain near the surface. Newly planted hydrangeas need particular attention until the ground freezes. Established shrubs may need less frequent watering, and in rainy climates extra water may not be necessary. Let soil conditions and rainfall—not the calendar alone—guide you.

4. Add a Protective Layer of Mulch
Mulch helps moderate soil temperature, slow moisture loss, and reduce damage from repeated freeze-and-thaw cycles. Spread organic material such as shredded leaves, pine bark, or composted wood chips over the root area. A layer around 2–3 inches deep is a useful starting point, adjusted for the material and local conditions. Keep mulch a few inches away from the main stems; piling it against the crown can trap moisture and encourage rot. Extend the layer toward the outer canopy where possible, since roots often spread beyond the base. Clean, healthy fallen leaves can be shredded for mulch. Avoid diseased leaves and dense, wet mats. Mulch will not instantly enlarge flowers, but it supports the stable root environment that helps a shrub enter winter in good condition.

5. Protect Vulnerable Buds From Winter Damage
In colder regions, winter injury is one reason old-wood hydrangeas may produce leaves but few flowers. Buds on bigleaf and mountain hydrangeas can be damaged by severe cold, drying winds, or abrupt temperature swings. Protection is most useful for tender varieties, young plants, and shrubs in exposed locations. Once the ground has cooled, a loose frame or breathable burlap screen can reduce wind exposure. Some gardeners surround a shrub with stakes and wire mesh, then loosely fill the space with dry leaves or another airy insulating material. Do not pack wet leaves tightly around stems or allow a cover to crush branches under snow. Panicle and smooth hydrangeas are generally hardier, so elaborate wrapping may be unnecessary. Remove protection gradually in spring after the worst cold has passed.

6. Clean Up Diseased Material, Not Every Stem
Autumn cleanup should focus on plant health rather than cutting every branch to the same height. Pick up leaves showing serious fungal disease and remove obviously dead or broken branches with clean, sharp pruners. Dispose of badly diseased material according to local guidance instead of adding it to a cool home compost pile. Do not remove healthy stems simply because their leaves have yellowed or fallen. Dormant branches can look lifeless while still carrying viable buds. Shearing the whole shrub into a ball in October may remove next year’s flowers from old-wood varieties and expose the plant to extra stress. When removing a damaged branch, cut back to healthy wood without leaving a long stub. Save major shaping for the appropriate season for your hydrangea.

7. Skip Heavy Fertilizing Late in the Season
Hydrangeas need nutrients, but a strong late-season dose of nitrogen can encourage tender new growth when the shrub should be slowing down. That growth may not harden before cold weather. Unless a soil test or local extension recommendation identifies a specific deficiency, avoid pushing the plant with high-nitrogen fertilizer in October. Instead, maintain a sensible mulch layer and assess nutrition in spring. If the shrub has struggled for several seasons, a soil test can reveal pH and nutrient issues more reliably than guessing. Apply any recommended fertilizer at the rate and season appropriate for the plant and climate. Poor flowering is often caused by mistimed pruning, winter-killed buds, too much shade, drought stress, or a young plant—not simply a lack of fertilizer.

8. Check Light, Drainage, and the Root Zone
October is a useful time to observe the conditions around your shrub before the next growing season. Many hydrangeas do well with morning sun and afternoon shade, but requirements vary by species and climate. Too much shade can reduce flowering, while intense afternoon sun in a hot climate can scorch leaves and stress roots. Hydrangeas generally prefer moisture-retentive soil that drains well. Constantly waterlogged ground can damage roots, while sandy soil may dry too quickly. Add organic matter when preparing a bed, but avoid digging deeply through the roots of an established shrub. Do not add lime, sulfur, or other pH-changing products to chase a flower color without first checking the variety and soil. Color response depends on genetics and, in certain hydrangeas, soil chemistry. Healthy roots and suitable light are more important than random amendments.

9. Make a Simple Spring Care Plan
A short autumn checklist can prevent mistakes when spring arrives. Note the variety if known and whether it blooms on old wood, new wood, or both. Mark clearly dead or damaged branches so you can reassess them while the shrub is dormant. Check soil moisture and refresh mulch if needed. In late winter or early spring, prune panicle and smooth hydrangeas if shaping is necessary, before new growth gets too far along. For old-wood types, avoid routine hard pruning in spring because flower buds may already be present. Remove winter protection gradually and watch for late frosts that could damage tender growth. Judge success over the whole plant rather than expecting one autumn task to create enormous flowers. Appropriate light, even moisture, healthy soil, and correctly timed pruning give hydrangeas the best chance to return beautifully.
