
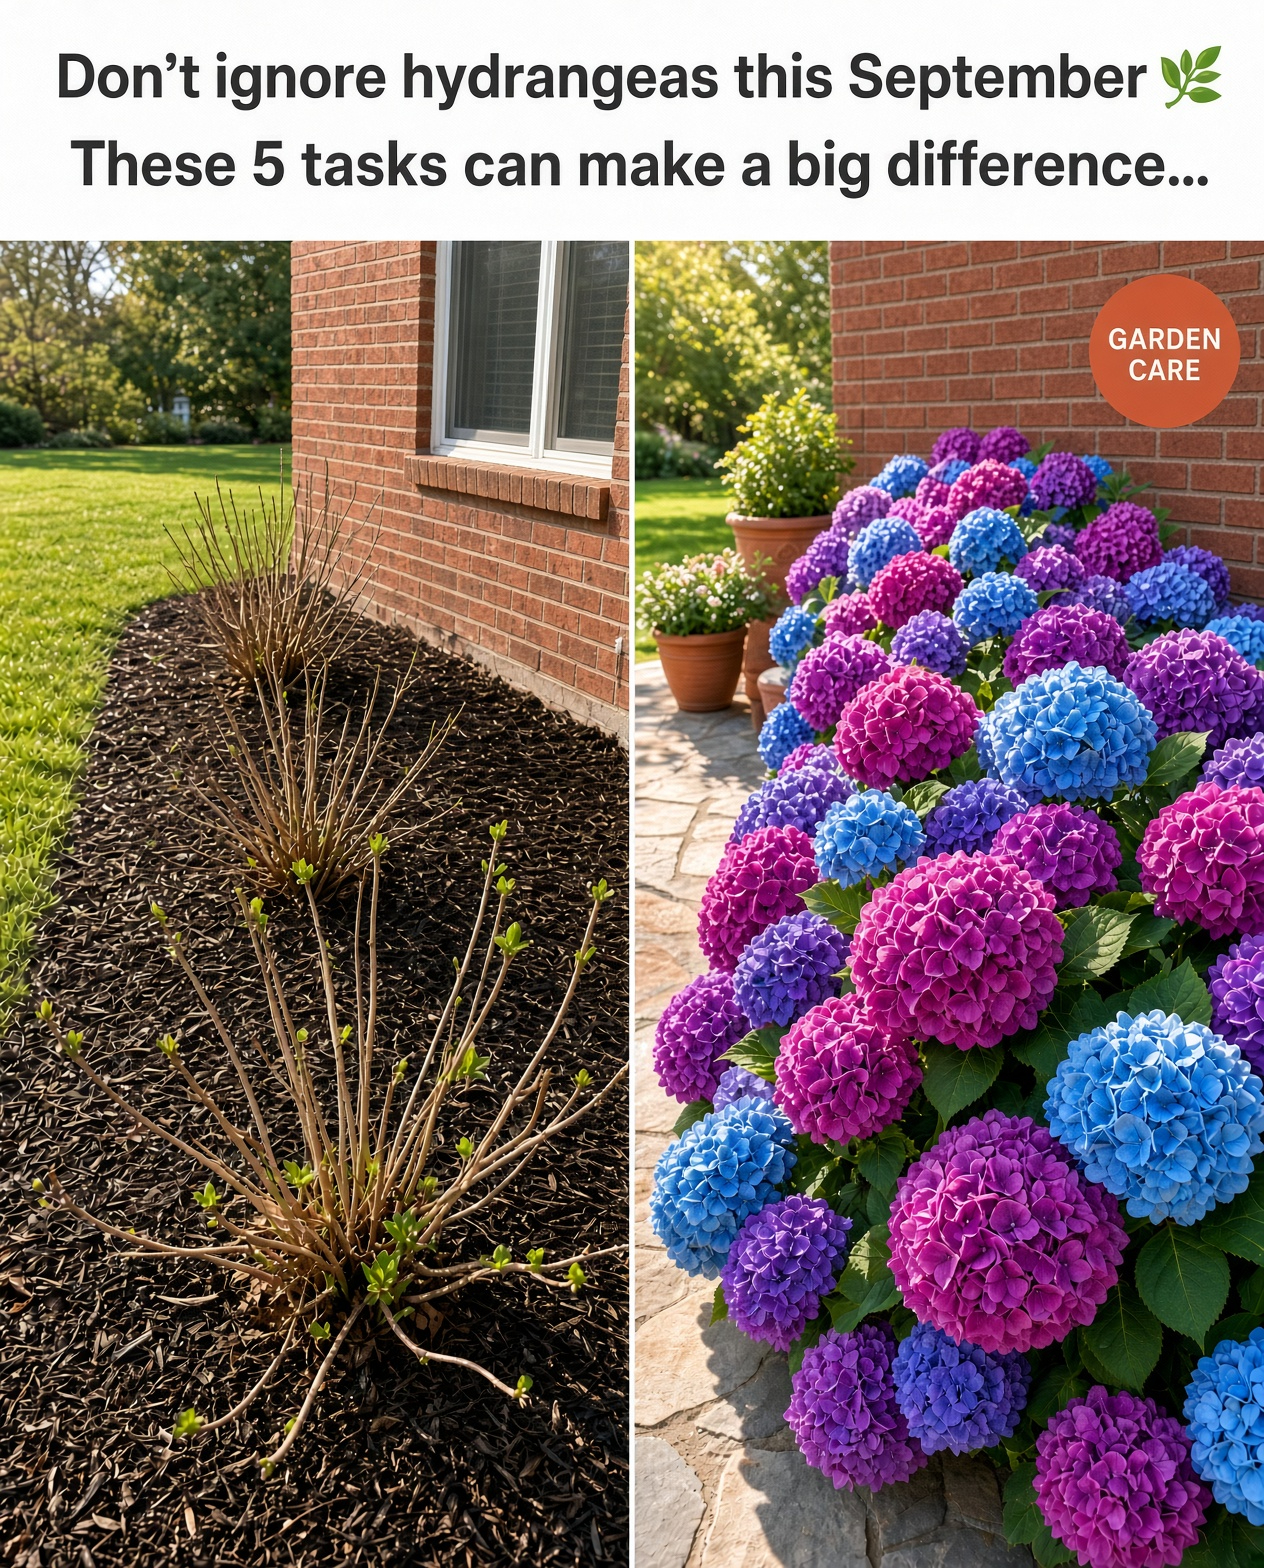
The biggest mistake is treating every hydrangea the same. Some varieties form their flower buds on older stems, while others bloom on new growth. That difference changes everything when it comes to pruning.

Before reaching for your pruners, work through these five September tasks and avoid the two mistakes that can easily undo months of growth.
1. Identify Your Hydrangea Before You Prune
This should be your first September task because pruning advice depends on the type of hydrangea growing in your garden.
Bigleaf hydrangeas (Hydrangea macrophylla) and oakleaf hydrangeas (Hydrangea quercifolia) commonly flower on older wood. Their stems can already be carrying the buds that will become next year’s flowers. Cutting those stems back in autumn can therefore remove the future flower display.
Panicle hydrangeas (Hydrangea paniculata) and smooth hydrangeas (Hydrangea arborescens) generally flower on new growth produced during the following growing season. They are therefore more tolerant of pruning at the appropriate time.

Some modern reblooming hydrangeas can flower on both old and new wood, which makes their pruning requirements different again.
If you aren’t sure what variety you have, check the original plant label, look up the cultivar, or ask a local nursery before making significant cuts.
What can you safely remove in September?
- Clearly dead branches
- Broken or badly damaged stems
- Diseased plant material
- Branches that are creating an obvious safety or access problem
When in doubt, leave healthy stems alone until you know which wood your hydrangea flowers on.
2. Keep Watering During Dry September Weather
Cooler nights can make it tempting to stop watering, but the arrival of September does not automatically mean your hydrangea is finished needing moisture.
If the weather remains warm or rainfall has been scarce, check the soil beneath the shrub. Push your finger several inches into the soil away from the main stem. If the soil is dry at that depth, give the plant a slow, thorough watering.
Water around the root zone rather than spraying the entire shrub from above. A long, gentle watering allows moisture to move deeper into the soil where the roots can use it.

At the same time, don’t turn the soil into a swamp. Heavy, poorly drained soil can keep roots saturated and create a completely different set of problems.
A simple rule is to check the soil before watering rather than following a fixed calendar.
3. Remove Diseased Leaves and Garden Debris
September cleanup isn’t just about making the garden look tidy. Removing visibly diseased leaves can also help you start the next season with a cleaner growing area.
Look beneath the shrub for fallen leaves showing obvious spotting, mildew, or other signs of disease. Pick them up and remove them from the garden rather than leaving a thick layer of infected debris directly beneath the plant.
Pay particular attention to the area underneath the hydrangea’s canopy, where fallen leaves can collect and remain damp for long periods.

You don’t have to strip every leaf from the garden. The goal is simply to avoid leaving obviously diseased plant material concentrated around the base of the shrub.
If the leaves are healthy, they can usually be left to break down naturally or incorporated into a suitable composting system.
4. Refresh the Mulch — But Keep It Away From the Stems
September is also a good time to inspect the mulch around your hydrangeas.
Mulch helps moderate soil temperature, conserve moisture, and reduce the amount of soil that splashes onto foliage during heavy rain. But more mulch isn’t automatically better.
If the existing layer has become thin, add a fresh layer of organic material around the root zone. Wood chips, shredded leaves, or other suitable garden mulch can work well.
Keep the mulch a little away from the main stems. A mound of constantly damp material pressed against the base of the plant can encourage rot and create an unnecessarily wet environment around the crown.

A simple mulch rule
Spread the mulch evenly over the root area instead of creating a volcano around the trunk. A moderate layer is enough; you don’t need an enormous pile.
5. Start Planning Winter Protection
If you grow bigleaf or mountain hydrangeas in an area with harsh winters, September is a good time to think about winter protection.
The most vulnerable plants are often those that flower on older wood because their future flower buds are already present before winter arrives. Extremely cold temperatures, sudden temperature changes, and drying winter winds can damage those buds.
There is no need to wrap the plant immediately in September. Instead, gather the materials you’ll need and wait until the shrub has gone dormant and the timing is appropriate for your climate.

Depending on your climate and the type of hydrangea, useful materials can include:
- Burlap or another breathable protective material
- Wire fencing for creating a protective cage
- Wooden stakes
- Dry leaves for insulation
- Organic mulch for protecting the root zone
Don’t rush to cover the shrub while it is still actively growing. Protection is generally more useful once the plant has entered dormancy and the leaves have naturally dropped.
Mistake #1: Pruning an Old-Wood Hydrangea in September
This is probably the most important mistake to avoid.
If your hydrangea forms flower buds on old wood, heavy September pruning can remove those buds before you ever get to see them bloom.
The shrub may respond by producing plenty of leaves and new stems next year, which can make the plant look perfectly healthy. But the flower display can be disappointing because the buds you removed were the ones intended to produce the blooms.

So don’t prune simply because September has arrived.
If the shrub genuinely needs pruning, first identify the variety and determine whether it flowers on old wood, new wood, or both.
Mistake #2: Giving Hydrangeas a Late Nitrogen Boost
Another common September mistake is continuing to fertilize as though the plant were still in the middle of summer.
Heavy nitrogen feeding late in the season can encourage soft, tender vegetative growth when the shrub should be gradually preparing for colder conditions.
That doesn’t mean every hydrangea should be completely ignored nutritionally. Soil deficiencies and specific fertilizer requirements are best addressed according to the plant, soil conditions, and local growing season. But September is generally not the time to push the plant into a burst of lush new growth just because it looks slightly tired.
Instead, focus on moisture, healthy soil, cleanup, and preparing the plant for the transition into dormancy.
Should You Remove the Old Hydrangea Flowers?
Not necessarily.
Many gardeners immediately cut off every faded flower head because they prefer a perfectly tidy garden. But leaving spent flower heads in place can provide some winter interest, and on certain hydrangeas they can also sit over stems carrying next year’s buds.
If your hydrangea blooms on old wood, being conservative is especially useful. Unless there is a specific reason to remove the flower heads, you can leave them in place through autumn and winter and tidy the shrub later when you know exactly what should be removed.
September Hydrangea Checklist
| Task | What to Do |
|---|---|
| Identify the variety | Find out whether it flowers on old wood, new wood, or both. |
| Check moisture | Water deeply when the soil is dry several inches down. |
| Clean up disease | Remove obviously infected leaves and debris from beneath the shrub. |
| Refresh mulch | Add a moderate layer while keeping the stems uncovered. |
| Plan winter protection | Prepare materials now if your climate regularly damages hydrangea buds. |
| Avoid heavy pruning | Don’t remove healthy old wood until you know the plant’s flowering habit. |
| Avoid late feeding | Don’t encourage unnecessary tender growth as winter approaches. |
Final Thoughts
September hydrangea care is mostly about knowing when to leave the plant alone. You don’t need to give the shrub a dramatic haircut, load it with fertilizer, or completely strip away its foliage.
Instead, identify the hydrangea type, keep the soil adequately moist during dry weather, remove diseased debris, refresh the mulch, and prepare winter protection if your climate calls for it.
Most importantly, resist the urge to prune blindly. For hydrangeas that flower on old wood, the stems standing in your garden right now may already be carrying the flowers you’re hoping to see next year.
A little restraint in September can therefore be just as valuable as a long list of gardening chores. Let the plant finish its season, protect what matters, and save the major pruning decisions for the correct time.